If you want to hear metal mixes more clearly, the fix is almost never better gear. Turn the monitor down until you can hear the quiet parts of the track, judge the whole balance before you chase any single instrument, then check each layer against references played at the same loudness. Metal hides detail because it stacks saturated guitars and fast drums into the same narrow band of frequencies.
That is the whole problem in a sentence. A mix that sounds fine in one room at one volume can collapse on earbuds, in a car, or on a club system, and nobody in the band notices because they have heard the track four hundred times.
This guide is for metal listeners who want to understand why records sound the way they do, and for home producers and musicians mixing on whatever they have. Nothing here requires a hardware chain. Attention, a repeatable order of operations and an honest volume knob do most of the work.
One safety note before anything else. Metal is loud, and loud playback is the single biggest reason listeners start making bad decisions about clarity. If your ears ring after a session, the level was too high and your judgment for the next half hour is unreliable. Turn it down.
Table of Contents
- What You Need
- A pair of speakers or headphones that do not flatter you
- A familiar reference track
- A quiet room and twenty uninterrupted minutes
- Playback control you trust
- Optionally, a DAW and a spectrum analyzer
- Step-by-Step: How to Hear Metal Mixes More Clearly
- Set a Fair Playback Level So You Hear Metal Mixes More Clearly
- Start With the Full Mix
- Listen for Each Instrument
- Check the Frequency Balance
- Listen to Dynamics and Impact
- Compare Multiple References
- Common Mistakes
- Frequently Asked Questions
- How do I hear more detail in my mix?
- Why can’t I hear the bass in my metal mix?
- Should I mix metal at low volume?
- Is mixing harder than mastering?
- Why does my metal mix sound different on earbuds and in the car?
- What vocal technique is used in metal?
- Conclusion
What You Need
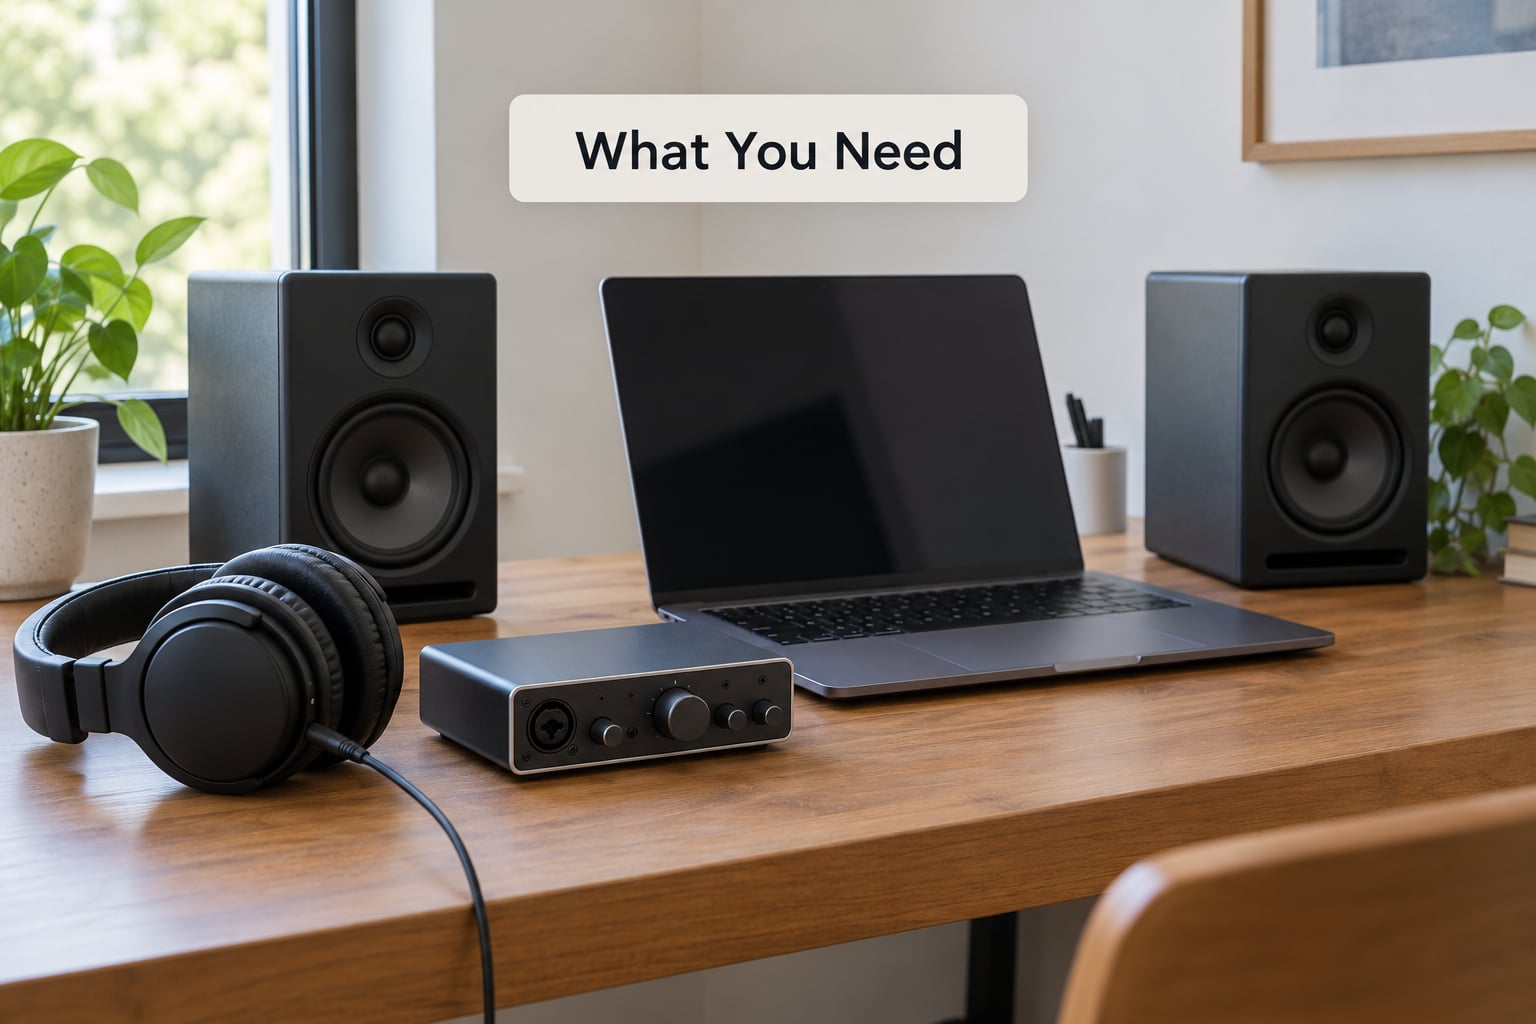
You need five things, and only one of them costs money.
A pair of speakers or headphones that do not flatter you
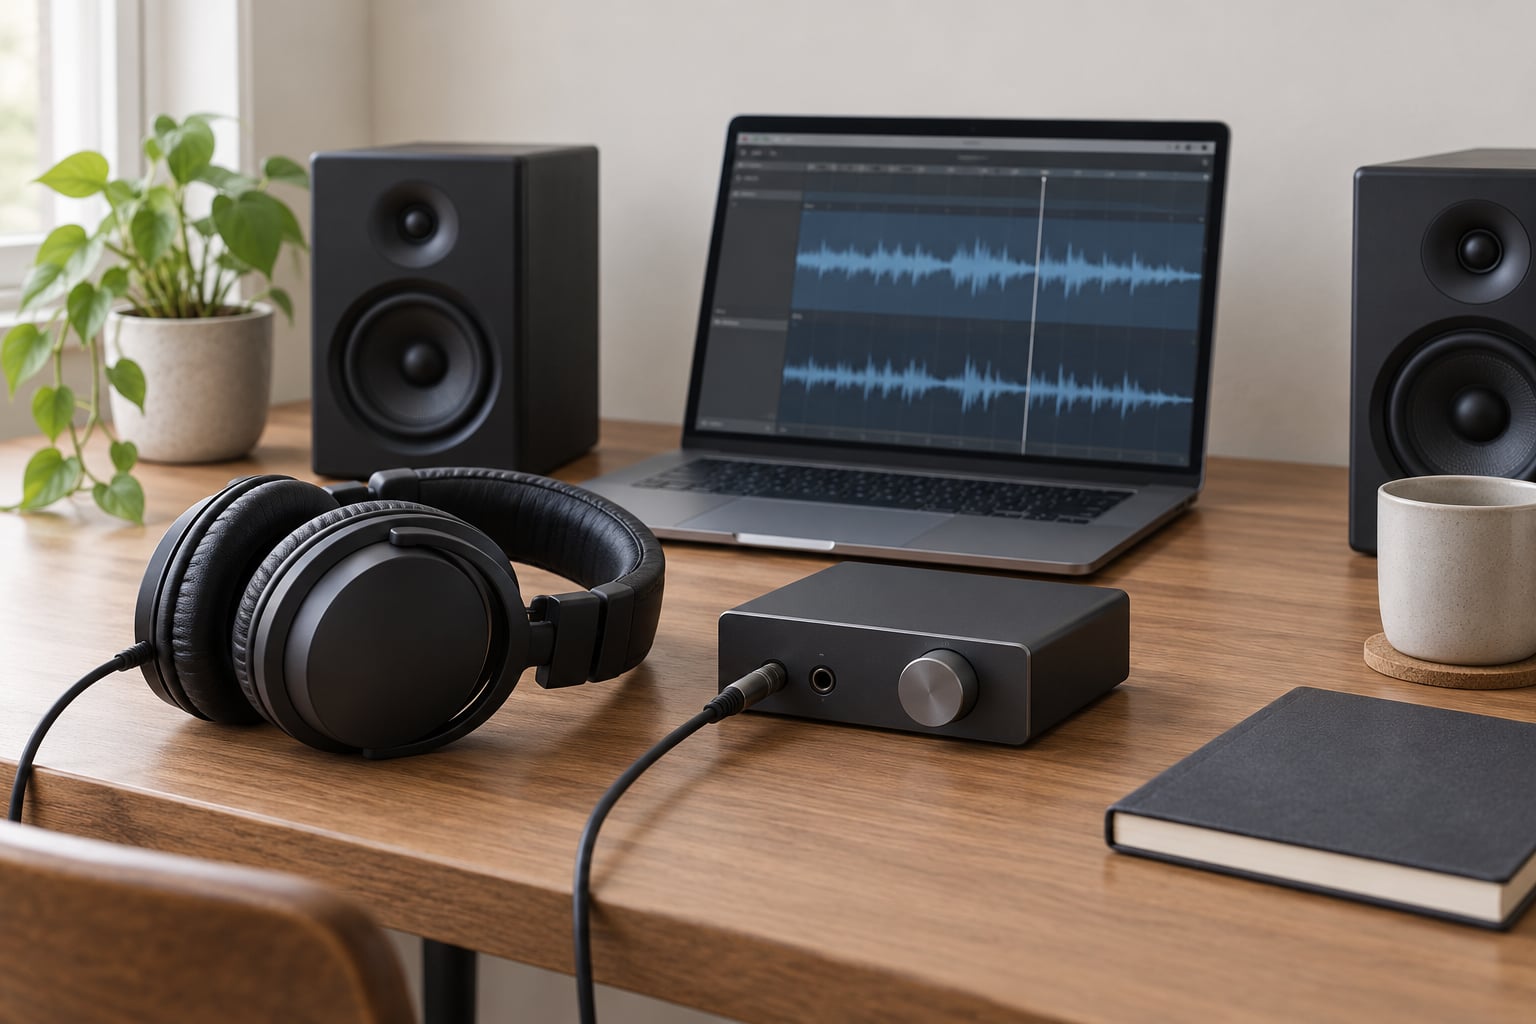
Anything with a reasonably flat response works. A pair of closed-back headphones, a set of small bookshelf speakers, or a decent pair of earbuds will get you through the steps below. What matters is that you use the same pair every time, because your ears learn a system faster than they learn a mix.
Depth and placement matter more than price. If you work on headphones, note that low end is hard to judge there; you will not reliably hear whether the bass sits with the kick. Nearfields placed properly at ear height, slightly toed in, close the gap.
A familiar reference track
Pick two or three records you know by heart, mixed by someone you trust, in the same sub-genre as what you are working on. These are anchors. You are not copying them; you are checking your mix against them for weight, vocal presence and drum definition.
Reference stems are even better. If you can get the multitracks or a rough mixdown of the reference, you can hear what the kick actually sounds like on its own, which turns a vague comparison into a measurement.
A quiet room and twenty uninterrupted minutes
The quiet is not about soundproofing. It is about not being distracted, because the listening steps below ask you to hold a mental image of the mix and compare it against something else. That is hard with a notification firing every few minutes.
Playback control you trust
Whatever you play through, you need to be able to match levels accurately. In a DAW, most people set a level once with a loud passage and then never touch it again. Matching means matching loudness, not matching how exciting each track feels.
Optionally, a DAW and a spectrum analyzer
A DAW is where you solo, mute and bypass. A spectrum analyzer, or the analyzer built into your plugins, shows where energy is sitting in real time. Both help, and both mislead if you use them instead of listening. A display tells you how much energy sits at 400 Hz; only your ears tell you whether that energy is mud or weight.
Step-by-Step: How to Hear Metal Mixes More Clearly
Run these in order. Skipping to the frequency step first is why most people spend hours cutting highs and still cannot explain what is wrong.
Set a Fair Playback Level So You Hear Metal Mixes More Clearly
Lower the monitor until you can hear a pin drop in the room during the quietest part of the track. That is your working level. Not as quiet as it feels silly, just quiet enough that your ears are not bracing.
This works because of how loudness shapes perception. At high levels your hearing shifts so that bass and treble are judged more generously, and the midrange, where most of the intelligibility lives, stops standing out. At moderate levels the differences between instruments come back. One of the most repeated pieces of advice across production forums is the simplest one: turn the monitor way down and the problem you could not hear becomes obvious.
Three checks to run once. Play digital silence and confirm the room noise sits well below your mix. Play your reference track at the level you just set, note the fader position, and use that same position for your own track. Then check the same position on headphones or a second pair of speakers so you know what changes between systems before you start judging a mix.
Start With the Full Mix
Before isolating anything, listen to the whole thing at your working level and answer three questions. Where do the guitars sit? Where does the bass sit? Can you follow the lyrics without straining?
Metal arranges itself around density. Two rhythm guitars, a lead, bass, kick, snare, cymbals and a vocal all compete for roughly the same 2 to 5 kHz region, so the mix reads as a single mass rather than as parts. A clearer mix is not a thinner mix; it is one where the intended front-and-center elements stay identifiable while the density stays intact.
Write down what you actually heard rather than what you hoped for. Noticing that the verse chugs and the clean vocal occupy the same space is the beginning of the fix, and it is a diagnosis, not a guess.
Listen for Each Instrument
Now break it down. Solo and bypass are the fastest tools in this article, and they work on any DAW session or any album you own, since you can mute stems in most players.
- Kick. You should be able to hear the beater attack, not just a thump. If it disappears behind the bass, that is a masking problem, not a volume problem.
- Snare and cymbals. Blast beats and double-kick passages blur into one wash at loud levels. At a moderate level you should still be able to count the sixteenth-note hats.
- Bass. Low-tuned eight-string riffs vanish under the guitar more than any other part, because both instruments carry energy in the same low mids. If you cannot follow the note, it is being covered.
- Rhythm guitars. Check whether you can hear palm-muted chugs as separate attacks or as one block. Panning them apart by a small amount often helps more than any EQ move.
- Lead guitar. A lead should read as a different object, not as a brighter version of the rhythm part. If you cannot tell them apart, look at masking around 800 to 1250 Hz first.
- Vocals. Listen for intelligibility, not loudness. Can you make out every word? Screamed and guttural vocals need less space, not more.
Give each instrument one question before moving on. What is this element’s job in the mix? If the answer is unclear, no amount of processing will make it obvious.
Check the Frequency Balance
Once the parts are identifiable, look at the frequencies. Use the table below as a map rather than a diagnosis, and confirm every move by listening again at the same working level.
| What you hear | Where it sits | Likely cause | First thing to try |
|---|---|---|---|
| Thick, woolly low end, nothing separates | 40 to 120 Hz | Kick and bass doubling the same octave | High-pass one of them, or sidechain the bass to the kick so it dips on each hit |
| Bass disappears on speakers and in cars | 60 to 100 Hz | Fundamental energy with no harmonic support | Add harmonics with saturation, or sample the region again with a different source |
| Boxy, choked guitars, no air | 200 to 400 Hz | Guitar low mids stacking, often called mud | Multiband compression around the C region, a trick attributed to Andy Sneap, to control low mids dynamically |
| Fat warmth that reads as thin and weak | 150 to 250 Hz on guitar | Too much low-mid weight on the guitars themselves | Low-pass or high-cut that region on the guitar channel so the bass owns the bottom |
| Vocals fighting the guitars | 2 to 5 kHz | Same band shared by vocal and distorted guitar | Carve space for the vocal with dynamic EQ rather than pulling guitars down |
| Harsh, sibilant, tiring top end | 5 to 9 kHz | Fizz from distortion and vocal sibilance | Narrow notch cuts and a de-esser, checked against a reference |
| Nothing feels sharp or defined | 10 to 12 kHz | Overall loss of air from over-processing | A/B against the reference at the same level before touching anything |
| Vocal sits behind everything | Vocal presence band | Vocal level too low rather than too processed | Add compression and limiting on the vocal instead of raising the guitars’ clarity |
Two warnings. A spectrum analyzer shows you energy, not tone, so a wide, loud block around 300 Hz can be mud in one mix and weight in another. And boosting one band to fix a problem usually starts a fight with the instrument that owns that band, so change one thing, listen, then decide.
Listen to Dynamics and Impact
Clarity is not the same as loudness. A heavily limited mix at high volume can feel huge and reveal almost nothing.
Listen for transients. A clear metal mix keeps the attack of the kick beater, the pick on the guitar string and the first consonant of a vocal, even when the sustained part is dense. The test is simple: mute the master briefly during a chorus, and notice whether you can still describe the instrumentation. If the whole thing collapses into one grey shape, there is not enough short-term contrast.
Then listen for movement. Fades, filter sweeps, panning shifts and dynamics between the verse and the chorus all create separation. A mix that sits at one level for four minutes gives your ear nothing to track.
Headphones help here more than speakers. Two hard-panned guitars that read as one wide object on speakers can be picked apart on headphones, which makes them a good tool for checking a stereo image you are about to trust.
Compare Multiple References
Use three or more, and match their loudness to yours first. Unleveled comparisons are the most common mistake in home mixing: you crank a quieter track, conclude your mix is dull, and boost things you should have left alone.
Compare across styles and eras, not just one track. A Scandinavian death metal record, a US power metal record and a djent record solve different clarity problems, and switching between them resets your ears.
Ask narrow questions each time. Is the vocal as present as on the reference? Do the guitars carry the same weight? Can I hear the kick attack? Can I follow the bass line?
Sub-genre changes what clarity means. In power metal, clarity is about melodic lines and vocal range staying distinct. In deathcore, it is about the breakdown opening up without the guitars turning to mush. In djent, it is about percussive low end and rhythmic guitar placement on small speakers. Pick the reference that matches the goal, not the one that flatters you.
Common Mistakes
Almost every confusing listening session traces back to one of these.
Judging only at high volume. Loud playback flattens midrange detail and exaggerates the bottom. Fix: work at a moderate level and check weight briefly and loudly at the end.
Using one playback system. A mix tuned entirely on monitors can collapse on earbuds. Fix: rotate between monitors, earbuds, phone and a car check on a fixed schedule.
Boosting one frequency to solve a problem. You cannot EQ your way out of arrangement density. Fix: mute or bypass first, and ask what stops working when you remove a part.
Confusing loudness with clarity. Turning everything up hides the problem by raising the floor of the noise. Fix: check short-term contrast instead of overall level.
Trusting the waveform. A dense waveform means many events, not a clear mix. Fix: treat it as a rough loudness indicator only.
Comparing unleveled references. Fix: match levels, then compare.
Listening for too long in one sitting. Ear fatigue sets in after twenty or thirty minutes of dense, saturated material. Fix: stop, rest, come back tomorrow. Reopening the session fresh is the standard cure for mixes that sound worse than you remember.
Judging unfamiliar music without context. A mix built around a single riff has a different job from one built around forty arrangements. Fix: know what the band is trying to do before you decide whether it works.
A few habits worth keeping. Ten minutes of focused listening beats an hour of loud playback. Solo drills are more useful than passive playback. Singing or humming along reveals melody and tuning problems you cannot hear passively, and learning songs by ear trains the same skill faster than isolated drills. Filtered delays on a send often separate instruments better than reverb, which tends to add the mud that dense arrangements already have too much of.
Frequently Asked Questions
How do I hear more detail in my mix?
Turn the monitor down until your mix sits at roughly the same loudness as a familiar track, then listen in short passes instead of long sessions. Start with the overall balance, mute instruments one at a time to hear what each one contributes, and check individual frequency bands with a narrow sweep. Ten focused minutes beats an hour of loud playback, because ear fatigue arrives long before you think you are finished.
Why can’t I hear the bass in my metal mix?
Usually the kick, the bass and the distorted guitar all carry energy between 40 and 250 Hz, so the three fight for the same space. Mute everything except the bass and see whether you can follow the note without guessing. If you cannot, it is masking rather than volume. Try controlling the guitar’s low mids with a multiband compressor, or sampling the low region harder, before reaching for the fader.
Should I mix metal at low volume?
Mostly yes. Loud playback flattens perception, so midrange detail and transients stop registering and you start chasing bass and treble that sound larger than they measure. Set a moderate level where you can hear a pin drop in the room, and raise the volume only for a short check on weight and impact. If your ears ring afterwards, the level was too high.
Is mixing harder than mastering?
Mixing is usually the harder job, because it involves hundreds of small decisions across a whole song while mastering works on a finished balance with a narrower set of tools. Metal makes that harder still, since high-gain guitars, fast double-kick patterns and low-tuned bass all occupy the same middle region. Most engineers spend far longer mixing than mastering, and most records that sound bad were broken in the mix.
Why does my metal mix sound different on earbuds and in the car?
Small speakers and earbuds cannot reproduce the lowest octave, so anything you mix there has to be supported by harmonics or it disappears. A car adds road noise, cabin reflections and usually some bass boost that lifts the low mids. Check three systems on a regular loop: monitors for balance, phone speakers for the body you lose, and earbuds for the fizz and sibilance you cannot hear otherwise.
What vocal technique is used in metal?
Three styles dominate. Clean singing is ordinary melodic singing. Screaming, often called harsh vocals, is a shouted belt built on compressed air and forward vowel placement, which is why it cuts through a distorted mix so efficiently. Gutturals are low rhythmic grunts that provide weight rather than melody. Each one needs a different amount of space and upper-mid room to sit correctly.
Conclusion
Set a moderate level you can hold for twenty minutes, listen to the whole mix before touching anything, then check instruments, frequencies and dynamics one at a time against level-matched references. That order is the whole method. Clarity means balanced detail you can still identify once the volume comes down, not a thin or quiet mix.