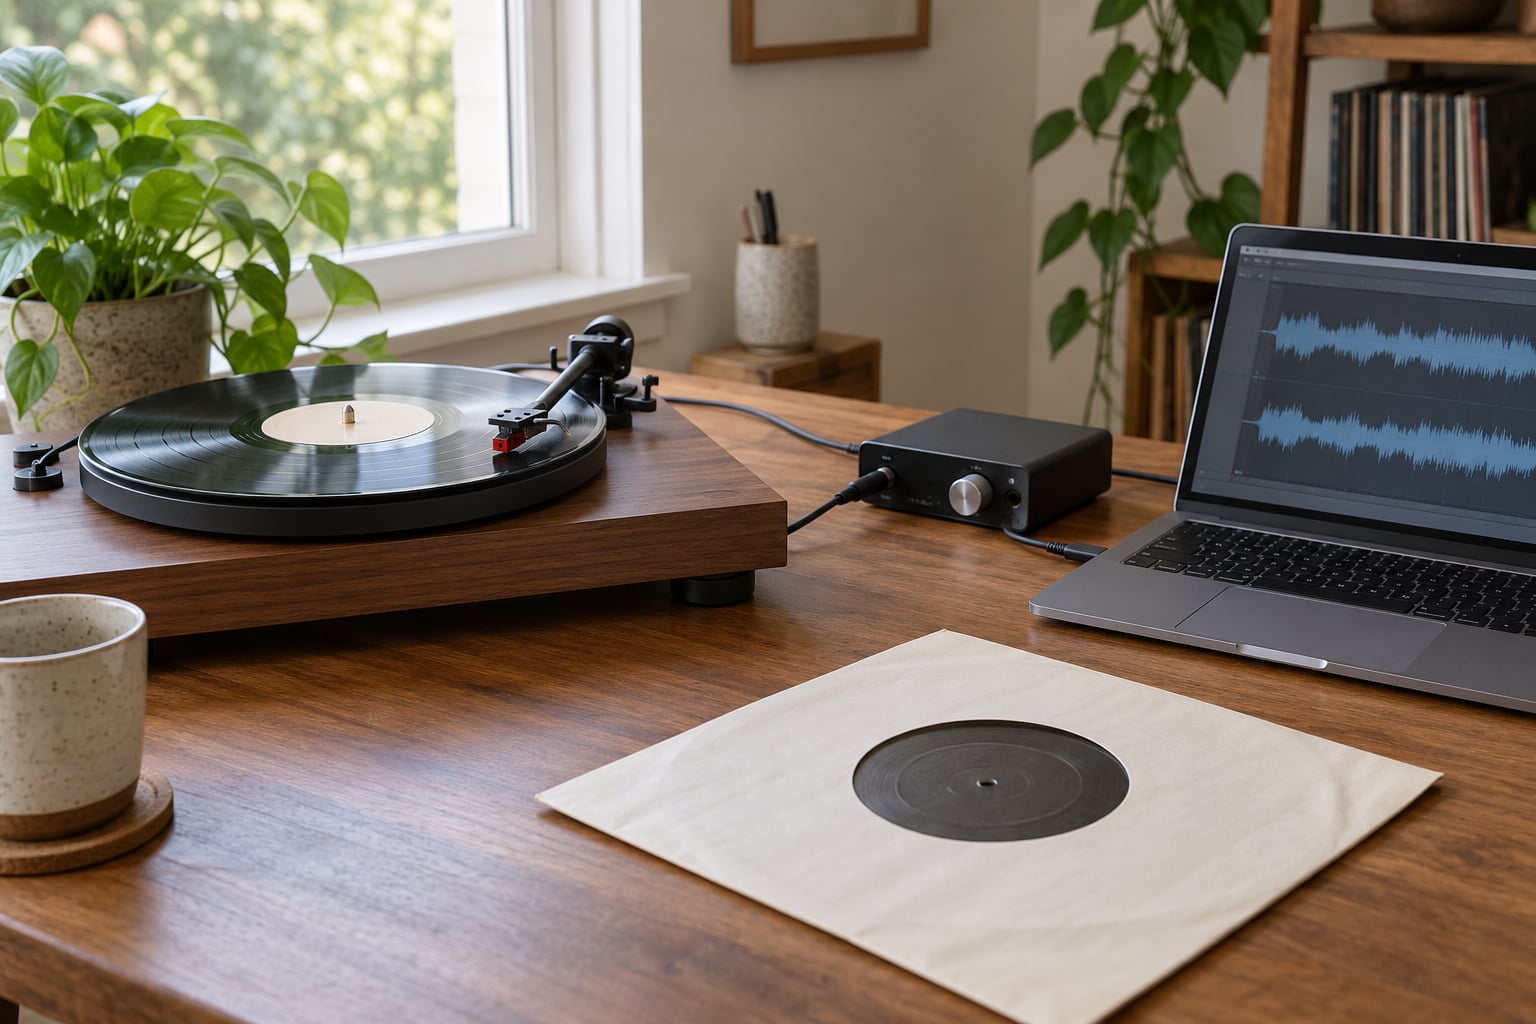
To transfer vinyl to digital files you play the record on a turntable, run that signal through a phono preamp and an audio interface, and record it into your computer as WAV or FLAC. Audacity does the recording and editing for free. Budget roughly 45 minutes per side for the capture, plus another 15 or so to split and tag the tracks.
The chain has four links and none of them is optional in a technical sense. A stylus reads the grooves, the preamp lifts that tiny phono-level signal up to line level, the interface turns it into numbers, and the software writes those numbers to a file. Skip the preamp and you get a thin, bassless recording. Skip the interface and you are relying on your motherboard’s onboard sound card, which is noisy.
What you get at the end is not a pristine studio file. Vinyl carries surface noise, and a good transfer keeps some of that warmth instead of trying to erase it. The goal is a copy that sounds like the record played in a normal room, not a reconstruction of what the mastering engineer heard when the lacquer was cut.
Table of Contents
- What You Need to Transfer Vinyl to Digital Files
- Step-by-Step: How to Transfer Vinyl to Digital Files
- 1. Prepare and Identify Your Equipment
- 2. Set the Turntable and Signal Chain
- 3. Choose Software to Transfer Vinyl to Digital Files
- 4. Set Recording Levels Without Clipping
- 5. Record One Complete Side
- 6. Edit, Clean, and Label the Recording
- 7. Export and Back Up the Digital Files
- Common Mistakes When You Digitize Vinyl Records
- Preservation Tips for Your Vinyl-to-Digital Archive
- Frequently Asked Questions
- Can I transfer vinyl with a USB turntable?
- Do I need a phono preamp to transfer vinyl?
- Should I record vinyl in WAV or MP3?
- Why does my vinyl recording sound too quiet?
- How do I remove pops and clicks from a vinyl recording?
- Is it legal to record vinyl records to digital files?
- Conclusion
What You Need to Transfer Vinyl to Digital Files
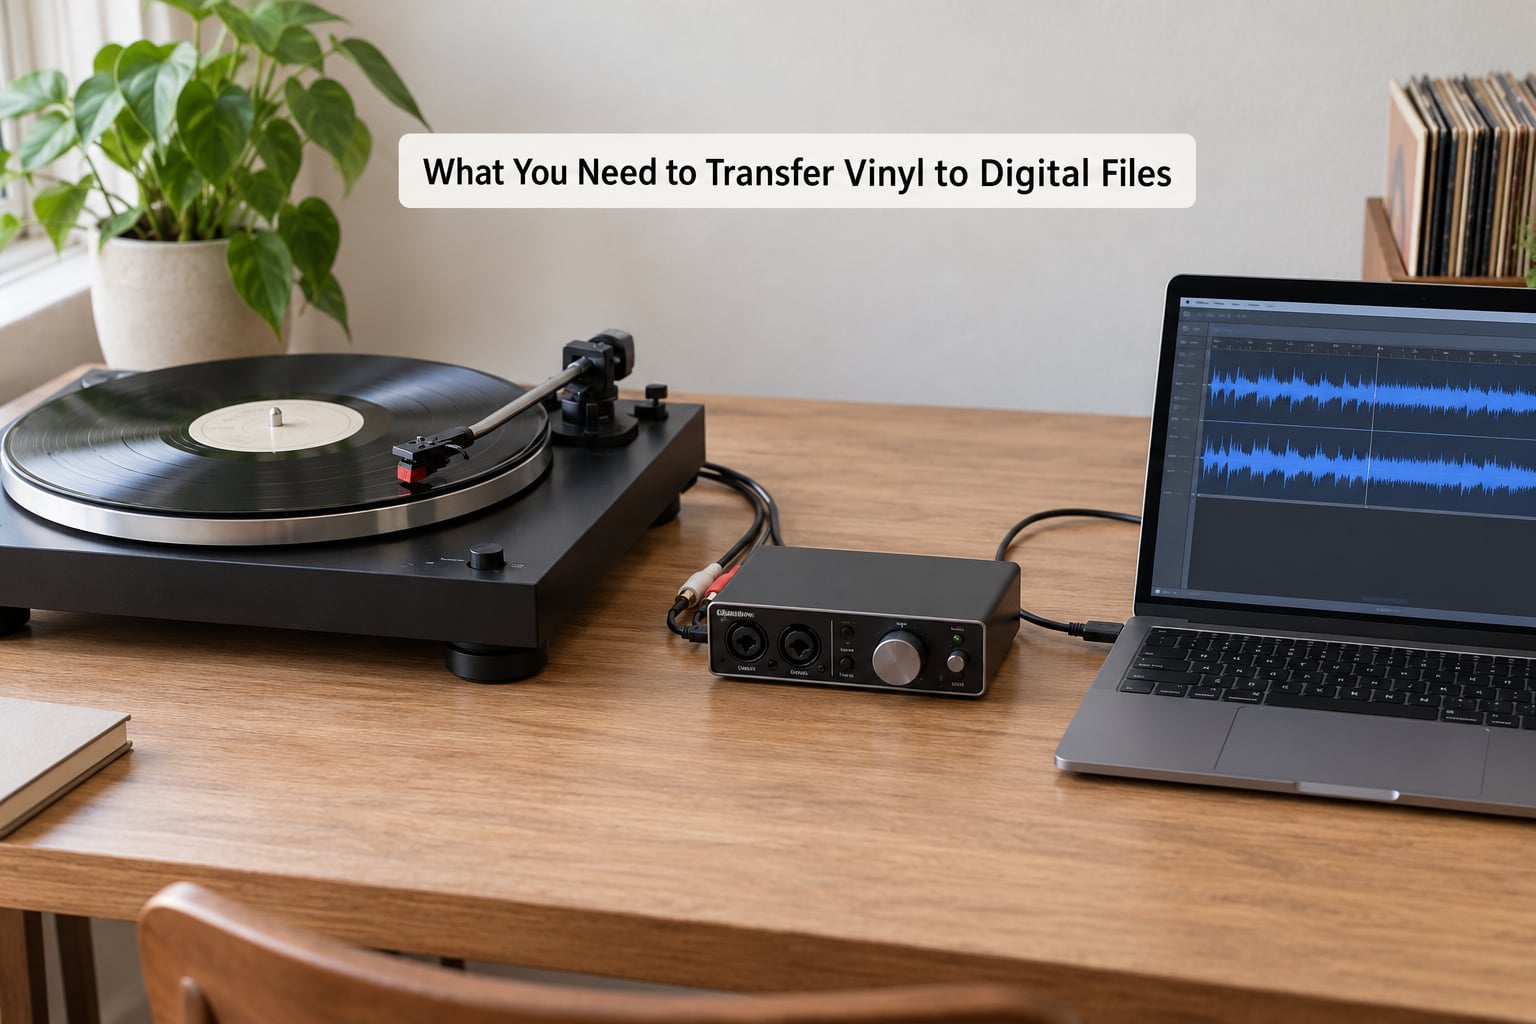
Four things have to line up: a turntable, a phono preamp, an audio interface, and a computer with free storage. Some gear bundles two of those into one box, which is fine for a first attempt.
| Link in the chain | What it actually does | Beginner option |
|---|---|---|
| Turntable | Tracks the groove with a cartridge and stylus | Belt-drive manual turntable with an RCA output |
| Phono preamp | Raises phono level to line level and applies the RIAA curve | Small standalone unit, or the one built into the turntable |
| Audio interface | Converts the analogue signal to digital at 24-bit / 44.1 kHz | Two-channel USB interface with a real line input |
| Computer and storage | Runs the recorder and holds the files | Any laptop with a USB port and 10 GB free per side |
A phono preamp is the piece people get wrong. The signal leaving a cartridge is measured in millivolts, far below line level. The preamp applies the RIAA equalization curve that reverses the bass rolloff pressed into the record at the factory. Without it, the file comes out scratchy and thin no matter how good your turntable is.
Many turntables have a phono stage switch underneath. When that switch is set to PHONO, use the RCA outputs straight into the interface. When it is set to LINE, plug the RCA outputs into the preamp first, then the preamp into the interface. Getting this backwards is the single most common reason a first transfer sounds muffled.
The same choice applies to cartridges. A moving-magnet cartridge with a conical or elliptical stylus handles most rock, metal, and pop pressings fine. If your collection leans toward jazz, soul, or acoustic material with densely cut high frequencies, a moving-coil or fine-elliptical stylus traces the groove more accurately. Change cartridges and nothing else in the chain changes.
Audacity covers the software side for free, and it is genuinely capable if you learn the handful of controls described below. Paid editors such as Reaper or Sound Forge add faster editing, better plug-ins, and per-track batch export, which pays off once you are doing more than a few records.
Step-by-Step: How to Transfer Vinyl to Digital Files
Seven steps, in order. Before you start, make sure you are legally permitted to record the album in your country; that question comes up constantly and is answered further down.
1. Prepare and Identify Your Equipment
Write down what you have: turntable model, cartridge type, preamp model, and interface. Knowing whether the cartridge is moving-magnet or moving-coil tells you what input the interface expects and how much gain to expect.
Check free drive space too. An uncompressed 24-bit capture of one side runs roughly 1.5 to 2 GB, so a side of silence or a badly routed cable will fill a drive fast if you leave the recorder armed by accident.
Clean the record before it goes near the stylus. A soft brush and a carbon fibre brush remove dust safely, while a proper fluid and a lint-free cloth remove the fingerprints and static that cause pops. Give it a minute and a half per side and skip a surprising amount of crackle later on.
Finally, note the album and track list before you start recording. Having the cue sheet open saves several minutes of scrolling back and forth during the split.
2. Set the Turntable and Signal Chain
Seat the cartridge, confirm the tonearm is floating at roughly the right height, and let the stylus rest in the lead-in groove for a few seconds so it settles. Check the pitch control sits at centre if the turntable has one.
Route the cables according to your preamp situation. With a built-in phono stage, turntable RCA out to interface line input. With a separate preamp, turntable RCA out to preamp input, preamp RCA out to interface line input. Keep the ground wire connected to the preamp’s ground terminal if the turntable ships with one; a loose ground is the usual cause of a low hum.
Select the correct speed. 33 and 45 rpm are the standard two, and most 7-inch and 12-inch LPs sit at 33⅓. Set the control before the record starts, not during.
Check stereo phase quickly. On a test record or the first few seconds of a track, the meter in your software should show energy in both channels and roughly the same level on left and right. A channel sitting near zero means one side of the signal is missing.
3. Choose Software to Transfer Vinyl to Digital Files
Audacity is the right starting point for most people. It is free, open source, and handles the whole job: capture, gain setting, editing, splitting, restoration, and export.
Set the project rate before you record. In the Audacity desktop menu, open Project Settings and choose 44100 Hz sample rate and 24-bit depth. Anything higher burns disk space for information that a phono-level signal cannot deliver.
Then open Audio Setup and set the recording device to your interface’s input, and the channels to 2 (stereo). Leave the sample rate in the device preferences alone; the project rate is what matters.
Avoid resampling during capture. Keep the file at 44.1 kHz and let Audacity do any format conversion once, at export. Resampling twice adds nothing and can shave the top end.
4. Set Recording Levels Without Clipping
This is where most first attempts fail, and it fails in one of two directions: a level so low you must boost it later and drag the noise floor up with it, or a level so hot the loudest passage hits full scale and clips.
Start by playing the loudest track on side one with the gain at its lowest setting. Watch the peak meter in Audacity while you raise the gain until the peaks on that track sit around minus 6 dBFS. If you can push to minus 3 dBFS without the meter touching 0, take it.
That leaves a few dB of headroom, which matters because the quiet lead-in and the loud chorus need to share one setting. If the loudest passage peaks at minus 1 and the quiet intro barely moves, the dynamic range is simply what the record has.
Turn off automatic gain control if your interface offers it, since it tends to react to the loud passage and drag the quiet ones down. Confirm the meter moves when the stylus moves and stops when you lift it. That is your signal check.
5. Record One Complete Side
Hit record in Audacity before the stylus reaches the groove, then lower the arm. Leave it running for the whole side.
Capture one side in a single continuous take rather than stopping between tracks. Splitting afterwards gives you sample-accurate edit points; stopping and restarting gives you the click of the arm lifting and a second of room tone at the head of every file.
Speak a marker out loud if you like. A spoken “side one, track three, Iron Fog” at the moment the track starts makes finding cuts later far easier than guessing from the waveform.
Do not stop the recording at the last track’s final note. Let it run through the run-out groove until you hear the surface noise settle into the continuous spiral, then stop.
6. Edit, Clean, and Label the Recording
Trim the leading silence, then work through the waveform placing the cursor at each track start and using Edit > Split. Leave a fraction of a second of music before each cut so fades have something to work with.
Clean up in this order. First the hum: select a short silent stretch and run Effects > Noise Reduction with “Get Noise Profile” to teach the tool what the background hiss sounds like, then apply a modest reduction to the whole track. Second the clicks: in the effect’s options, lower the click attenuation slightly and work through the file, keeping the mouse over the audible pops.
Reach for the noise reduction sparingly. Vinyl hiss is part of the source, and aggressive removal leaves a warbly, underwater artefact that is worse than the original noise.
Equalization should stay restrained. If the record was cut loud and compressed, a small cut to a high shelf can tame harshness, but a few decibels is all it should need. Normalize after the edits, not before, so the peaks are read from the finished waveform.
Add a short fade-in and fade-out on each track to kill the cut clicks, then name the files consistently. Something like Artist – Album – 03 – Track Title.wav sorts correctly in every player and survives the move to a different machine.
Save the finished side as your archival master before exporting anything else, and treat it as read-only.
7. Export and Back Up the Digital Files
Export a WAV or FLAC for the archive. Both are uncompressed, both hold your 24-bit source exactly as captured, and neither loses anything on the way in.
Export a separate MP3 at 320 kbps for phone, car, and portable players. That is transparent enough for most listeners and roughly a tenth the size, which matters once a collection runs to hundreds of albums.
Skip lossy encoding for anything you intend to edit later. Every generation costs quality, and an MP3 that has been encoded twice is audible on a good system.
Embed the metadata while you are there. Track number, album, artist, year, and album art at 600 by 600 pixels or better. Tagging once at the rip stage is far quicker than reconstructing titles from filenames a year later.
Keep the working files in at least two places. An external drive plus whatever cloud or network storage you already use is enough. Long-time collectors on r/DigitalVinyl report roughly 45 minutes of recording and 15 minutes of splitting and tagging per record, so plan your workflow around that number rather than trying to do an album in one evening.
Common Mistakes When You Digitize Vinyl Records
Thin, quiet, bassless audio. The signal is going into the wrong input, or the phono stage is switched off. Plugging a phono-level signal into a line input is the usual culprit, as is leaving the turntable’s PHONO/LINE switch on LINE while also routing through an external preamp.
Distorted or crackly loud passages. The gain is too high. Watch the meter during the loudest track on side one and drop the level until the peaks sit below zero.
An album recorded at the wrong speed. Everything plays fast or slow and at the wrong pitch. Set the speed control before the arm drops, and check it against the label before you commit a whole side.
Mono, or a channel that drops out. A half-dead cable or a mis-seated RCA plug causes this. Swap the left and right cables at the interface; if the fault follows the cable, replace it.
Clicks and pops surviving the cleanup. The pops are surface damage, not a processing failure. Raise the click attenuation in Audacity’s noise reduction effect and work the file slowly. If a click is in the music itself, leave it.
Excessive hiss. Often the level was set too low and boosted afterwards, which lifts the noise with it. Re-record that side with more gain rather than fighting it with an effect.
Tracks at wildly different volumes. That is the record’s own mastering. Normalize each track individually if you want level-matched playback, and keep the un-normalized master intact.
Files named final_FINAL2. Decide a naming pattern at the start of side one and stick to it. Bulk renaming a finished album is far more annoying than naming files correctly the first time.
Overwriting the archival master. Keep the untouched WAV in a separate folder from your working edits. The moment you normalize over the original capture, that take is gone.
Preservation Tips for Your Vinyl-to-Digital Archive
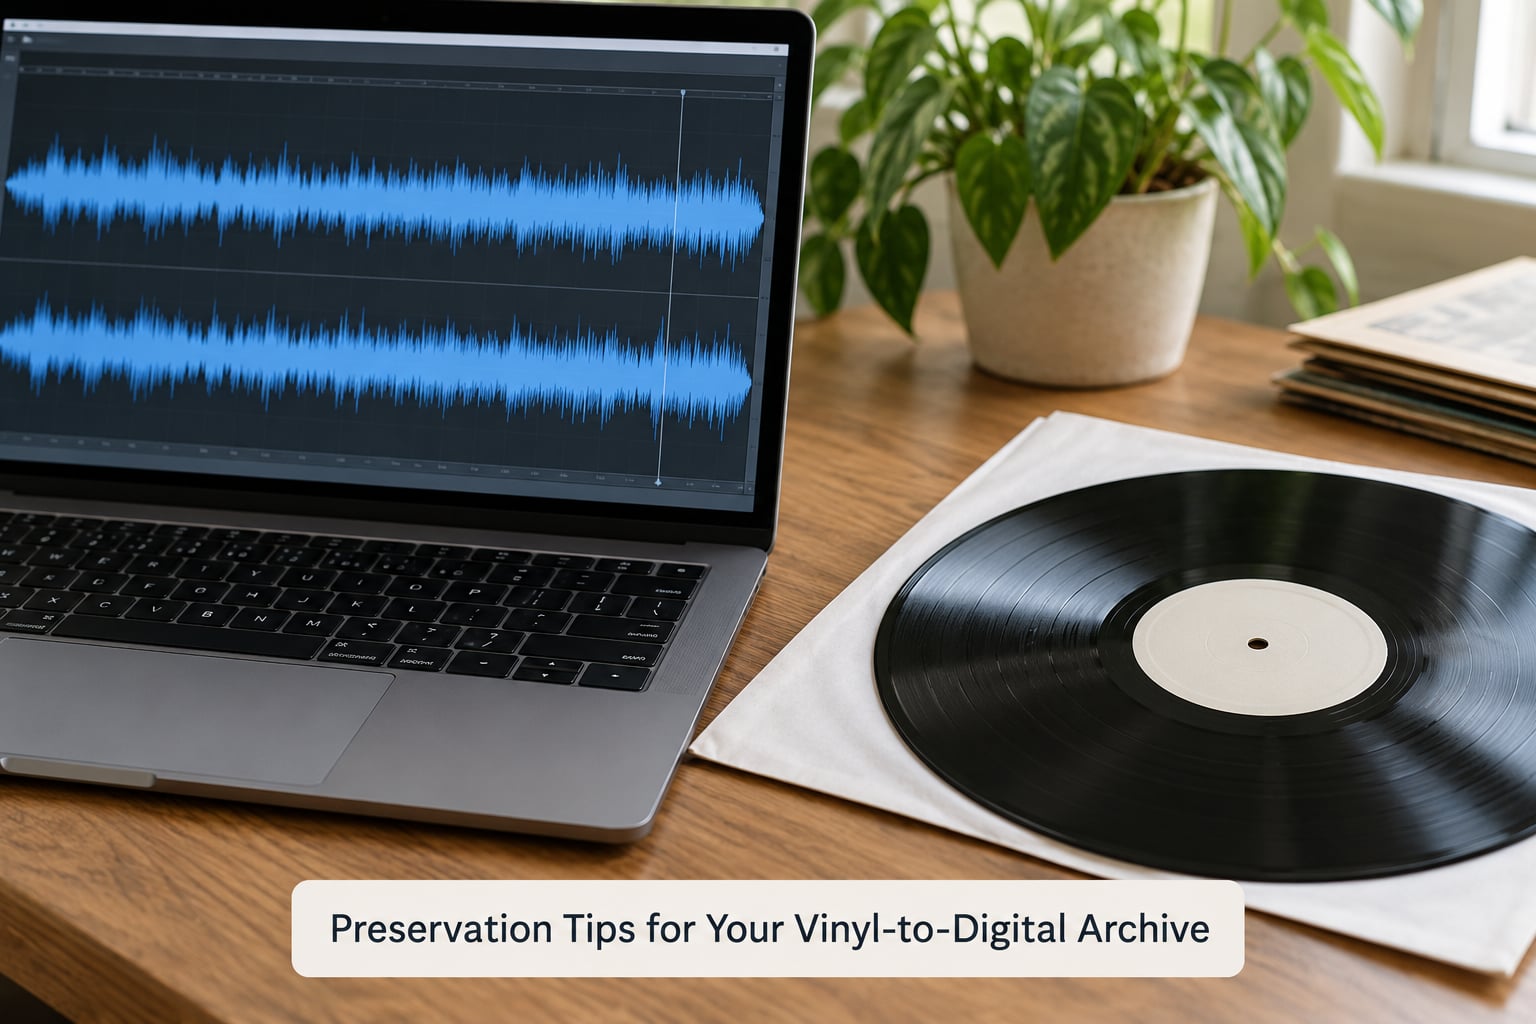
Store records upright in their sleeves, away from direct sunlight and heat. A record that has been digitised is still worth keeping, and the file is a copy of the record rather than a replacement for it.
Clean before every second or third play, and check the stylus periodically. A worn needle damages grooves permanently, which is the one kind of damage no backup can undo.
Verify a small share of your files by playing them back after a few months. Free checksum tools generate a fingerprint for each master, so you can confirm a file has not been corrupted in transit.
Write down your gear settings alongside the archive. A note of the cartridge, preamp gain, and interface makes it far easier to rip the same album on a different machine years later.
Frequently Asked Questions
Can I transfer vinyl with a USB turntable?
Yes, and for most people it is the easiest route. A USB turntable has a phono preamp and an analog-to-digital converter built in, so it connects straight to a laptop and shows up as a recording device. Set your software to 24-bit at 44.1 kHz, record one side at a time, and edit as described. The tradeoff is that built-in converters are usually a step below a separate interface in noise floor, and the preamp is fixed rather than adjustable.
Do I need a phono preamp to transfer vinyl?
You need the phono equalization curve applied somehow, and either your turntable has a built-in phono stage or you add a standalone preamp between it and the interface. Skipping it leaves the bass rolled off and the treble harsh, because the RIAA curve reverses the frequency shaping applied when the record was cut. Check the PHONO/LINE switch under your turntable before you buy anything else.
Should I record vinyl in WAV or MP3?
Record to WAV and treat that file as your archival master. WAV is uncompressed, so it holds your 24-bit capture exactly as it arrived and can be edited again later without generational loss. Export a second, smaller MP3 at 320 kbps for everyday listening on a phone or in a car. Avoid making the MP3 your only copy, because lossy compression gives up high frequencies you can never get back.
Why does my vinyl recording sound too quiet?
Two usual reasons. Either the gain is set too low on the interface, or the input is wrong: a phono-level signal plugged into a line input arrives at roughly a tenth of the level it should. Play your loudest track, watch the peak meter, and raise the gain until peaks sit around minus 6 dBFS. If the level is fine but the tone is thin, switch the turntable to PHONO or route it through a preamp.
How do I remove pops and clicks from a vinyl recording?
Use Audacity’s noise reduction effect on a non-destructive copy. Select a short silent passage, click Get Noise Profile to capture the hiss, then lower the click attenuation slider and sweep the mouse over each audible pop. Work slowly. Heavy-handed removal leaves warbling artefacts, and pops that are in the music itself are better left alone.
Is it legal to record vinyl records to digital files?
In many countries, including the United States, making a personal-use copy of a record you own is allowed, but the rules differ widely and they change. Copying for distribution or selling the files is a different matter almost everywhere. Keep your captures on your own drives, do not share them, and check the current position in your country before you rely on it for anything beyond private listening.
Conclusion
Start with one side and finish it before touching anything else. Clean the record, confirm your signal path is right and the cartridge is what you think it is, set a safe level with peaks near minus 6 dBFS, then record the full side in one take.
Split, clean, tag, and export that single side, and keep the WAV master somewhere safe. Once one side looks right end to end, the rest of the collection is repetition rather than problem-solving.