To catalog a music collection, you write down the same set of facts about every album you own — artist, title, format, label, year, catalog number, condition, and where it lives — inside one system you can search and update. Most collectors can finish a first pass of a few hundred records in a weekend, and the work becomes routine once the columns exist.
The part people get wrong is treating it as a data-entry chore to survive in one afternoon. A catalog that identifies the exact pressing in your hand, tells you which crate to pull, and survives a hard drive failure is worth far more than a complete one you abandoned at record 300.
Here is how to catalog a music collection in a way that still works three years from now.
Table of Contents
- What You Need
- Step-by-Step: Build a Catalog That Stays Useful
- 1. Decide What You Are Cataloging
- 2. Choose a Consistent Identification Method
- 3. Set Up Your Spreadsheet or Database
- 4. Enter One Release at a Time
- 5. Standardize Artists, Titles, and Release Data
- 6. Add Condition, Location, and Value Details
- 7. Find Duplicates and Fill Data Gaps
- 8. Back Up and Maintain the Catalog
- Common Mistakes and How to Fix Them
- Frequently Asked Questions
- What is the best way to catalog a large music collection?
- Should I use one catalog for CDs, vinyl, and other formats?
- How can I identify an album with no barcode or catalog number?
- Should I include estimated values in my music collection catalog?
- Do I need to list every track in an album catalog?
- Conclusion
What You Need
Five things, and none of them are expensive. Most collectors already own four of them.
- Every recording you want tracked, including the ones in boxes you have not opened yet. Decide what counts first (more on that in step 1).
- A unique identifier per release — a barcode, a catalog number, or a matrix number etched into the disc. If you have none of these, you are relying on the cover title alone, which is where most catalog errors start.
- One system of record: a spreadsheet, a database, or a dedicated collection app. Exactly one. Two half-kept catalogs are worse than none.
- A verification source for when the barcode fails — Discogs and MusicBrainz are the two that cover nearly everything obscure, and label discographies help with the rest.
- Two backup locations that are not the device you edit on. One cloud folder and one external drive is enough.
A paper logbook still works well under about fifty records, especially if the collection lives in one room. The index by artist, a column for condition, and the shelf location is genuinely sufficient, and it cannot fail to load.
Past that, a spreadsheet gives you sorting, filtering and calculated totals for nothing. Dedicated software adds barcode lookup, artwork, value estimates, and automatic linking to a global database, at the cost of learning time and vendor dependence.
One practical note: whatever you choose, check that it exports your list as a CSV before you enter record one. A catalog you cannot get out is a catalog you lose.
Step-by-Step: Build a Catalog That Stays Useful
The goal is a consistent record, not a perfect catalog on day one. Preserve the data you have, standardize the formats you use, and schedule the updates rather than planning to rebuild the thing from scratch every time your taste changes.
1. Decide What You Are Cataloging
Start by writing down the boundary of the collection in one sentence: for example, “every vinyl, CD and cassette I own in this house, plus the digital albums I ripped myself.” Vague scope is the single biggest reason cataloging projects stall.
Then note what sits just outside that line. Formats get treated differently, and each one needs a decision:
- Vinyl — LPs, 7-inch singles, 12-inch maxis, picture discs, and test pressings each behave differently when you file and identify them.
- CDs — the barcode on the disc is usually readable and is the fastest route to a database match.
- Cassettes — far fewer have been entered anywhere, so expect more manual work per tape.
- Digital albums — files you created yourself, tagged by you, with no barcode at all.
- Box sets — one physical item, often several catalog entries inside it.
- Promotional items — white-label promos, DJ copies, advance copies. These get mistaken for bootlegs constantly.
Keep wantlist items in a separate list. Mixing what you want with what you own turns every value total and duplicate check into guesswork.
Ownership status deserves its own field too: owned, borrowed, stored elsewhere, sold, or digital-only. Without it, a lending spree quietly corrupts your records.
2. Choose a Consistent Identification Method
Identify each release by a combination, never by one field. Artist plus title plus format plus label plus catalog number plus country will pin down a specific edition in nearly every case.
Here is why the cover title alone fails. A 1971 pressing and a 1989 reissue of the same album often share an identical front cover. Add a gatefold, a revised track list, a “reissue” sticker, and a different label, and the cover tells you nothing useful. The catalog number and the matrix number do tell you something.
Two identifiers get confused constantly, so it is worth separating them clearly:
- Catalog number — assigned by the label, printed on the sleeve or label, and identifying the release as a commercial product.
- Matrix number — assigned to a specific pressing run, stamped or etched into the runout groove around the disc label. Two identical pressings from the same year can carry different matrix numbers.
Worked example: if your copy shows a catalog number that matches the label’s original issue, but the runout area carries a different code and a later plant symbol, you are looking at a later pressing of that release. Record both, and the entry is accurate.
When a record has no barcode and no legible catalog number, work from the matrix etching first, then the label and year, then the label’s own discography. Record what you actually read, write “unidentified pressing” in the notes where you are unsure, and move on. A catalog full of honest gaps is far more useful than one full of guesses that later turn out wrong.
3. Set Up Your Spreadsheet or Database
Use a fixed set of columns and never add new ones mid-entry. The table below is the baseline most collectors end up with, and it fits straight into a spreadsheet header row.
| Field | What it records | Example value | Needed? |
|---|---|---|---|
| Collection ID | Your own number, unique and never reused | VIN-0417 | Yes |
| Artist | Performing artist, as credited | Black Sabbath | Yes |
| Title | Release title | Paranoid | Yes |
| Format | LP, 7-inch, CD, cassette, box set, digital | 12-inch LP | Yes |
| Label | Issuing label | Warner Bros. | Yes |
| Catalog number | Label-assigned release code | BSK 4631 | Yes |
| Matrix / runout | Pressing-specific code on the disc | BSK-1-A2 ⊗ LP | If you track pressings |
| Barcode | UPC on sleeve or disc | 075678312112 | Helpful |
| Release year | Year of this edition | 1970 | Yes |
| Country | Country of manufacture | Germany | Yes for vinyl |
| Media condition | Record or disc grade | Near Mint | Yes |
| Sleeve condition | Jacket and inner sleeve grade | Very Good Plus | Yes |
| Location | Crate, shelf, box, or bin | Crate 3, shelf B | Yes |
| Date acquired | When it came into the house | 2019-06-14 | Yes |
| Paid amount | What you actually paid | blank | Optional |
| Estimated value | Your current private estimate | blank | Optional |
| Notes | Promo, mispress, inherited, wantlist reason | Inherited, uncataloged source | Optional |
Two setup habits prevent most later problems. Give every item a unique collection ID you assign yourself, so entries never depend on a title that might get edited. And turn repeated values — format, label, country, condition grade — into drop-down lists rather than free text, because a stray variant of “Near Mint” quietly breaks every filter you ever build.
On software choice, the honest trade-off is database depth against convenience. Discogs has by far the deepest release database, including pressings, matrix numbers, credits and artwork, but its interface is dense and its data is user-submitted, so errors turn up. Dedicated collection apps are faster on a phone and handle barcodes well. Free library managers suit digital files. A spreadsheet is unbeatable for small collections and for anyone who intends to export later.
| Tool | Cost | Best for | Auto-lookup | Exports data |
|---|---|---|---|---|
| Spreadsheet (Excel, Google Sheets) | Free | Small collections, full control | None | Yes, native |
| Discogs | Free | Vinyl and CD, pressing detail, marketplace | Barcode scan | Yes, CSV |
| MusicBrainz Picard | Free | Tagging ripped digital files | Fingerprint and barcode | Tags, not a catalog |
| MusicBee | Free | Large digital libraries, smart playlists | Online lookup | Yes |
| CLZ Music | Subscription | Cataloging from a phone in shops | Barcode scan | Yes, with care |
| Music Collector | Paid one-time | Enthusiasts who want a real database | Barcode scan | Yes |
Check export before you commit. Several subscription apps restrict how much you can move out, which is exactly the lock-in that strands a catalog of a few thousand records.
4. Enter One Release at a Time
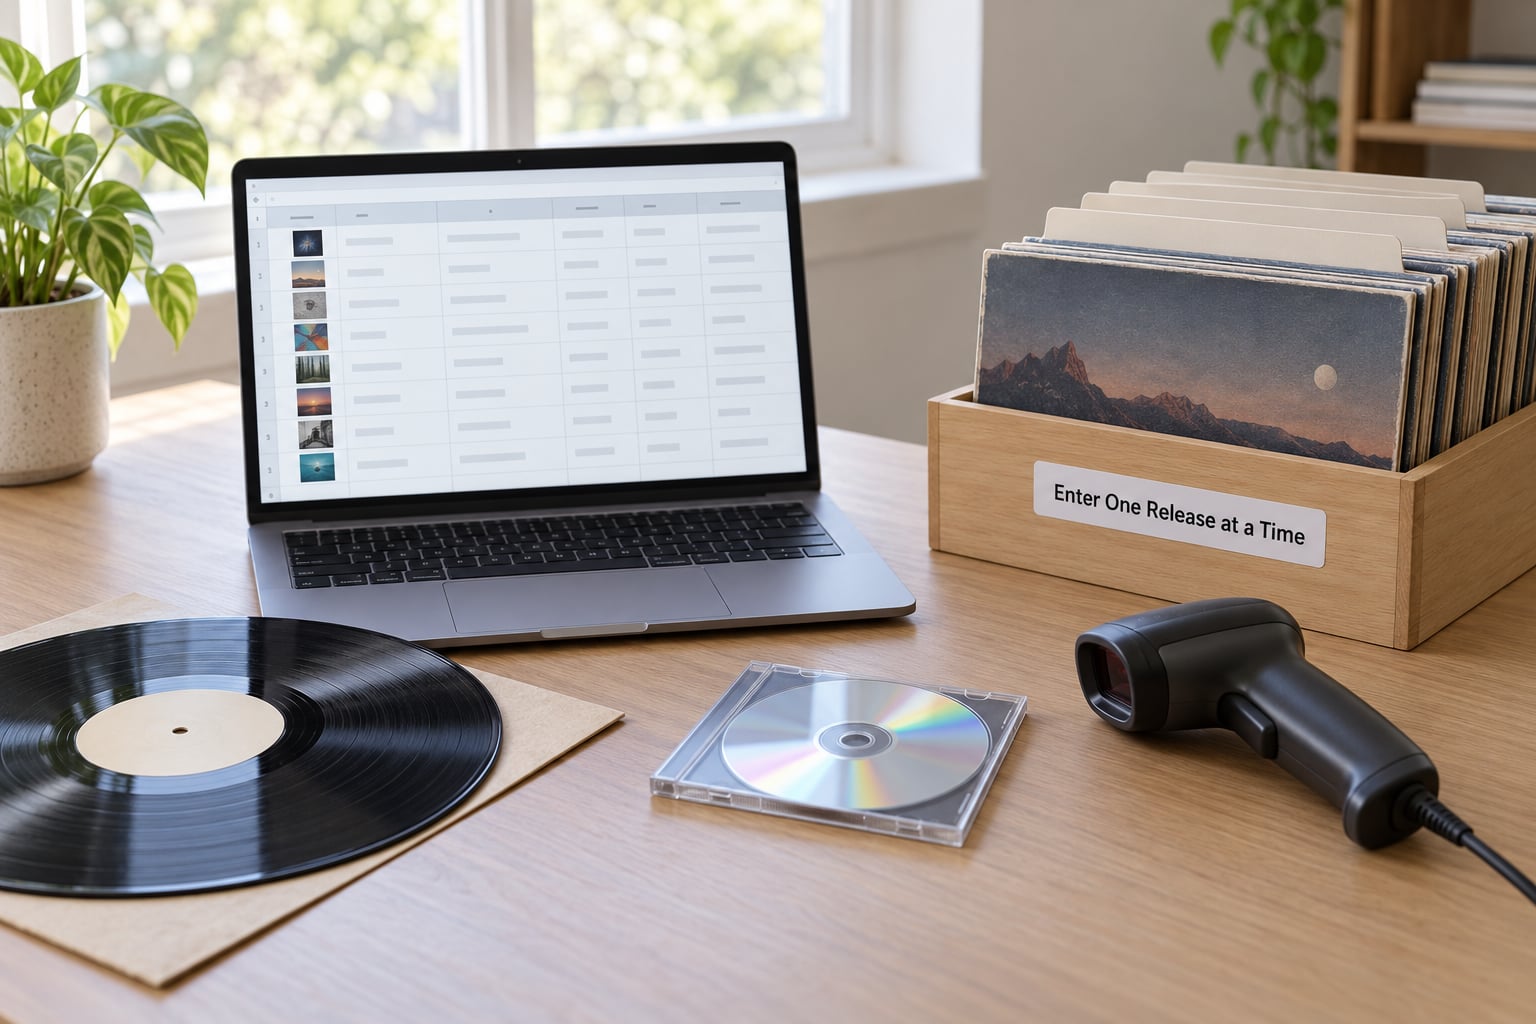
Work through one crate at a time and finish each record fully before picking up the next. A complete example entry looks like this:
- Collection ID: VIN-0417
- Artist: Black Sabbath
- Title: Paranoid
- Format: 12-inch LP, 33 1/3 RPM
- Label: Warner Bros.
- Catalog number: BSK 4631
- Matrix: BSK-1-A2, second pressing
- Release year: 1971
- Country: Germany
- Media condition: Near Mint; Sleeve condition: Very Good Plus
- Location: Crate 3, shelf B
- Notes: Vertigo label, original inner sleeve present
That is a complete record. Anyone reading it later knows what they own, whether it is a duplicate, and roughly what it is worth.
Knowing which kind of release you are holding matters for accuracy:
- Standard edition — the original commercial issue, usually the easiest to match in a database.
- Repressing — same audio, later production run, usually a different matrix and possibly a different catalog number.
- Compilation — tracks gathered from other releases, often on a separate catalog number.
- Limited release — numbered or restricted pressing; record the limitation size in the notes.
- Box set — catalog the box as one item, then list the individual disc catalog numbers inside it.
Enter full track lists only when they change the entry: box sets, discs where bonus tracks distinguish one edition from another, or a collection you organize by individual track rather than by album. For an ordinary album the track list is decoration.
5. Standardize Artists, Titles, and Release Data
Clean the data only once the entries are in. The usual problems are capitalization variants, spelling differences, and the same release entered twice under slightly different names.
Standardization means you pick a convention and apply it everywhere. For artist names, most collectors keep the credited name as the display value and add a sort name for filing — sort on the last word, and drop a leading “The”. Soundtracks, compilations, and seasonal box sets usually get their own shelf or folder rather than being forced into the alphabetical run.
For titles, choose one punctuation rule and hold it: either drop punctuation entirely when sorting or keep it consistently. Featured performers belong in a separate notes field or a parent-artist column, not woven into the artist name, or you will never be able to sort by either.
Keep alternate release titles in a dedicated column when a country shipped an album under a different name. That is real data, and it belongs in the catalog rather than being resolved away.
6. Add Condition, Location, and Value Details
Grade media and sleeve separately, because they wear differently. A record with a near-perfect sleeve and a scratchy surface is common, and a single combined grade hides which part is the problem.
Sellers use different scales. The Goldmine grading system runs from Mint down through Near Mint, Very Good Plus, Very Good, Good Plus, Good, Fair, and Poor; most record shops use a looser shorthand with the same general shape. Pick the scale you are using and write it once at the top of your catalog so a future reader, including you, knows which one applies.
Location fields do more work than most people expect. “Crate 3, shelf B” turns a two-minute search into a five-second one, and it works as a physical filing order too — collectors on vinyl forums converge almost entirely on alphabetical by artist with chronological order within an artist.
On value, keep two separate columns: what you paid, and what you believe it is worth now. Mixing them produces a running total that means nothing. Note the basis of your estimate — recent sold listings rather than asking prices — and re-check it periodically rather than constantly. A cataloged collection becoming more valuable over time is a pleasant possibility, not something a spreadsheet can promise.
7. Find Duplicates and Fill Data Gaps
Duplicates are found with sorting, not reading. Sort by artist and title to catch obvious repeats, then sort by barcode and by catalog number to catch the same pressing entered twice under different names.
Be careful at the merge step. Identical artist, title, label, and catalog number means the same release, so merging is safe. Identical artist, title, and label with a different matrix number means two pressings of the same album, which is a duplicate only in the loose sense — collectors keep those deliberately, and your catalog should record both with different IDs and different condition grades.
A repeatable verification routine keeps this honest. Start with the physical copy in your hand: read the label, the catalog number, the barcode, the runout etching. Then check a reputable database for a matching release. When those disagree, look at a label discography or archived material. Record what you verified and how, so you never redo the whole investigation later.
Scanning is the fast path, and it fails predictably: bootlegs, white-label promos, box sets, and obscure regional pressings often carry no scannable barcode. Those go straight into the manual queue rather than getting skipped.
8. Back Up and Maintain the Catalog
Export and save on a schedule, not in a panic. From most tools that means a CSV download; keep one copy dated for each export so an accidental deletion is recoverable.
Two locations is the minimum, and they should fail differently — one cloud folder, one drive that stays home. A catalog that exists only on the laptop you type on is a single point of failure, and the file format matters as much as the copy count. A CSV you can open anywhere beats an export only the original app understands.
A quarterly review takes an hour and covers four things: add anything bought since last time, refresh condition grades on the most valuable items, re-check a sample of value estimates, and reconcile the physical shelves with the catalog. Back up again right after any large acquisition, especially an inherited one.
Keep a short change log — a plain text file is fine — noting corrections, deletions, and re-values with dates. It is the only record of why an entry changed, and it makes the next audit far faster.
Common Mistakes and How to Fix Them
These seven show up again and again. Each has a direct correction.
Cataloging every physical copy separately. If you own two identical pressings, that is one entry with a quantity of two and a shared location line. Separate entries duplicate the data and inflate your totals.
Treating every version of an album as a duplicate. Different matrix numbers are different pressings. Merge only when the identifiers match.
Using cover scans as the only record. Artwork proves almost nothing about an edition. Keep it, but let the catalog number, matrix number, and country carry the identification.
Mixing purchase price with current value. Two columns, always. One records history, the other records your present estimate, and they answer different questions.
Inconsistent artist names. Pick one spelling per artist, drop leading “The” for sorting, and use drop-down lists where the software allows it. Inconsistent names are the reason a catalog of a few thousand records becomes unsearchable.
Storing the only copy on one device. Two locations, dated versions, and a format you can open without the original app.
Delaying because it is not perfect. A collection can be useful before it is complete. Enter what you know, flag the rest, and refine during ordinary use rather than in one heroic weekend that never arrives.
Two more worth naming. Large inherited collections do not need to be finished before you start using them — a spreadsheet-only pass with artist, title, format, and location gets you a usable list, and you can enrich the interesting items later. And on ripped digital libraries, deal with duplicates deliberately: files named “Track 01” from four different albums of the same sessions produce a library you can neither search nor de-duplicate until you tag them properly first.
Frequently Asked Questions
What is the best way to catalog a large music collection?
Work in batches by crate rather than by format. Give every record a unique ID, record the fields you can read off the sleeve in seconds, and leave the rest blank rather than guessing. For inherited collections, start with a photo pass of each crate, then a spreadsheet-only pass covering artist, title, format, and location. Enrich the rare or valuable items afterwards. Keep the exported CSV in two places from day one, since a large catalog is a lot of work to lose.
Should I use one catalog for CDs, vinyl, and other formats?
Yes, one catalog with a format column is easier to maintain than separate lists, and it stops you double-buying an album you already own in another format. Use drop-down lists for format, country, and condition so entries stay consistent, and give each release its own unique ID. Sort by format whenever you want to work on one section, or pull a filtered view of just the CDs for a rip session. Separate physical items from digital files only if their fields genuinely differ.
How can I identify an album with no barcode or catalog number?
Start with the runout etching around the disc label, since that matrix number is specific to a pressing run. Next use the label name, catalog number pattern, and year of manufacture, then compare against a reputable database and the label’s own discography. Record exactly what you can read and mark the rest as unidentified in your notes field. An honest gap costs you nothing; a guess entered as fact can mislead you for years.
Should I include estimated values in my music collection catalog?
Include them, but as a separate column from what you paid, and note the basis for each estimate. Recent sold listings are more reliable than asking prices, and graders change how much an item is worth. Refresh values quarterly rather than continuously, and revisit them after any major purchase or sale. Keep the figures in a plain CSV backup so an appraisal or an insurance conversation has something concrete to work from.
Do I need to list every track in an album catalog?
No, not for a normal album entry. Artist, title, format, label, catalog number, year, country, condition, and location are enough for almost every collector’s purposes. Enter full track lists when they change the entry itself, such as box sets, editions distinguished by bonus tracks, or multi-disc releases where the disc number matters. If you want to search by song later, add a track column or a separate track table rather than bloating every album row.
Conclusion
Start tonight, and keep the first session small. Build the column structure from the table above, assign each record a unique ID, and catalog one crate or one shelf until you are done with it.
Learning how to catalog a music collection is not a single evening project. It is a system that gets more useful every time you add to it, and only its habits matter in the long run: consistent identifiers, honest gaps, purchase cost kept apart from current value, and backups in two places. Do one crate well this week rather than a whole room badly.