How to flatten a warped vinyl record: sandwich it between two flat, rigid plates, load it with 50 to 60 pounds of books, and leave it under steady pressure for weeks. Gentle heat around 130 to 180°F relaxes a stubborn dish warp faster, but heat applied carelessly will permanently deform the grooves you are trying to save.
Vinyl is a thermoplastic. Heat it and the PVC softens, then it hardens again in whatever shape it was sitting in, which is why a record that spent a summer in a parked car comes out permanently curved. Pressure alone works on the same principle at a much slower pace: it holds the disc in a flat position long enough for the material to relax on its own.
That is also why the first job is naming the warp. An edge warp, a dish warp and a record with a single bump in it all need different treatment, and one of them you should not attempt at all.
Table of Contents
- What You Need
- Step-by-Step: How to Flatten a Warped Vinyl Record
- Step 1: Inspect the Record and Test the Problem
- Step 2: Clean and Prepare the Vinyl
- Step 3: Choose a Safe Flattening Method
- Step 4: Apply Even Pressure
- Step 5: Let the Record Cool and Rest
- Step 6: Check the Result Before Playing It
- Common Mistakes
- Why You Should Not Play a Badly Warped Record
- How to Store Records So They Do Not Warp
- Frequently Asked Questions
- Can you flatten a warped vinyl record with heat?
- What can I use to flatten a warped vinyl record?
- How long does it take to flatten a warped vinyl record?
- Will flattening a warped record damage the grooves?
- Can a record with a small warp still be playable?
- When is a warped record better replaced than repaired?
- Conclusion
What You Need
The whole job is a sandwich. Everything else is a substitute for the two flat plates at the top and bottom of it.
- Two flat, rigid surfaces larger than a 12-inch record. Tempered window panes from a hardware store work well, as do polished marble tiles, thick ceramic tile, or a slab of flat hardwood.
- Heavy books with unprinted covers. Ink and foil finishes can imprint onto the sleeve or transfer to the vinyl, so skip the decorated ones. Aim for 50 to 60 pounds spread across the whole disc.
- Two sheets of plain cardboard cut slightly larger than the record, to spread the point load from the books.
- A clean paper inner sleeve to sit between the vinyl and each plate. Paper leaves an oily residue that wipes off; plastic does not.
- A heat source you can control for the mild-heat method: an oven with a thermometer, or sunlight on a windowsill.
- An oven-safe dish or tray large enough to hold the sandwich if you go the heat route.
- A clean, cool work surface somewhere out of direct sun, away from radiators and floor heating.
Two details matter more than the rest. The record should be clean and completely dry, because grit trapped under pressure will etch the grooves, and the edges should be unsupported, because a rim that rests on something cannot flatten no matter how heavy your stack is.
Before you touch anything you care about, run the whole procedure once on a record you would not mind ruining. Heat treatment in particular has a learning curve, and finding out where that curve is costs less than a rare pressing.
Step-by-Step: How to Flatten a Warped Vinyl Record
There are three routes: cold pressure, mild heat, and a commercial flattener. Work down that list. Most warps never get past the first one.
Step 1: Inspect the Record and Test the Problem
Look at the record on edge first. A disc whose outer rim rises while the centre stays put has an edge warp, the mildest kind and the one most collectors just live with. A disc that dishes like a shallow bowl has a bowl warp, which plays with constant skipping and surface noise until it is fixed. A single raised bump across part of the surface is usually a local bump, often from a dropped corner.
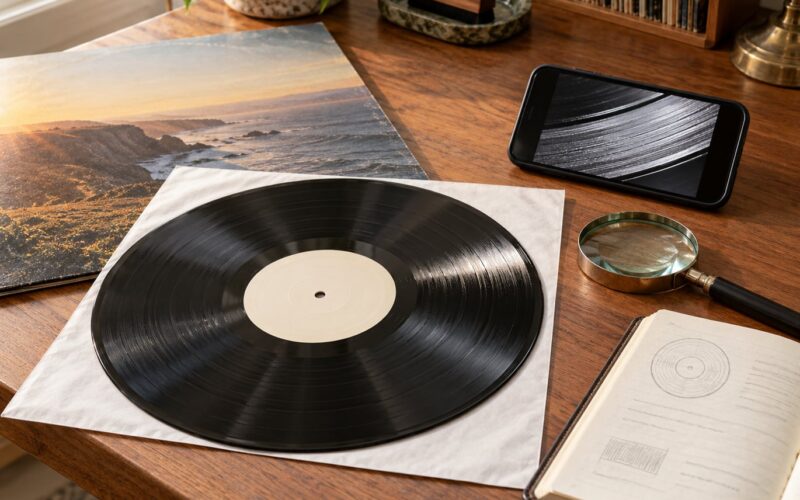
Then drop it on a flat surface. Set the record label-side down on a table and press gently at a few points around the rim with one finger. Where the disc rocks, there is warp. A record that rocks visibly but settles under light pressure usually needs nothing more than a few weeks of cold pressure.
Check the jacket too. A bent sleeve is what pushes most new records out of square, so a sleeve fix matters more than any weight you add.
Now look for damage. A crack from the hole out to the rim, a split edge, or a deep scratch you can catch a fingernail in means stop. Those do not flatten, and pressure on them turns a playable defect into a broken record.
Step 2: Clean and Prepare the Vinyl
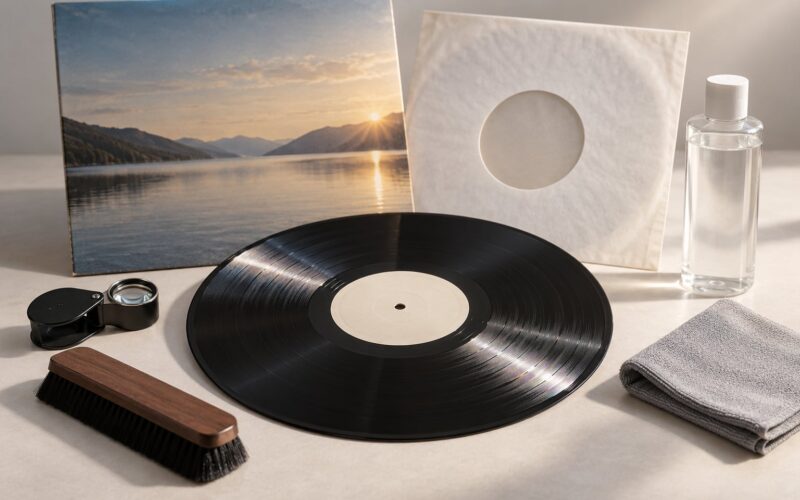
Handle it by the edges only, thumbs on the rim, and clean it before it goes under load. Dry dust and fingerprints with a soft anti-static cloth or a carbon-fibre brush. If the record is grubby, a plain record cleaner fluid and a microfiber cloth will do it, applied to the cloth rather than the vinyl.
Stay away from alcohol, acetone, household sprays and wet sleeves. Water and solvents attack the PVC, and a sleeve soaked with cleaner traps moisture against the disc for days.
Dry it properly, then slide it into a fresh plain paper inner sleeve. If the original sleeve has a crease running across it, replace it. That crease is often the actual source of the warp, and putting the record back under pressure in the same sleeve will undo your work in a month.
Cut your cardboard sheets, sandwich the sleeved record between them, and you are ready for the plates.
Step 3: Choose a Safe Flattening Method
Match the method to the warp rather than to the amount of free time you have. Heat is not a stronger version of pressure; it is a faster one with a permanent downside.
| Warp type | What you see | Method | Expected time |
|---|---|---|---|
| Edge warp | Rim rises, centre flat | Cold pressure | 2 to 4 weeks |
| Shallow bowl warp | Discs rocks on the table, plays with light skips | Cold pressure first | 4 to 8 weeks |
| Deep dish warp | Cannot sit flat at all, skips badly | Mild heat, then pressure | 1 to 2 hours |
| Local bump | One raised section | Cold pressure, sometimes with a shaped weight | 2 to 6 weeks |
| Crack, split or rim damage | Visible fracture or chip | None, replace it | n/a |
Collectors argue endlessly about temperature, which is why you will see 130°F quoted alongside 180 to 190°F in the same forum thread. Both numbers refer to the surface of the vinyl, not the oven dial, and the low figure is the safer one to start from. A commercial flattener works at about 130°F, forum advice for a home oven lands around 180 to 190°F, and other guides quote 176 to 185°F for the same job. Treat 130 to 150°F as the range for a first attempt and stay under 190°F no matter what.
| Heat source | Working range | Notes |
|---|---|---|
| Commercial flattener | About 130°F / 54°C | Consistent and hands-off, roughly 1 hour heat then 45 minutes cool |
| Home oven, door closed, heat off | 140 to 180°F / 60 to 82°C | Use a thermometer on the plate, not the dial |
| Heat lamp | 120 to 145°F / 49 to 63°C | Slow and uneven, needs repositioning |
| Hair dryer on cool or low | Under 120°F / 49°C | Reporters have had mixed results; easy to overshoot |
| Direct sunlight | About 100 to 125°F / 38 to 51°C | The simplest option and the least controllable |
Some approaches are simply not worth the risk. Never put a record in a microwave, never boil it or immerse it in water, never run a hair dryer over it on high, and never leave one playing wedged in a car stereo to press it flat. The last one is the single worst idea on this list. High heat for that long has no temperature ceiling.
Step 4: Apply Even Pressure
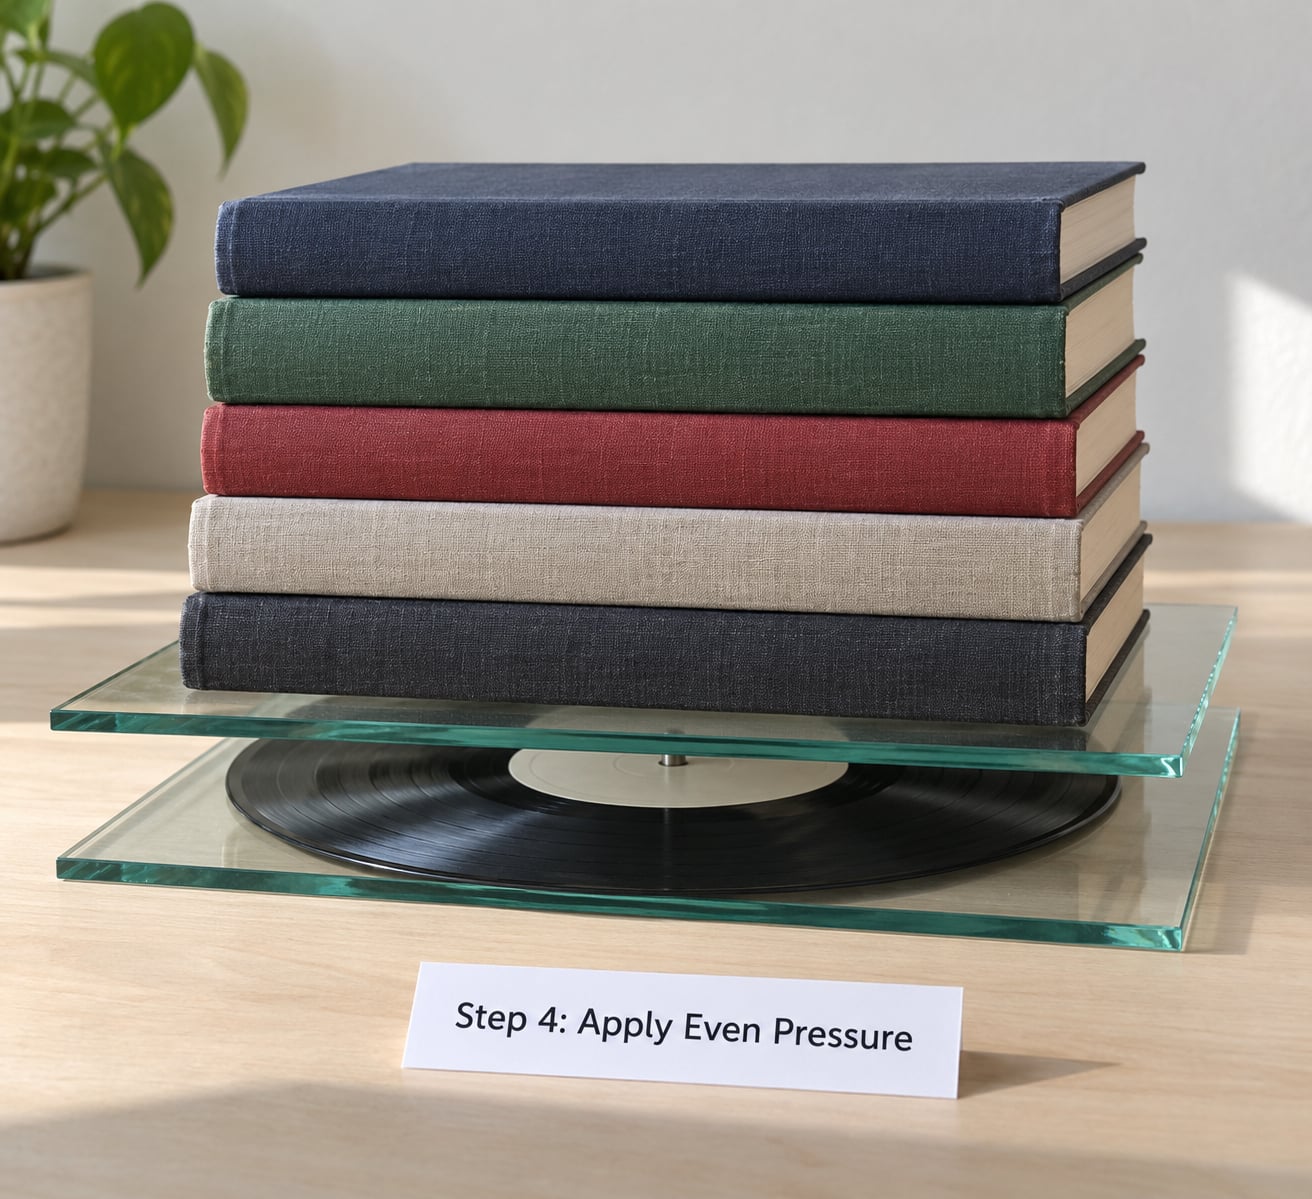
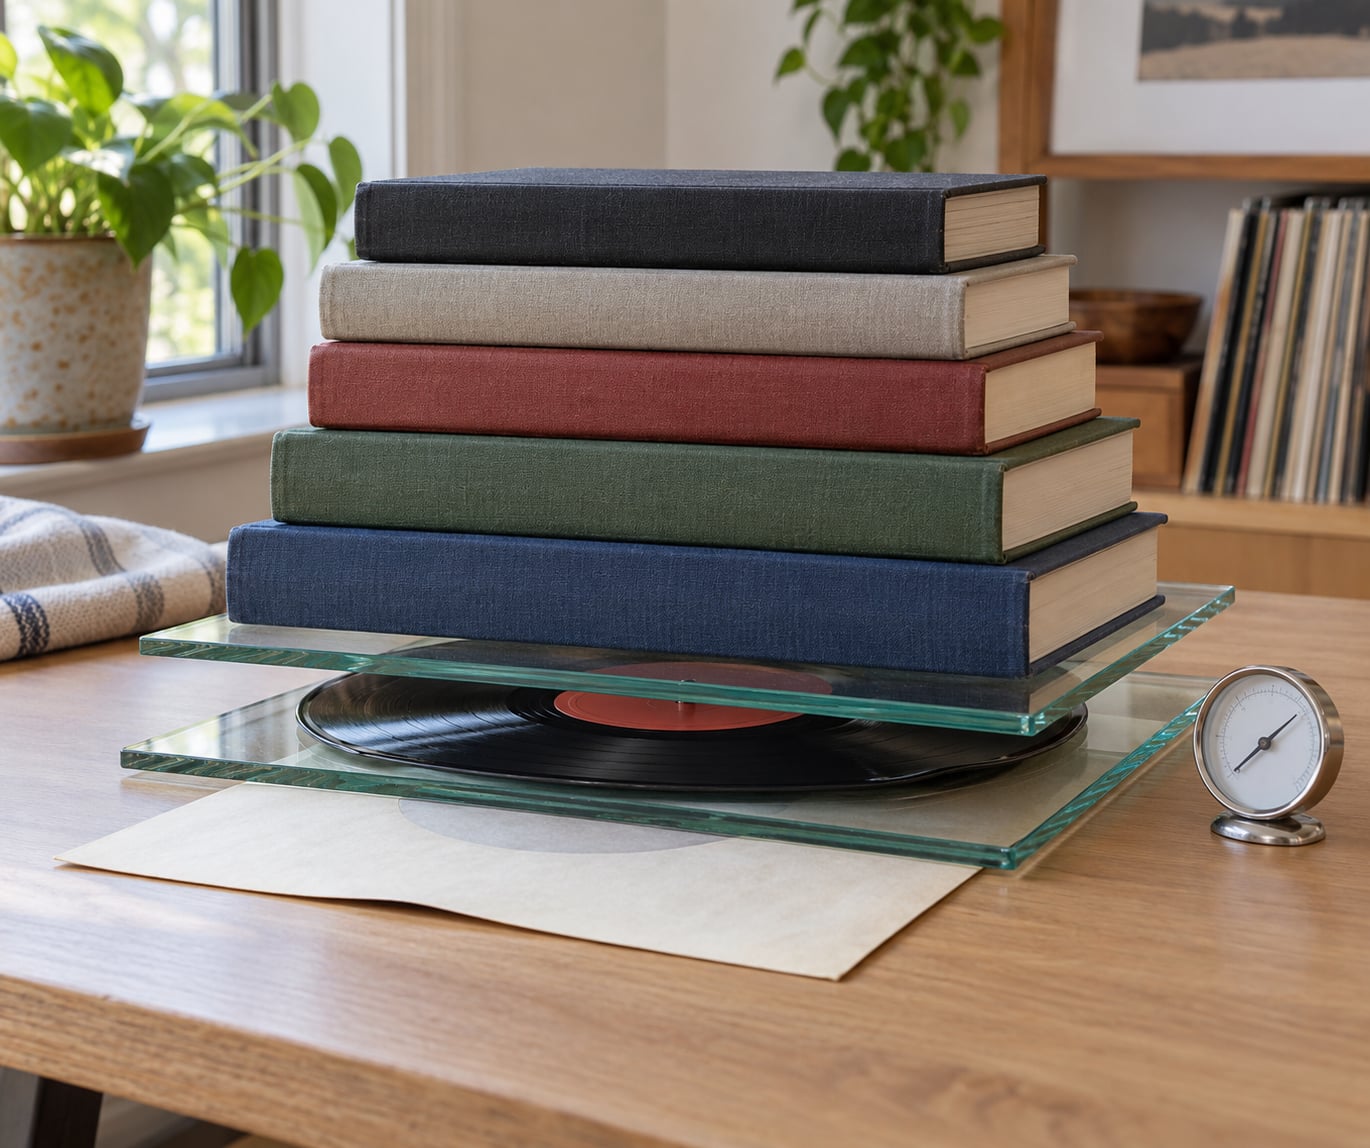
Build the sandwich from the bottom up: plate, cardboard, paper sleeve, record, paper sleeve, cardboard, plate. The plates must be flat and larger than the record on every side. An edge that overhangs the plate has nothing to press it down.
Start lighter than you think you need. Around 20 pounds for a shallow warp is plenty, and you can add books after a week if nothing has changed. Build toward the 50 to 60 pound range for a deep dish rather than starting there, because a sudden heavy load on a bowed disc prints a lasting curve of its own.
Spread the load rather than pointing it. A single stack of books placed dead centre leaves the rim unsupported and bends the outer edge the wrong way. Cardboard under the books fixes most of that, and a broad flat plate on top of the books finishes the job.
On materials: a 12-inch by 12-inch tempered window pane carries plenty of weight, but very thick glass can leave a faint imprint in the grooves, so check your record after the first attempt rather than the fifth. Forum reports on the alternatives are mixed, and the failures are worth knowing. Pre-heated pizza stones made a warped pressing noticeably worse for one poster, likely because the stone stores too much heat close to the vinyl. Polished marble tiles at around 200°F worked well for others, though they take roughly three hours to cool back to room temperature. If you use stone, a strip of self-adhesive cork liner between the stone and the sleeve reduces groove squishing.
Check the sandwich every week or so. If a book is printing a shape into the sleeve, or the record is riding up on one side, fix the distribution rather than adding more weight.
Step 5: Let the Record Cool and Rest
Time is the part people get wrong. Cold pressure needs at least a month for an edge warp, four to eight weeks for a real dish, and sometimes a full season for stubborn pressings. Nothing about that is a sign it is failing. Vinyl relaxes under sustained constraint, and the whole method depends on you not touching it.
If you used heat, let it cool completely under the plates. The commercial protocol is one hour of heat and a 45-minute cool with the record still inside, and with stone the cool-down stretches closer to three hours. Lifting the weight early, while the vinyl is still warm, lets it re-set into whatever shape the warp left behind. That single mistake undoes an entire afternoon.
Once it is flat, ease the books off slowly rather than shoving them sideways, and keep the record flat and stored. If the rim rises again within a few days, the warp was deeper than it looked. Repeat the cold-pressure cycle once, and if that fails, this is the point where mild heat is justified.
Never leave heavy weights on a record you plan to shelve. Sustained, uneven pressure on a disc stored for months will bend it again.
Step 6: Check the Result Before Playing It
Hold the record at eye level in front of a lamp or a bright window and look across the surface. Light reflecting in a straight, unbroken line means flat. Wavy reflections along the grooves mean there is still warp, and a single bright crescent near the label is a dish you have not removed.
Put it back on the table and rock it with a finger at a few points around the rim. It should sit quietly with no rock at all.
Then test it on a platter. Set it down at a spot near the outer edge, give it a gentle nudge and let it settle. A warped record will speed up, stall or stop before finding a stable speed, and that is true even on a cheap turntable. If you have a gauge dish for your deck, the floating bubble is an even better check: a warped record will not hold it centred.
Make the first playback on a record you care less about the stylus than the record. Scratching, chatter, a scraping noise at the run-out groove, or a skip in the first thirty seconds all point to remaining warp or to hidden damage underneath. If the surface noise is gone but there is still an occasional skip, repeat the pressure cycle.
Same logic applies across formats. A 12-inch single needs the same sandwich, only smaller plates will do. A 78 rpm shellac pressing is a different material entirely, more brittle and more prone to chipping, so keep it to cold pressure and never heat it.
Common Mistakes
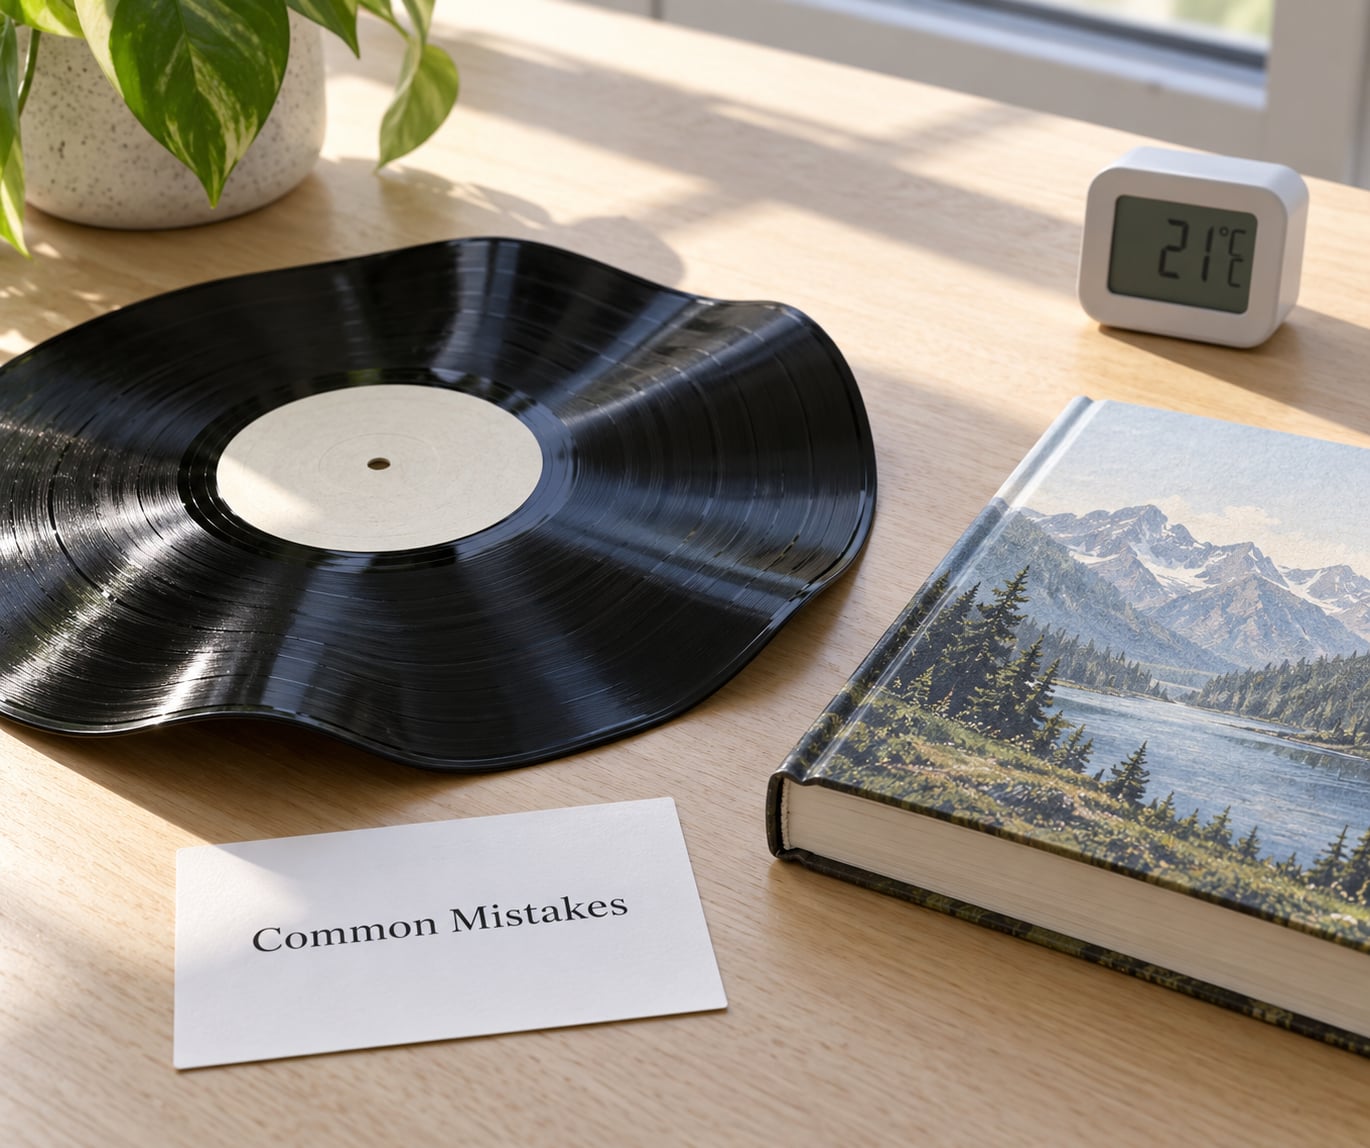
Almost every ruined attempt comes down to the same handful of errors, and all of them are avoidable.
- Too much heat, or the wrong measure of it. An oven dial is not a vinyl temperature. Put a thermometer on the plate, stay in the 130 to 150°F band for a first try, and never exceed 190°F.
- Boiling water or immersion. Thermal shock will crack the disc outright, and the water gets into the label and the run-out groove where it causes mould.
- One heavy object in the centre. A single dense weight bends the rim away from the plate. Distribute the load with cardboard and a top plate.
- Leaving the record leaning against a wall or in a stack at an angle. Long-term bending is what produces the persistent edge warp that never fully comes out.
- Reusing a bent sleeve. A crease across the sleeve re-warps the record under any amount of weight.
- Adding more books to a record that is not moving. If nothing has changed after a month, the answer is time or mild heat, not heavier weights.
- Flexing the disc by hand to test it. Hand-bending leaves a permanent memory in the vinyl. Test it on a table or a platter instead.
- Trying to flatten a cracked record. Cracks do not flatten. Replace it.
Two habits keep records flat once you are done. Store them upright, and keep them away from humidity, radiators and heavy stacks that press on the edges. A shelf full of records leaning at an angle will warp again no matter how well you treated it this time.
Why You Should Not Play a Badly Warped Record
A warped disc makes the stylus do work it was never designed for. On a flat record the stylus tip sits at the bottom of the groove and the force comes straight down the cantilever. Lift that groove wall off flat and the tip rides up the side, where it meets the groove at an angle the geometry never intended.
The result is skipping and chatter you hear as crackle, and underneath it a lot more lateral force through the cantilever than normal tracking load. Enough of that, repeatedly, bends the cantilever or chips the stylus tip. On a bad dish warp the tip can also jump the lead-in groove entirely, and where it lands after the jump is anyone’s guess.
Nothing protects your cartridge here. Treat a warped record the way you would treat a cracked one, and get it flat before it goes near a decent stylus.
How to Store Records So They Do Not Warp
Heat is the only cause worth worrying about. Storage orientation gets blamed for everything, so here is the part most sources get wrong.
Storing records flat does not warp them. Collectors have been correcting published guides on this for years: a horizontal stack in a cool room stays flat indefinitely, because the weight is distributed across the whole disc. What bends a record is storing it leaning against a wall or on its side, where one edge carries the load for months. Long-term pressure plus a warm room is the problem, not the pile itself.
Keep shelves vertical with the spines facing out, snug enough that each record leans on the next and the rim is supported rather than the middle of the jacket flexing. Two rules matter more than the rest. Keep records away from direct sunlight, radiators, floor heating, fireplaces and hot attics, and keep them out of parked cars, where interior temperatures above 50°C are common enough to ruin a crate of records in a single afternoon.
For sleeves, a plain paper inner sleeve protects against scuffs and lets the jacket dry if there is any damp in the room. Anti-static sleeves reduce the dust that settles into the groove, which matters more than any anti-static claim on the outside. Outer poly sleeves are fine for shipping and risky as long-term storage, since they can trap moisture and off-gassing.
If you plan to trade or sell a record you have flattened, say so. Warp is a known defect, and disclosing a repair keeps a trade honest and your name clean.
Frequently Asked Questions
Can you flatten a warped vinyl record with heat?
Yes, and controlled heat is the only fast method for a deep dish warp. Work at the low end, roughly 130 to 150°F (54 to 65°C), and never go above 190°F (88°C). Use a thermometer on the plate rather than trusting the oven dial, and let the record cool fully under pressure. Too much heat softens the grooves as well as the disc, and that damage is permanent.
What can I use to flatten a warped vinyl record?
Two flat rigid plates larger than the record, two sheets of cardboard, a clean paper inner sleeve, and 50 to 60 pounds of unprinted heavy books. Tempered window panes, polished marble tiles and flat hardwood all work as plates. Cardboard spreads the point load from the books so the rim is pressed evenly instead of bending away from the plate.
How long does it take to flatten a warped vinyl record?
Cold pressure takes at least two to four weeks for an edge warp and four to eight weeks for a real dish warp, sometimes longer for a stubborn pressing. A heated record takes one to two hours plus the cool-down, roughly 45 minutes in a flattener and up to three hours with stone. Do not add weight hoping to speed the cold method up. Time is the method.
Will flattening a warped record damage the grooves?
It can, and the risk comes from two things. Heat above about 190°F softens the groove walls and can leave a permanent imprint or squash the pitch, and too much pressure applied too fast prints a curve into the vinyl that does not relax. Use a paper sleeve between the disc and each plate, keep the temperature in the 130 to 150°F band, and never use thick glass you have not tested.
Can a record with a small warp still be playable?
Yes, and most collectors never treat a mild edge warp at all. It shows up as a slight surface noise in quiet passages and a little extra sensitivity to bumps. Leave it on a good turntable and the tonearm handles it easily. A deep dish warp that skips is a different matter, because it can damage the stylus and cartridge and should be flattened before it is played again.
When is a warped record better replaced than repaired?
Replace it if it has a crack running from the centre hole to the rim, a split or chipped edge, or a deep scratch you can catch a fingernail in. Pressure will not fix any of those. It is also worth replacing a common pressing that warped in transit, since replacements usually cost less than the effort, and worth repairing a rare one you want to keep, using gentle pressure first and heat only as a last step.
Conclusion
Start by naming the warp. Clean the record, dry it properly, replace any bent sleeve, and sandwich it between flat plates with 20 pounds of even pressure before you touch heat. Raise the weight gradually toward 50 to 60 pounds and give it weeks, not days.
If mild heat turns out to be necessary, hold the plate at 130 to 150°F with a thermometer, and let the record cool completely under weight. Stop the moment the vinyl smells, sticks to a plate or starts to deform, because that is the point where grooves stop recovering.
Then check the result properly instead of guessing: light across the surface, a finger at the rim, and a short test on a platter. If the record is cracked, badly chipped or an ordinary pressing that warped in the post, replacing it is the sensible move. For anything rare that you want back in shape, the pressure sandwich will usually do it.