A growl is a low, sustained vocal distortion made by letting the vocal folds vibrate loosely and unevenly while the vocal tract stays narrow, closer to a pitched-down vocal fry than to a shout. That is how growled vocals are produced safely: relaxed larynx, steady airflow, low volume, short sessions, and no squeezing.
Most beginner damage comes from the same place. People copy a 20-second clip, push the sound with the throat, practice for 40 minutes, and wake up hoarse. The technique is learnable, but the volume, the session length and the escalation point matter as much as the exercise itself.
This guide walks through the whole process, from a five-minute warm-up to tracking a growl with enough headroom for processing, plus the warning signs that mean you stop and call a voice specialist. A beginner working 10 minutes a day should expect the first usable growl in a few weeks, not a weekend.
Table of Contents
- What You Need
- Step-by-Step: How Growled Vocals Are Produced Safely
- Step 1: Warm Up Without Strain
- Step 2: Set Up Your Stance and Breath Support
- Step 3: Find a Comfortable Growl Coordinate
- Step 4: Practice Short, Low-Volume Reps
- Step 5: Shape the Sound for Different Growl Styles
- Step 6: Record With Headroom and Clean Levels
- Step 7: Cool Down and Monitor Recovery
- Common Mistakes
- Pressing the throat to get more sound
- Treating volume as the goal
- Practicing in long unbroken blocks
- Shouting through a fry vocal
- Skipping the warm-up
- Ignoring pain and training through it
- Over-compressing the false cord into a choked sound
- Copying short-form video technique
- Frequently Asked Questions
- How do I grow my voice without damaging my vocal cords?
- How long should I practice growling each day?
- Does growling damage your voice?
- Why does my growl sound airy and weak?
- What is the difference between a growl and a fry scream?
- When should I see a doctor about my singing voice?
- Conclusion
What You Need
You need very little to practice safely. A mirror, a timer and a clear picture of the five signs below in Common Mistakes will carry you through the first month. Everything else is optional, which is good, because the failure mode here is gear-led rather than technique-led.
- A starting pitch that suits your voice. Find the lowest note you can speak without squeezing. Most male metal singers start between roughly E2 and G2 on a guitar reference, but many beginners are already pushing below what their voice wants to do.
- Room tone and a quiet space. Carpet, blankets and a closed door do more than an expensive microphone for early practice.
- Room temperature water. Not iced, not hot. Lukewarm is easier to drink in volume, and volume is what you need.
- A timer for session length. Set a hard limit before you start. Beginners usually need 10 to 15 minutes of actual growling, not 10 minutes of warm-up plus 40 minutes of growling.
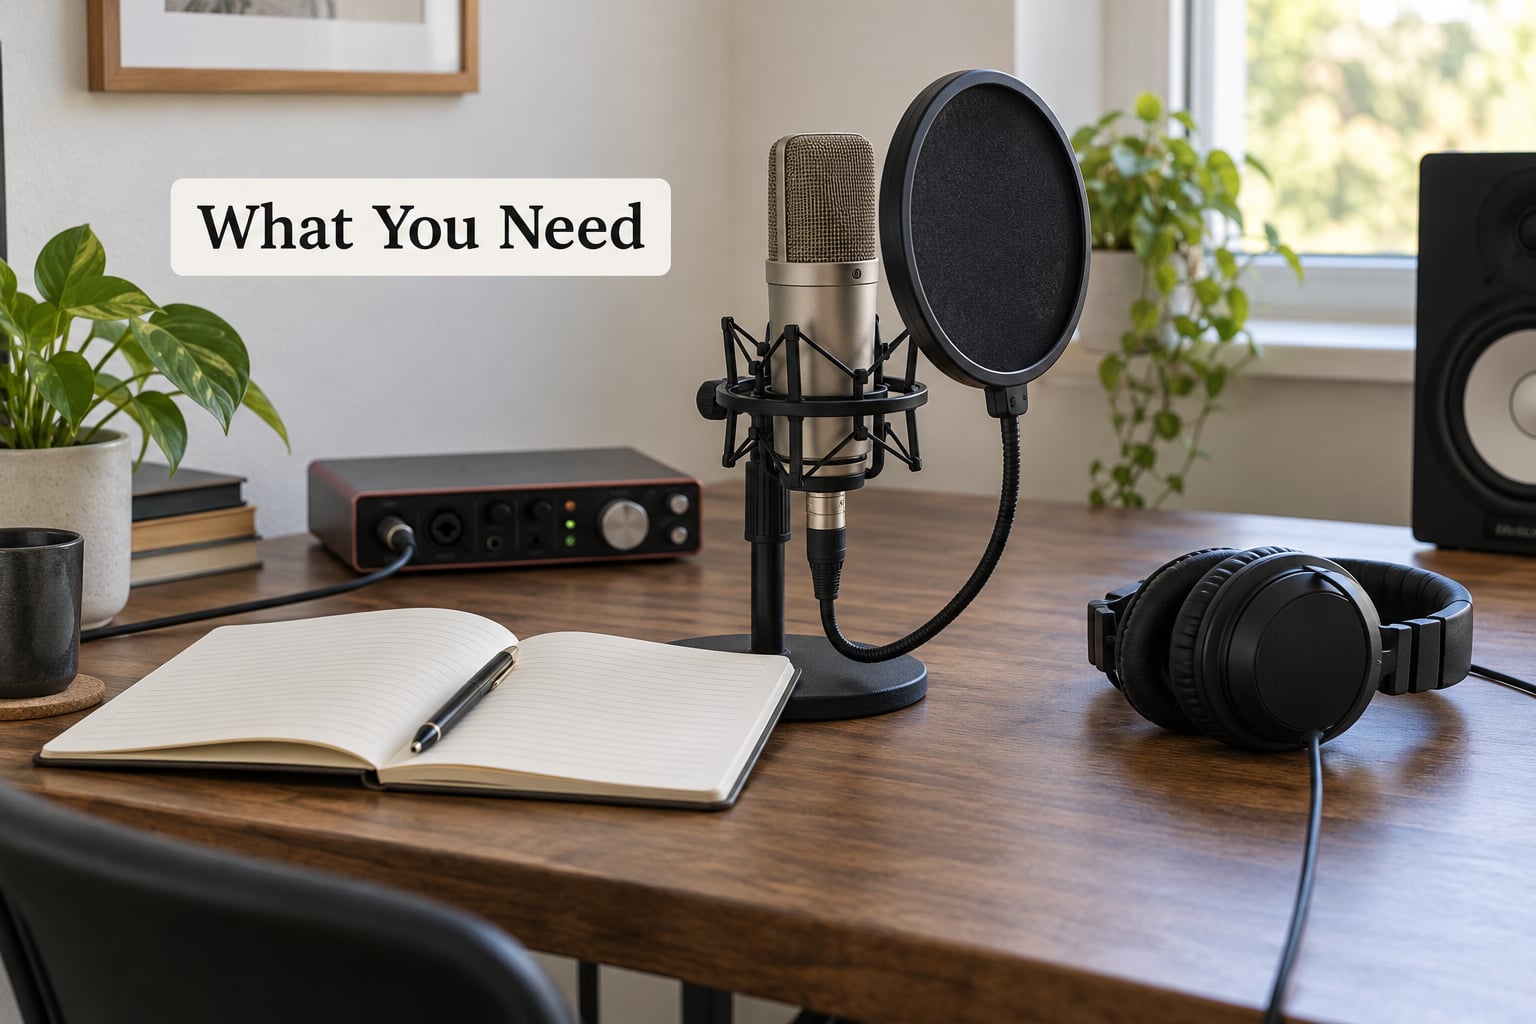
- A notebook. Write down the session length, the pitch and how the voice felt an hour later. This is how you spot a pattern before it becomes an injury.
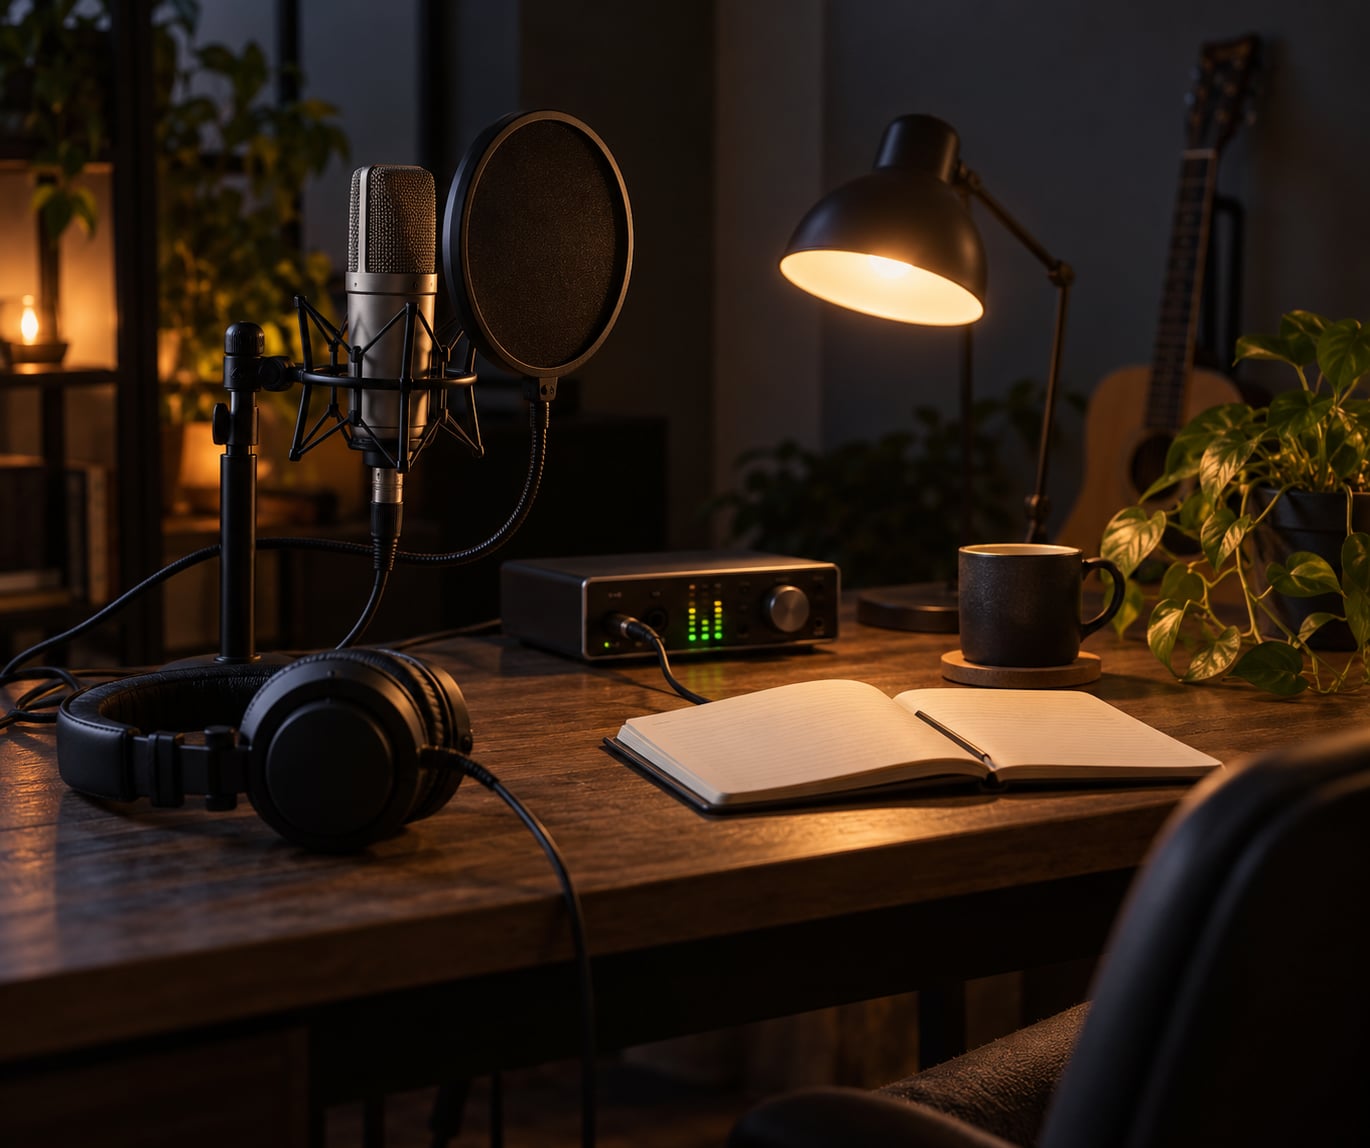
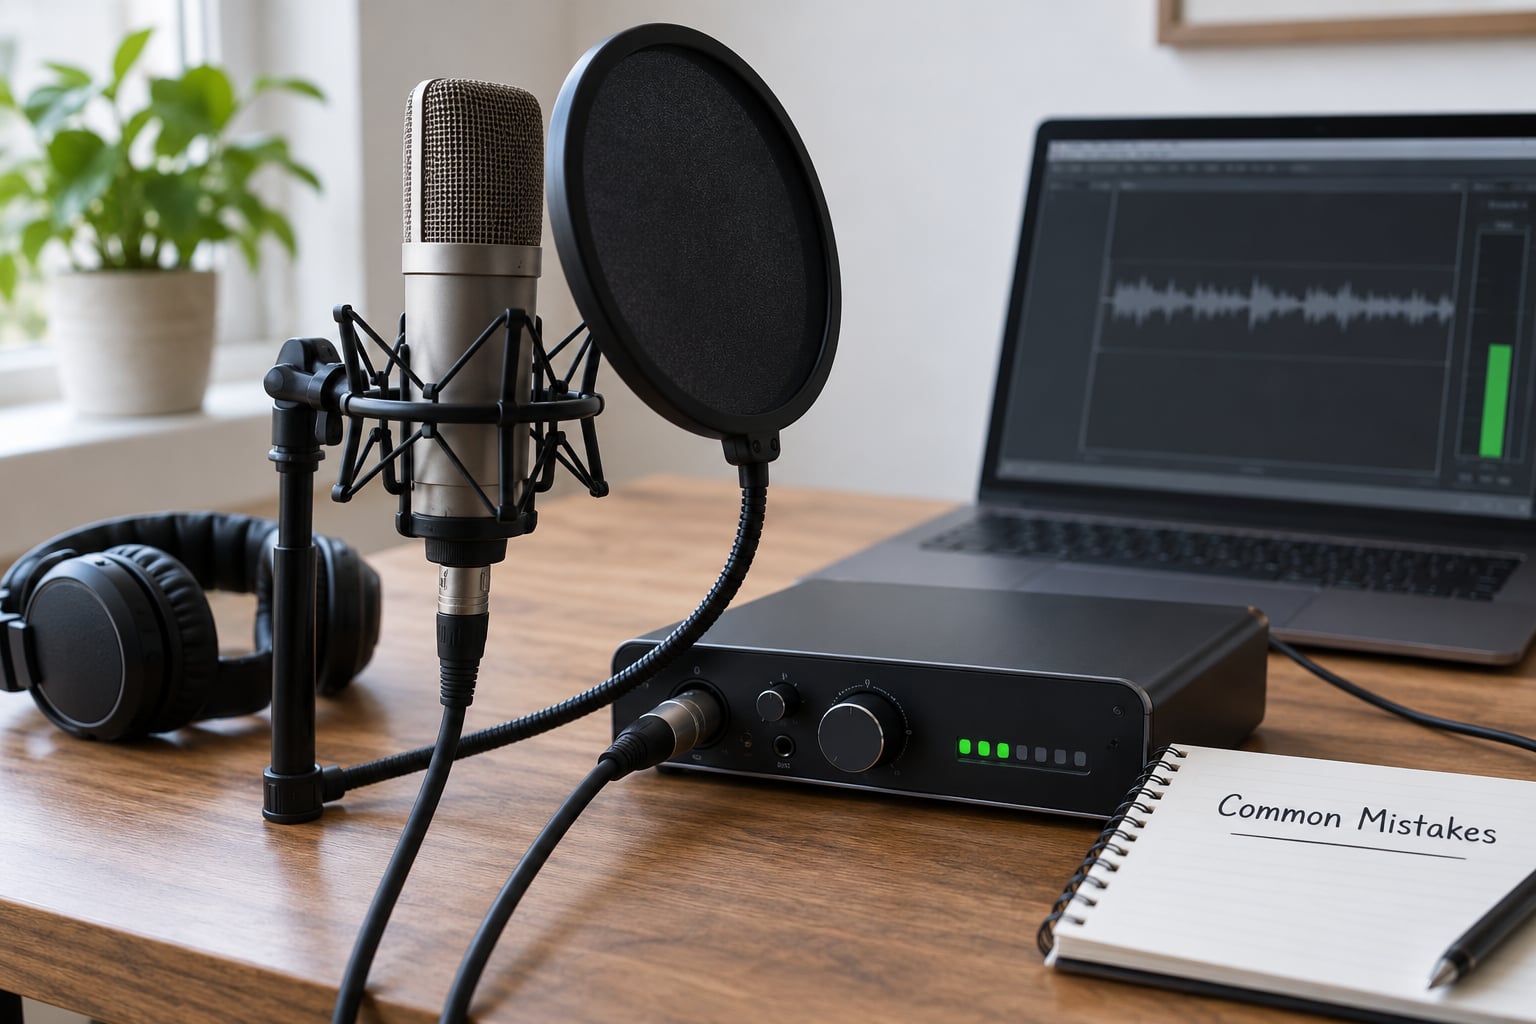
- For recording: a condenser microphone, a pop filter, closed-back headphones and an audio interface. Growls are low-frequency-heavy, so a large-diaphragm condenser captures them well, and the pop filter stops plosive bursts from ruining a take.
Skip throat sprays, numbing lozenges and anything sold as a vocal warmer. Numbing the sensation removes the signal you are supposed to be listening for. Warm-ups, water and rest do the job.
One health note before we start. This is general technique and safety information, not medical advice. Persistent hoarseness, pain, loss of high range or a voice that stays rough for more than a few days needs an ear, nose and throat specialist or a voice therapist, not another practice session.
Step-by-Step: How Growled Vocals Are Produced Safely
Follow the steps in order, once per session. The order matters because each one removes a source of pressure before the next one adds load. Most people who rush to step 3 and start making noise get a sore throat on day two.
Step 1: Warm Up Without Strain
Spend five to eight minutes on easy phonation before any growl. Humming on a comfortable note, sliding gently up and down a third, then lip trills on the same note, gets folds moving without closing them hard.
Add a tongue release: press the tip of your tongue to the roof of your mouth behind your teeth and release with a soft “lah”, a few times, letting air escape. The larynx tends to sit high when people are tense, and these small releases bring it down.
Nothing above should feel like work. If humming already tickles or catches, the session is wrong for that day. Skip it.
Step 2: Set Up Your Stance and Breath Support
Stand or sit tall with your ribs stacked over your hips and your shoulders dropped away from your ears. Growling needs posture, but it does not need a rigid brace. Most beginners over-compress the abdomen and then blow against a locked block, which pushes back into the throat.
Take a low, easy sigh, as if mildly annoyed, and let it leave without controlling the end. That sigh is the closest thing to a growl you can make, and it sets your larynx in the right place on its own. Now rebuild the breath under that sound: inhale through the nose into the lower ribs, and release on a steady stream rather than a burst.
If you hold your breath, tighten your neck or push the jaw forward, the breath is too much. Reduce it until the airflow feels generous but unfettered.
Step 3: Find a Comfortable Growl Coordinate
Start from vocal fry, which is the crackly, low, effortless sound at the bottom of your speaking voice. Make a “grrr” at the easiest pitch you have, and let the pitch drift down on its own as the air keeps moving.
Now coordinate four things at once: lips slightly parted and rounded, tongue low and forward, jaw hanging loose, and vocal folds buzzing without being squeezed shut. The mistake most people make is closing everything, turning the sound into a choke.
Three things tell you it is working. You feel vibration rather than pressure in the throat. The sound survives a hand on the Adam’s apple without the pitch collapsing. And you can turn it off the instant you decide to, which is a good marker of a well-coordinated sound.
Step 4: Practice Short, Low-Volume Reps
Here is where safety is actually won or lost. Pick a length of time, work at a volume that would not wake a sleeping person two rooms away, and rest properly between reps.
A workable beginner structure: 5 reps of 8 seconds, rest 30 seconds, repeat 3 times. Then a few sung lines at the same low volume. Two or three rounds is a full practice session at this stage.
Rested repetitions build the pattern. Continuous grinding builds fatigue, and fatigue is when the throat starts compensating with pressure. Never practice through pain, scratchiness that lasts past the session, or a growing sense of thickness in the voice.
Step 5: Shape the Sound for Different Growl Styles
Once the low coordinate is repeatable, widen the range rather than the intensity. Raise the soft palate and allow a touch more airflow, and the same mechanism moves up into a midrange growl that carries through a dense mix.
Four styles come out of that mechanism, and they are worth keeping distinct, because the confusion between them causes both bad technique and throat pain:
- Vocal fry. The creaky bottom of the range, low and loose. Lowest risk, because the effort is tiny. This is the base everything else is built on.
- Growl. Fry with slightly more airflow and a wider tract. Sustained and rhythmic, typical of death and black metal phrasing.
- Creak or pig squeal. A narrower, higher, tighter version of the same family. Very easy to strain because of the compression involved.
- False cord and fry scream. Higher, louder, supraglottic-based sounds, often called low screams. These demand real training and the most care, and the voice in that area does not give clear feedback while you are using it.
Genre styling is mostly volume, rhythm and weight. Death metal growls are low, dense and slow. Black metal tremolo vocals sit higher and raspier. Metalcore pairs a growl with clean singing, so the transition has to stay quiet. Doom relies on weight and sustained low notes. Keep the placement and the effort in your comfortable range, and change the processing instead.
Step 6: Record With Headroom and Clean Levels
Growls that roar live often arrive at the mic as a thin, airy hiss, and singers panic and add gain. Resist it. Growls tolerate heavy processing later, and a hot, distorted signal leaves you nothing to work with.
Start with the mic a hand’s width from your mouth, pop filter between you and it, and headphones on so you are not fighting bleed. Set your gain so the loudest clean line peaks around minus 12 to minus 6 dB on your interface meter. A slow and quiet take at that level beats a loud one every time.
Record the clean vocal first while your voice is fresh, then track the growls. If a take clips, take it again at lower gain rather than hoping distortion will hide it. Airy growls improve with a closer mic, more forward vowel shaping, and mild compression in the chain, not with more input level.
Step 7: Cool Down and Monitor Recovery
Finish the way you started. Hum on a comfortable note for a minute, do a few easy lip trills, and sing a few light descending lines. This is not optional; it is the part that makes the next session possible.
Drink water over the next hour and avoid shouting, throat clearing and talking over loud music for the rest of the day. Then answer one question honestly: does the voice feel normal, or is it rougher than this morning?
A little awareness of the folds immediately after training is normal. Hoarseness that lasts into the next day, pain, or a loss of your top notes is not. If it appears once, reduce volume and duration. If it appears repeatedly, that is a clinical question, not a practice one.
Common Mistakes
Nearly every strained growl traces back to one of these. Work down the list and fix the first one you recognise.
Pressing the throat to get more sound
The default beginner mistake. Pushing makes the sound louder by jamming the folds against compressed tissue, which is exactly the mechanism behind nodules and polyps. Fix it by lowering the volume target, not by relaxing harder. A growl heard from two rooms away is a live-monitoring problem, and a clip mic solves it.
Treating volume as the goal
Consistently the most damaging habit, especially for singers recording at home. The safe coordinate is quiet and light. Build loudness in the mix with compression and distortion, where it belongs.
Practicing in long unbroken blocks
Forty minutes of growling teaches your folds a strained pattern, not a strong one. Fix it with short reps and real rest. Total time matters less than fresh time.
Shouting through a fry vocal
That is a scream attempt wearing a growl’s clothes, and it is where most self-taught singers get hurt. If the sound needs volume to exist, it is in the wrong register. Reset to fry, then widen.
Skipping the warm-up
Five minutes of humming and lip trills is a small price for a session that goes well. Fold warm-up time into your limit rather than adding to it.
Ignoring pain and training through it
Soreness the next morning is a signal to reduce load, not grit. Push through occasional pain often enough and the tissue stops healing between sessions.
Over-compressing the false cord into a choked sound
Squeezing a supraglottic sound produces what singers call a fake fry, a thin, whistling tone that collapses under load. Let the sound stay airy and wide rather than clamping it shut.
Copying short-form video technique
A 20-second clip shows the result and hides the setup, the rest and the warm-up. Many singers build the habit on a thumbnail before they learn what produced it. Slow practice is the fix.
Frequently Asked Questions
How do I grow my voice without damaging my vocal cords?
Grow with the airflow, not the throat. Start from vocal fry at the easiest pitch you have, keep the jaw and lips loose, and let a steady stream of air carry the sound. Practice at low volume in short repetitions with real rest between them, and stop the moment you feel pressure rather than vibration. Beginners do best with 10 to 15 minutes on most days rather than one long session.
How long should I practice growling each day?
For a beginner, 10 to 15 minutes of actual growling per day, five or six days a week, is plenty. Warm-up and cool-down count toward that limit rather than adding to it. Increase duration before you increase volume, and keep at least one full rest day a week. A voice that is still rough the next morning means the last session was too long or too loud.
Does growling damage your voice?
The technique itself is not damaging, and plenty of professional metal singers do it for decades. Damage risk comes from pushing with the throat, over-compressing, shouting through the sound, and training through pain. Those habits, not the vocal style, are what produce hoarseness, nodules and loss of range. Practiced with low volume, rest and breath support, a growl is a normal use of the voice.
Why does my growl sound airy and weak?
Airiness usually means the tract is too open and the folds are not engaging enough, or the mic is too far away. Move the microphone a hand’s width from your mouth, bring the sound slightly forward on the vowels, and add a little more airflow through an already-stable fry. Do not add input gain or volume. Mild compression after recording helps more than any amount of pushing.
What is the difference between a growl and a fry scream?
A growl sits low, built on vocal folds vibrating loosely with a narrow tract, and it needs very little effort. A fry scream is higher and louder, built on the supraglottic structures, and it carries real risk because that area gives poor feedback while in use. Community discussion often calls both techniques a fry, which is where a lot of confusion comes from. Start with the growl before touching the scream.
When should I see a doctor about my singing voice?
See an ear, nose and throat specialist or a voice therapist if hoarseness lasts more than a few days, if you feel pain while or after singing, if the top of your range disappears, or if fatigue keeps getting worse despite rest. Persistent symptoms can point to nodules, polyps or muscle tension issues that respond well to early treatment but badly to more practice. Do not train through them.
Conclusion
The safest first move is small: five minutes of warm-up, a few short low-volume reps built from vocal fry, then a proper cool-down, ten to 15 minutes in total. Grow the duration before the volume, and treat any hoarseness that lasts into the next day as a reason to change the plan.
That is the whole answer to how growled vocals are produced safely. Breath over pressure, patience over volume, and a stop rule you actually follow. If discomfort persists despite rest, a qualified voice specialist or clinician is the right next step, not more practice.