Grading a used record before you buy it takes about five minutes, a bright light held at an angle, and a playback test. Confirm the pressing first, inspect and play the disc, then grade the vinyl and the sleeve separately on the Goldmine scale and write both numbers down before you pay. Sellers over-grade constantly, so the grade you assign yourself is the one that should decide the purchase.
That last point is the whole reason this guide exists. A listing that says Near Mint can be a Very Good Plus copy with a soft sleeve and a faint scratch that ticks at the start of every track. Nobody is lying; the grading vocabulary is just loose enough that a seller with three hundred records to shelve can call up a grade without ever playing the disc.
This guide was last updated in October 2026. It follows the Goldmine Record Grading 101 scale, borrows its condition wording from the Discogs selling and condition guidelines, and leans on Library of Congress care and handling guidance for the handling bits. Nothing here needs paid software. If you can hold a record up to a lamp, you can do this.
Table of Contents
- What You Need
- How to Grade Used Records Before Buying: Step-by-Step
- Confirm the pressing and catalog number
- Inspect the vinyl under proper light
- Assess playability and noise
- Grade the sleeve and other components
- Compare your grade with seller claims
- Check completeness and red flags
- Record your final grade before checkout
- Common Mistakes
- Frequently Asked Questions
- What condition should I look for when buying a used vinyl record?
- Is Near Mint used vinyl worth buying for beginners?
- How can I tell whether a seller’s photos exaggerate a record’s condition?
- Does a record need to be cleaned before it is graded?
- Should a rare pressing cost more even when the vinyl is worn?
- Can I safely test used records for skips and playback problems?
- Conclusion
What You Need
Most of the work is done with light and patience. The rest is a handful of cheap items that turn a guess into a grade.
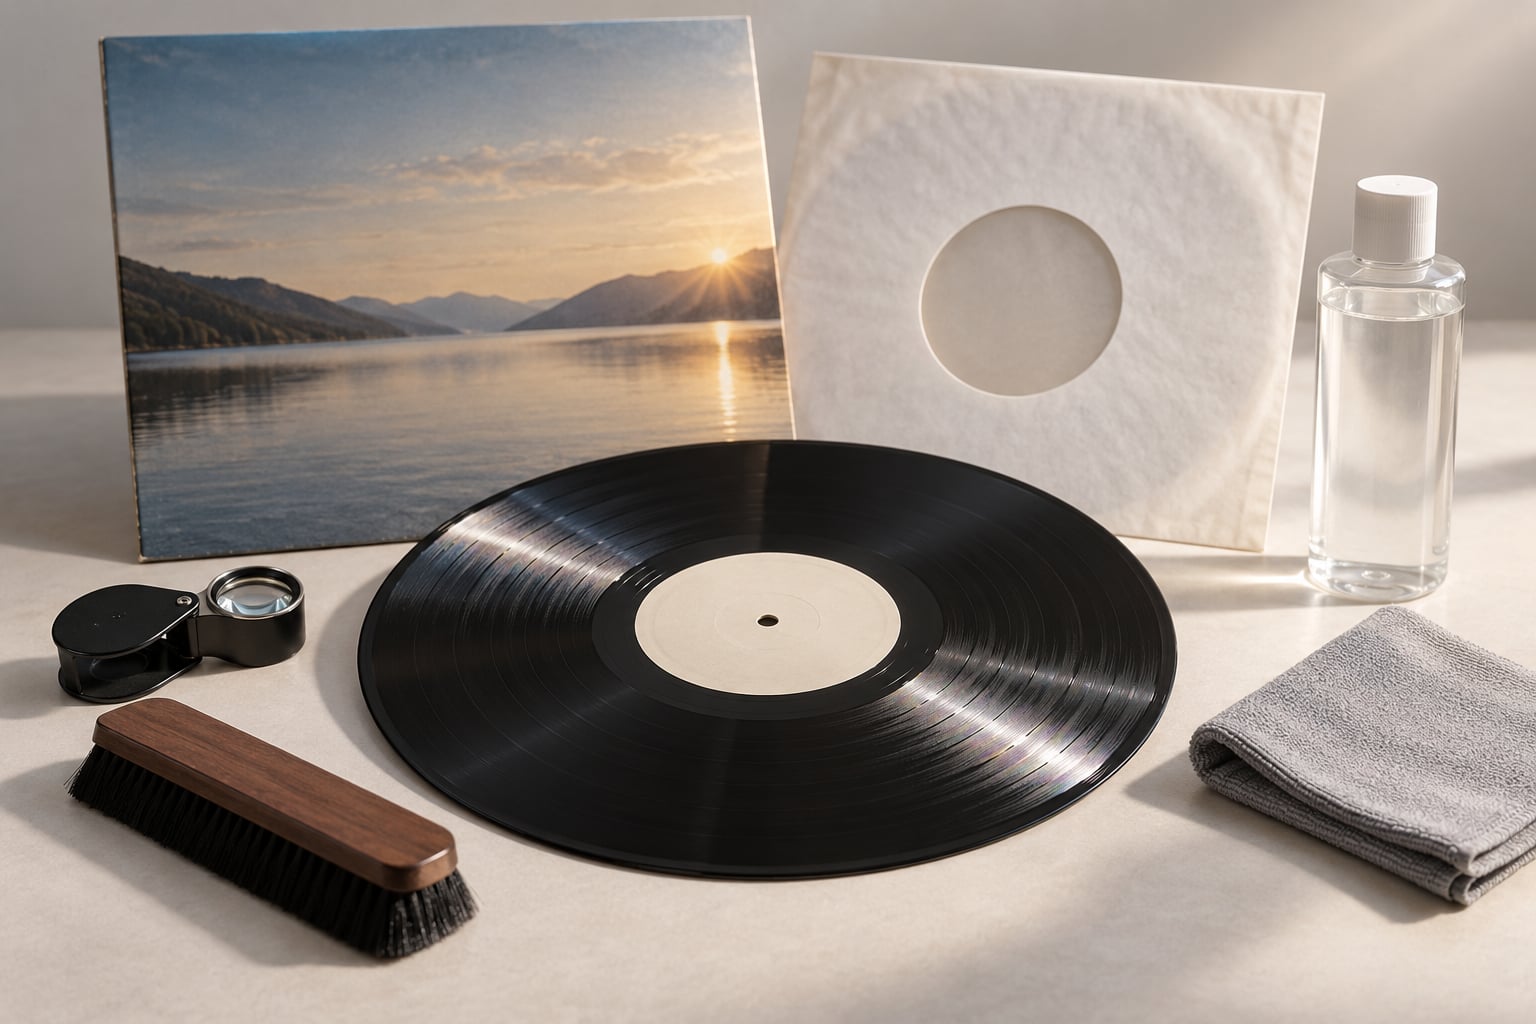
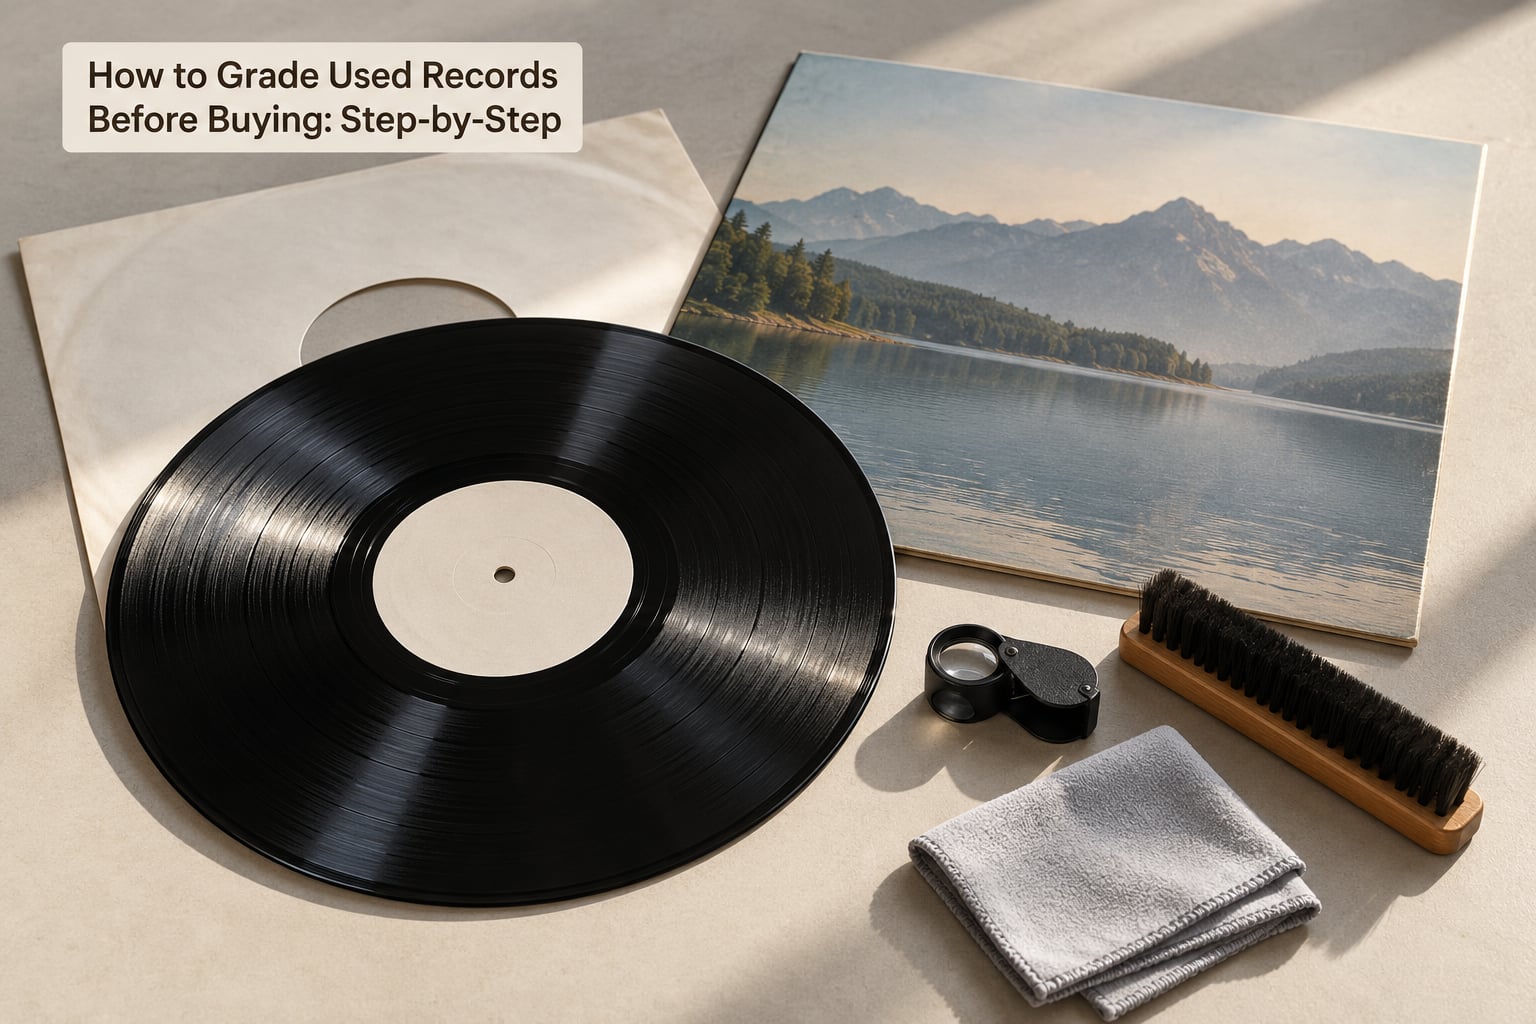
- Bright directional light. A desk lamp or a flashlight placed so it rakes across the disc at a low angle is what makes hairlines visible. Overhead room light flattens everything and hides the thing you are looking for.
- A flat, clean surface. A turntable mat, a clean table or a sheet of glass. You need to lay the jacket flat and look at the disc edge-on to check for warp.
- Cleaning materials. Record cleaning fluid or distilled water, a soft brush, and a lint-free cloth. Dust and fingerprints will convince you a record is noisier than it is, and you cannot grade a record you have not cleaned.
- Magnification. A jeweller’s loupe or the zoom on your phone camera. Useful for the label area, the runout groove, seam ends and small spine cracks.
- The Goldmine standard in front of you. A printout or a note on your phone with the grade ladder. Guessing from memory is how buyers end up paying Near Mint money for a Very Good copy.
- The listing details. Catalog number, claimed pressing, seller photos, and the full description. Read it before the record, not after.
At home you also need a turntable with a clean stylus and the tracking force set for the record’s weight. If a copy is going to skip, you want to know whether that is the record or your setup. Handle every disc by its edges and label only, never across the grooves, and work with the room lights low so the directional light stays dominant.
How to Grade Used Records Before Buying: Step-by-Step
Start at the top of the Goldmine scale and work down. The percentages are the rough share of Near Mint value that collectors have traditionally attached to each grade; they are a guide for judging a deal, not a promise about what a specific copy sells for.
| Grade | What you see | What you hear | Rough share of NM value |
|---|---|---|---|
| M (Mint) | Perfect, unplayed, no spindle marks on the label | Silence between tracks | 100% |
| NM (Near Mint) | Nearly perfect, a few spindle marks, maybe one hairline | Nothing above the surface noise floor | About 100% |
| VG+ (Very Good Plus) | Clean gloss, a few light marks, faint wear from handling | Occasional soft tick, light crackle in quiet passages | About 50% |
| VG (Very Good) | Noticeable wear, scuffs, small scratches, gloss still mostly intact | Audible crackle between tracks, occasional pops | About 20% |
| G+ (Good Plus) | Heavy scuffing, wear to the playing surface, label wear | Constant crackle, some distortion | About 15% |
| G (Good) | Significant wear, deeper marks, dulled gloss, possible writing on the label | Rough playback, frequent ticks and clicks | About 10-15% |
| VG- to F/P | Cracked, badly warped, scratched through, split all the way | Unlistenable or unplayable | 0-5% |
Two rules sit under that ladder. Grade the disc and the sleeve separately and never average them in your head, because a Near Mint disc in a Good jacket is a different record from a Good disc in a Near Mint jacket. And when a copy sits between two grades, take the lower one and write down why.
Confirm the pressing and catalog number
You cannot grade the right copy until you know which copy you are holding. Start with the catalog number on the spine or the back of the jacket, then match it against the label, the back-of-sleeve credits and the runout etching.
What you are establishing is the country of pressing, the year and plant, the format, and whether there were multiple mastering or cut variations. A mono pressing, a stereo repress and an audiophile reissue can share a catalog number family and differ enormously in playback, so the sound you hear in the shop may not belong to the version you assumed you were buying.
To inspect the runout area, look at the grooves between the label and the first track under angled light, with magnification. Etched codes there identify the mastering engineer and lacquer cut; stamped codes identify the pressing plant. Do not treat an A1A1 stamp as proof of a first pressing on its own, because some plants reused and re-stamped numbers. Cross-check what you see against the Discogs database entry for that catalog number, and check whether the packaging matches what that entry lists inside.
Why bother before grading? Because grade and pressing multiply. A worn first pressing and a clean later reissue are priced from two different directions, and knowing which one is in your hands stops you paying a collector premium for the wrong edition.
Inspect the vinyl under proper light
Clean the disc first, with fluid and a lint-free cloth, following the grain. Half the marks that look like scratches under a lamp are dust smears or fingerprint oils, and grading a record you have not cleaned is grading someone else’s dirt.
Then hold the disc up to the bright light at an angle and rotate it slowly with both hands on the edges. Light raking across the grooves turns every defect into a shadow, and shadows tell you what the defect is.
- Scuffs. Broad, arc-shaped smears that follow the groove direction and feel like nothing under a fingernail. Cosmetic. They disappear with cleaning.
- Hairlines. Very fine lines, barely visible, usually felt only if you catch them deliberately. One or two on an otherwise clean disc still allows Near Mint.
- Scratches. Clear straight lines. Run a fingernail lightly across one: if it catches, it is felt and it will be audible.
- Gouges. Deep lines with a raised or torn edge, visible as a bright band in the light. These are permanent and audible throughout a side.
- Cracks. Lines running from the centre hole or the outer edge inward. If a crack reaches a crack, walk away.
Check the label for spindle marks and writing, and check the runout area, which is never graded on the playing surface. Then look at warp: lay the disc flat, crouch to eye level with it, and check whether the surface sits flat all the way around. Any visible dish is warp. Separately, spin it on the turntable and watch the reflection; if the disc whips around in a lazy wobble, the pressing is off-centre and you will hear it as a periodic warble on every revolution.
Look at the edge too. Chips on the outer rim are usually cosmetic; collectors in one Facebook vinyl group described copies with a couple of nicks that played perfectly and graded the media on how it sounded, not on the nick. A chip near the label or in the runout groove is a different matter, because that is where the stylus spends its first and last seconds of each side.
One era cheat sheet is worth memorising. Pressings from the 1950s through roughly 1971 usually play better than they look, thick and quiet even when scuffed. Post-1989 pressings, thin and heavily trafficked, frequently play worse than they look. Grade the disc you are actually holding.
Assess playability and noise
Visual grading alone gives false confidence. A copy can look perfect and still be off-centre, cracked or warped enough to skip repeatedly, which is exactly the disappointment buyers describe in the Discogs and audiogon forum threads about why play grading matters.
Put the record on, set the tracking force correctly for the record’s weight, and listen past the first thirty seconds. The trouble spots are quiet intros, fades, soft acoustic passages and the gap between tracks. Pop, click and repeated skips mark a scratch; constant low-level crackle is usually groove wear or debris; a wavering tone that comes and goes once per revolution is off-centre; distortion that builds with volume is a worn or dirty stylus on your end, not necessarily the record.
When you hear a click, clean that exact spot and replay it. Dirt clears, scratches do not. That single test tells you more than any photo, and collectors use it constantly.
Sixty seconds is enough to catch skips and heavy noise, and not enough to certify a Near Mint copy. Ask the shop to play the first track properly rather than dropping the needle somewhere in the middle and lowering the volume. When you buy online, ask the seller directly whether the copy is play graded or visual graded; an honest answer is worth more than the grade itself.
Grade the sleeve and other components
The jacket is graded on its own ladder, and its defects have their own names. Name the defect before you pick a grade, or you will drift upward.
| Defect | What it looks like | How to record it |
|---|---|---|
| Ring wear | A circular wear mark around the centre hole, plus general wear across the face | Judge the whole surface, not just the circle; a bright ring alone is often only a discount |
| Seam split | An opening at the top, bottom or spine seam where the jacket board has parted | Give the edge and the length; a split under roughly an inch still allows Very Good Plus |
| Spine wear | Rubbed, faded or cracked lettering, dents at the ends of the spine | Note whether letters are still readable |
| Crease | A sharp fold line across the front or back | Location and whether the print is broken or just folded |
| Cutout or clipped corner | A punched hole or a trimmed corner | A cutout can never be Near Mint, whatever the disc is doing |
| Sticker residue | Torn labels, adhesive marks, price stickers | Adhesive left behind often means a residue stain as well |
| Writing or stamps | Pencil or pen marks, ownership stamps on the jacket or label | Stamps reduce the grade directly |
| Water damage | Staining, tide lines, waviness or swollen board | Water damage is a walk-away |
Then work through the rest of the package. Check the inner sleeve: a plain white company sleeve is a Generic sleeve and is graded as such, and a replacement jacket is not the original. Confirm the printed inner sleeve matches the edition. Count inserts, lyric sheets, posters and box set components against what that edition should contain before deciding something is missing. Check the labels for writing, tears or sticker residue, and note the spindle marks there too.
Compare your grade with seller claims
You will rarely see the copy before buying, so the listing has to do the work. Useful signals: high-resolution photos of the actual copy including the spine, the runout area and the defects; a statement of whether the grade is play graded or visual graded; specific defect descriptions with location and measurement; a long, consistent feedback history; and a return policy on shipped orders.
Treat grade inflation as the default. Collectors on the Discogs forum have described it as its own pandemic: sellers with excellent approval ratings listing VG+ copies that are plainly VG. A practical response is to grade the listing’s evidence yourself, not the claim. One grade below an unsupported Near Mint is usually the honest read.
Red flags in the description: “perfect”, “mint”, “plays great” with no photos of the actual copy; “edge wear” where you can see a split; a claimed promo pressing with no cutout or stamp evidence; a Generic sleeve presented as the original jacket; no matrix or runout photo on a listing where pressing matters. If the photos look like stock images or the defects are described only in the flattering half of the scale, ask for pictures of the runout, the labels and both seams before you commit.
Check completeness and red flags
Slow down here. These are the findings that end a purchase rather than adjust a grade.
- A cracked disc, or warp you can see edge-on that stops the record rotating cleanly.
- Water staining, waviness or a swollen jacket board.
- Splits on all three seams, or a seam split long enough to expose the printed inner.
- Photocopied artwork, a replaced jacket, or a Generic inner sleeve listed as original.
- A catalog number on the sleeve that does not match the label, or a matrix that contradicts the claimed pressing.
- Packaging that looks resealed: disturbed cellophane, mismatched seam tape, a shrink band shrink-wrapped over an older copy.
- A seller who declines to photograph defects or play-grade the record.
Sealed deserves its own scepticism. Forum consensus treats sealed as unverified, because a resealed copy looks exactly like a sealed one from the outside and sometimes contains the wrong record. Buying sealed is a bet on the seller, not on the condition.
Record your final grade before checkout
Write it down before you pay, in three parts: media grade, sleeve grade, and completeness. Note each defect with a location and a measurement, because “3 cm bottom seam split” tells you far more later than “edge wear” does.
Confirm the total cost including shipping and taxes so there is no surprise at the end. Photograph the copy and the packaging if you are taking it home, or keep the listing photos and messages if you are buying remotely, so you have evidence if what arrives does not match what was described. If you are buying a high-value copy from a dealer who offers third-party authentication or a condition guarantee, this is the moment to use it.
Once it is home, protect the grade you just paid for: store the record upright in its inner sleeve, keep it away from heat and direct sun, replace the inner sleeve with a proper anti-static one if the original is thin or torn, and handle by the edges. Cleaning equipment designed for vinyl removes dust far better than a dry cloth.
Common Mistakes
- Grading from a single photo. One listing shot hides warp, edge chips and the label entirely. Fix: ask for the runout, the label, both seams and an angled shot of the disc surface.
- Ignoring the sleeve. The jacket carries a large share of what a copy is worth, and a replacement jacket never recovers the original’s grade. Fix: grade the sleeve on its own ladder before deciding anything about the deal.
- Letting rarity override condition. A rare pressing with a scratched-through side is a collector item, not a good record. Fix: check what the edition is worth in the grade in front of you, not in the grade you wish it were.
- Testing with a dirty stylus or wrong tracking force. You will blame the record for noise it does not have. Fix: clean the stylus, set the force for the record’s weight, and judge the noise after the first thirty seconds.
- Reading a matrix or runout code as proof. An A1A1 stamp can be reused, and mastering variations mean identical-looking copies differ. Fix: verify the code against the Discogs entry for that catalog number.
- Averaging the two grades in your head. Media and sleeve move independently. Fix: keep both numbers and price the record as the pair it actually is.
- Buying sealed without looking. Resealed copies are common and the contents are a gamble. Fix: ask for photos of the disc or accept that you are buying the seller’s reputation.
- Grading before cleaning. Dust looks like wear and reads like noise. Fix: clean the disc, then look at it again under the angled light.
One habit covers most of the above: grade conservatively and write your reasoning. If two independent checks disagree, take the lower grade. A copy that turns out better than you expected is a pleasant surprise; one that is worse is money gone.
Frequently Asked Questions
What condition should I look for when buying a used vinyl record?
Most collectors aim for Near Mint media with a sleeve at Very Good Plus or better. VG+ media is a reasonable buy for a record you will actually play, since a good clean lifts a lot of light surface noise. Below Very Good, check the listening test carefully, because groove wear and skips get harder to fix. Judge the disc and sleeve separately rather than averaging them.
Is Near Mint used vinyl worth buying for beginners?
Usually not, not as your first exposure to records. Near Mint copies cost the most and teach you the least, because a clean copy sounds like a clean record should. Buy VG and VG+ copies at first, learn what groove wear sounds like on your own system, and upgrade the albums you end up loving. Spend the money on a record you will play daily, not on a display copy.
How can I tell whether a seller’s photos exaggerate a record’s condition?
Look for photos of the actual copy rather than generic shots, and check whether defects are named with a location and a measurement. Soft lighting hides hairlines and edge chips, so ask for an angled shot of the disc under direct light. If the description says perfect or mint with no defect detail, or the defects are described only in the flattering half of the scale, grade one step below the claim.
Does a record need to be cleaned before it is graded?
Yes. Dust, fingerprints and a layer of handling grime make a clean disc look scratched and sound noisy, and you will discount a record for damage that a cloth removes in a minute. Clean with proper vinyl fluid and a lint-free cloth, following the grain, then inspect and play the disc. Cleaning fixes dirt; it does not remove a scratch, so re-inspect afterwards.
Should a rare pressing cost more even when the vinyl is worn?
A rare pressing carries a premium, but grade and pressing multiply rather than replace each other. A worn first pressing of an album you want is worth paying for; the same worn copy of an album you do not care about is not, however scarce it is. Check how the specific copy plays, whether it is complete, and whether the edition is something you will still want in ten years.
Can I safely test used records for skips and playback problems?
Yes, with a clean stylus and the tracking force set for the record’s weight. Play the first track properly rather than a fragment at low volume, and listen through quiet intros, fades and the gaps between tracks. If you hear a click, clean that spot and replay it: dirt clears and scratches do not. Skip past damaged passages rather than forcing the stylus through them.
Conclusion
Start with the edition, not the condition. Confirm the catalog number and pressing so you know which copy you are grading, then clean the disc, hold it to bright light at an angle, spin it for warp and centering, and play more than the first thirty seconds. Grade the media, grade the sleeve and note completeness as three separate numbers, and only then compare that copy against the price you are being asked to pay.