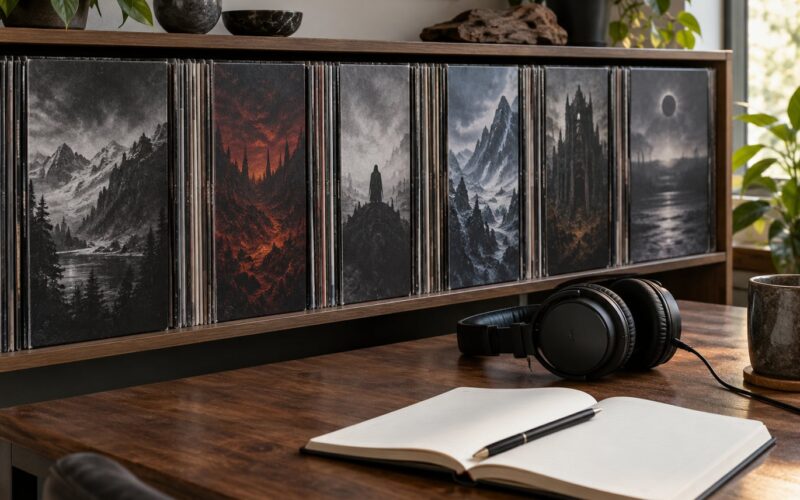
Framing an album cover means putting the square jacket sleeve behind glazing in a frame with a mat and a rigid backing, then hanging it flat on the wall. It takes about half an hour per sleeve, the skill level is low, and the record itself stays playable in your crate the whole time.
That last part is the rule collectors argue about most, and it is the one to settle before you buy anything: never frame your only playable copy. Take the jacket off a duplicate, or slip the disc out of the sleeve and store it separately, so the display piece never has to double as the listening copy.
The rest of this guide walks through the process in the order that works, then covers the sizing math for formats that never fit a standard frame. If you already know the basics and just want the numbers, jump to which frame and size for each format.
Table of Contents
- What You Need
- Step-by-Step: How to Frame Album Covers for Display
- 1. Measure the Album Cover and Choose the Right Frame
- 2. Select Glazing That Protects the Artwork
- 3. Prepare a Flat, Rigid Backing
- 4. Mount the Cover Without Damaging It
- 5. Clean and Align the Glass or Acrylic
- 6. Assemble, Hang, and Inspect the Frame
- Which Frame and Size for Each Format
- Common Mistakes
- Frequently Asked Questions
- What is the best way to frame vinyl album covers?
- Should I frame the record itself or just the album art?
- Do framed album covers fade less than unframed ones?
- What frame size fits a gatefold, double LP, or box set?
- How do I keep track of albums after they are framed?
What You Need
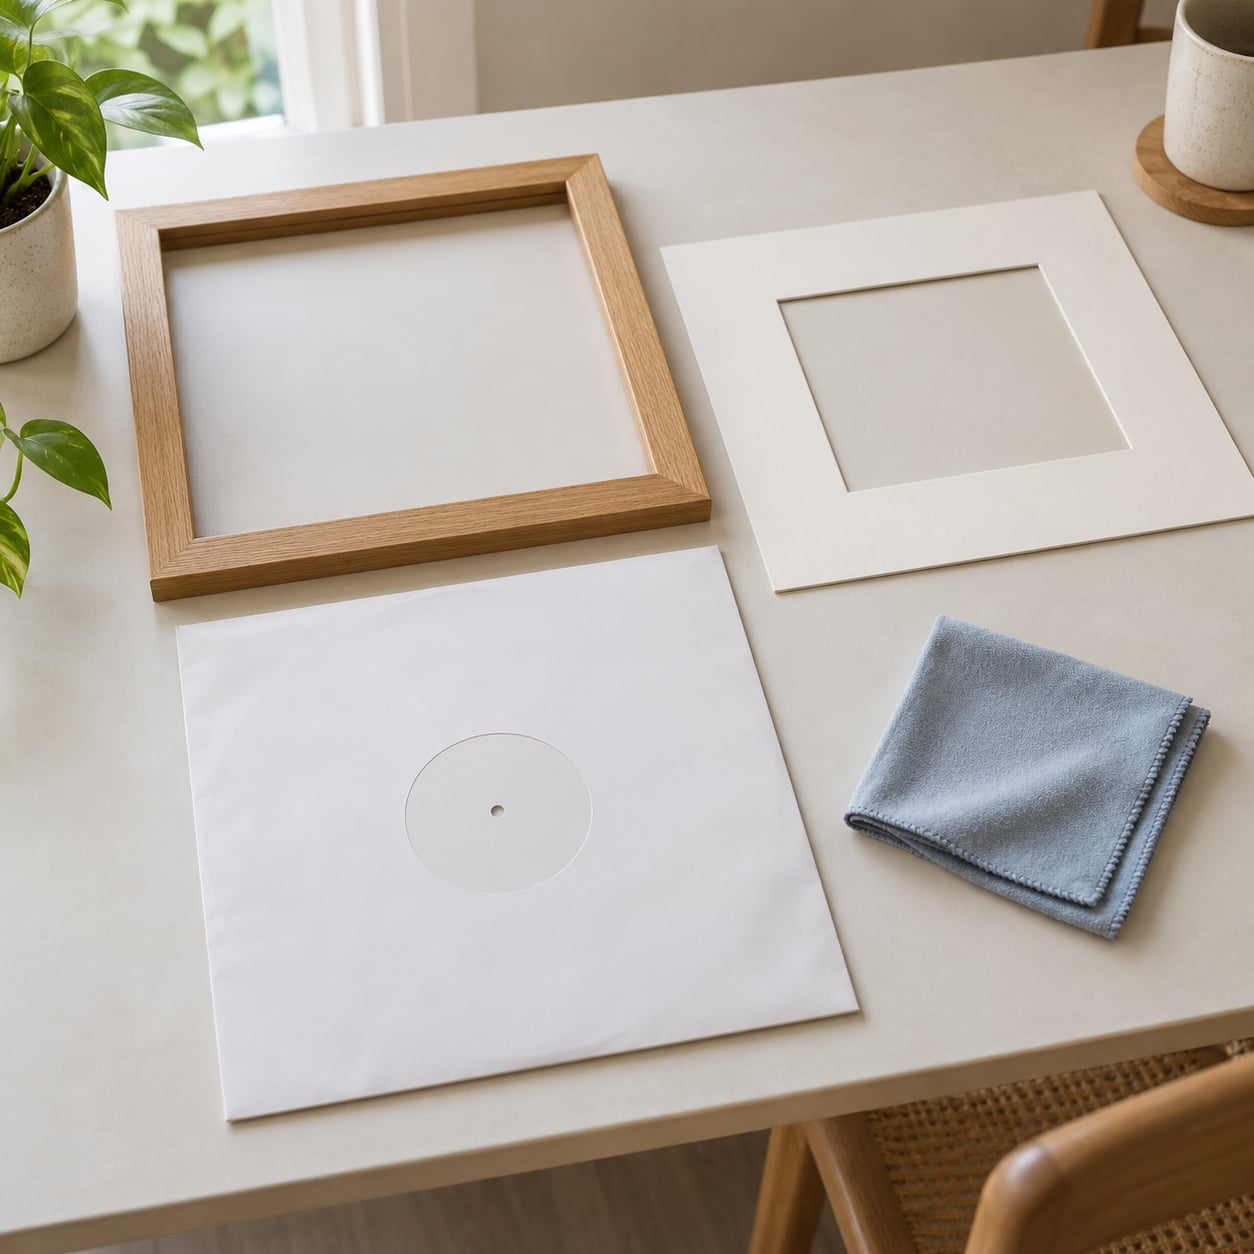
Gather these before the sleeve comes out of the crate. Having the backing board and mat ready first turns a fiddly job into a five-minute assembly.
- The album jacket, inspected for dents and creased corners
- A frame with an opening larger than the jacket, plus a mat or spacers
- Glazing: standard glass, framer’s grade acrylic, or UV-filtering acrylic
- Acid-free mat board and a rigid backing board such as foam board
- Acid-free corner mounts or archival hinges with wheat starch tape
- A tape measure, a pencil, and a small level
- Hardware rated for the finished weight of the frame
- Clean nitrile gloves or freshly washed hands, plus a microfiber cloth
Optional but useful: a dust cover for the back, a scanner or a phone photo of the artwork before it goes behind glass, and a spare set of corner mounts so the same frame can be reused when your rotation changes.
Match the materials to the copy. A common pressing in a clean sleeve needs acid-free board and UV glazing to do the job well. A signed tour copy that matters to you deserves conservation-grade corners and a photograph of every side before anything touches it.
Step-by-Step: How to Frame Album Covers for Display
1. Measure the Album Cover and Choose the Right Frame
An LP jacket measures 12.375 by 12.375 inches. Measure yours rather than trusting the format name, because gatefolds and double LPs are wider than a single sleeve and many box sets are deeper.
Check the four corners and all four edges under good light. Record every dent, crease, or split seam now, because once the sleeve is behind glass you cannot check the back without taking the frame apart.
Pick a frame opening that leaves an even margin on all sides. For a standard 12.375 inch jacket in a 16 by 16 frame, the visible window after a 1.8 inch border on each side lands at 12.4 inches, which is close enough for a tight fit; for an 18 by 24 frame you need a 2.8 inch border to reach the same window.
Standard frames and sleeves do not share a size convention, so the frame and mat usually get custom cut together. That one step is worth doing properly, because an off-center cover is the most visible framing mistake there is.
2. Select Glazing That Protects the Artwork
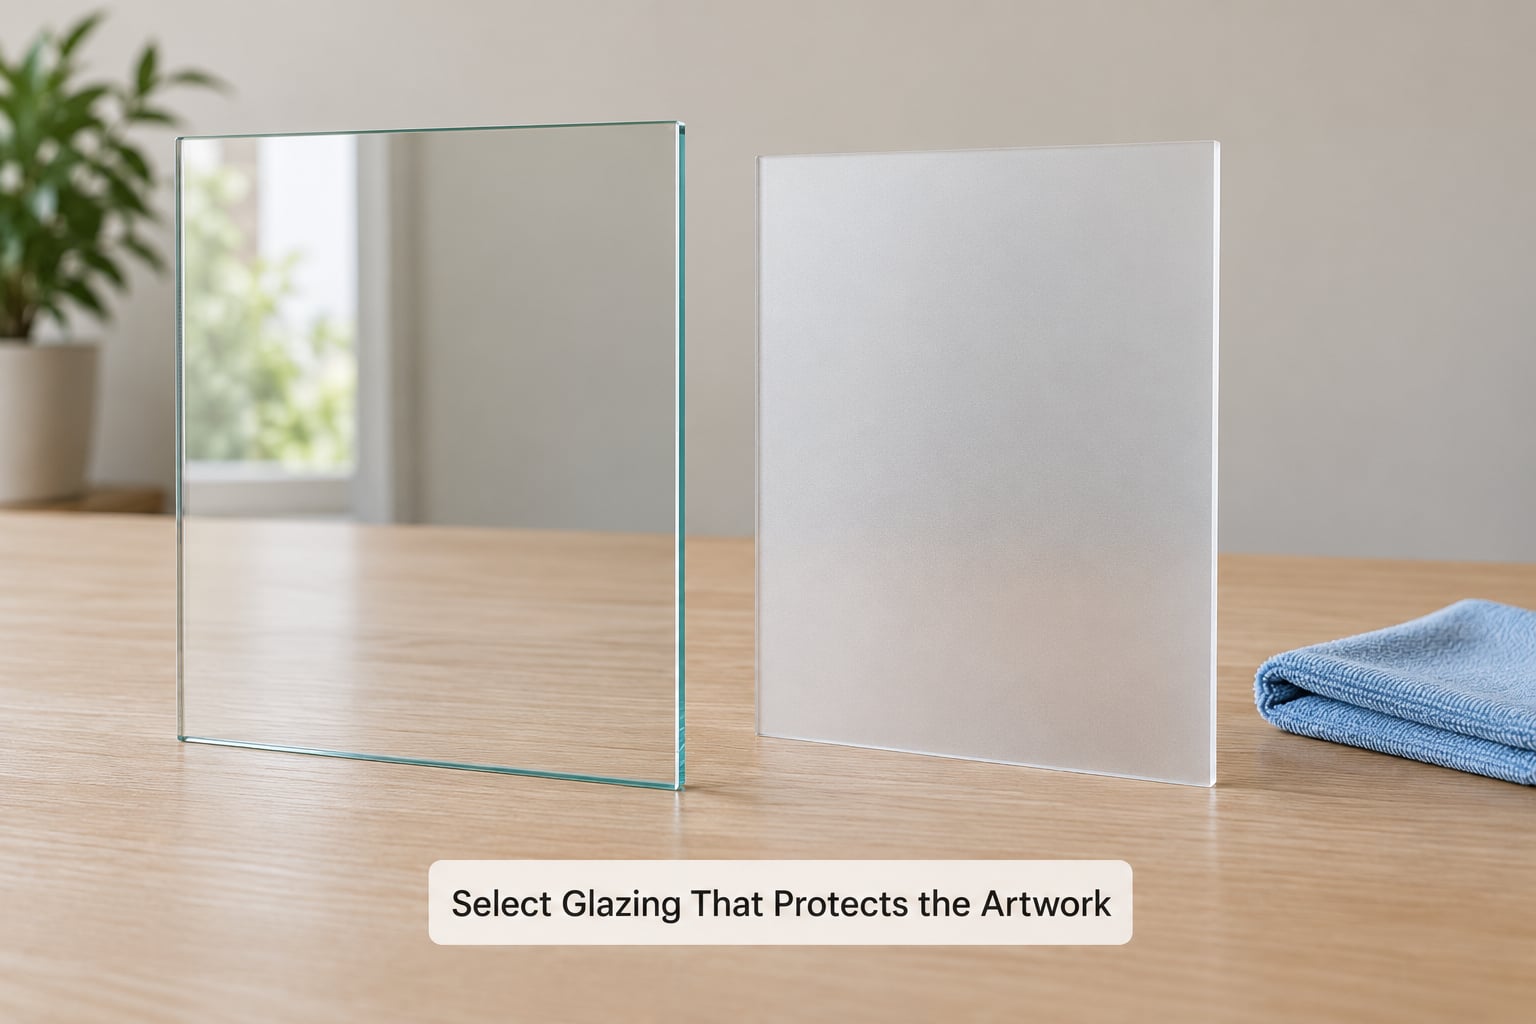
Three glazing options cover almost every situation, and the right one depends more on where the frame hangs than on the artwork.
- Standard glass is the cheapest and the most reflective. It scratches over time, adds weight, and breaks if the frame takes a hit. Fine for a cover hung on an interior wall out of reach.
- Framer’s grade acrylic is roughly half the weight of glass, resists scratching, and is the usual pick for large frames or a wall above a record player.
- Museum glass or UV-filtering acrylic blocks a large share of ultraviolet light. Worth the step up for a sleeve that sits in a bright room or faces a window.
Check the pane before it goes in. Any surface touching the jacket picks up every scratch, so leave the smallest gap you can while keeping air moving around the art.
3. Prepare a Flat, Rigid Backing
Cut acid-free mat board or a backing sheet about an inch larger than the jacket on every side, and let it take the weight so the sleeve never bows. Flimsy board behind a warped sleeve keeps the warp forever.
Bowed corners can be coaxed flat by pressing the jacket between two sheets of clean cardboard under a stack of books for a week. If the corner is split, leave it alone; flattening a torn corner makes it worse.
Sealed records in their outer shrink wrap can be framed as they are, since the plastic takes the contact. For an unsealed record, slide the disc into a new inner sleeve so the vinyl never rests against the jacket face.
If the sleeve has a seam or adhesive residue from an old inner sleeve, deal with it before it goes behind glass. Collectors on vinyl forums use diluted isopropyl alcohol at roughly half strength, dabbed on a cotton pad rather than poured, and they warn against the stronger 70 or 90 percent versions because they can lift printing.
4. Mount the Cover Without Damaging It
Acid-free corner mounts are the cleanest option: peel the backing, square the sleeve in the mat window, and press two or four corners. The artwork stays fully visible, nothing touches the printed face, and the sleeve lifts out again whenever you want to swap it.
Photo corners work the same way but have visible metal or plastic tabs, so they read as intentional only on smaller formats like 7 inch singles and CD art.
Hinge mounting with wheat starch tape is what professional framers use, and the tape eventually releases with a little moisture. That is the point, since permanent adhesive is permanent on the sleeve as well as on the board.
Never use ordinary tape, glue, or staples on the artwork. If you plan to rotate covers in the same frame, use four corner mounts rather than one full-length hinge so the front is genuinely replaceable.
5. Clean and Align the Glass or Acrylic
Wipe the glazing with a microfiber cloth dampened with a mild cleaner for glass. For acrylic, use a plastic-cleaning solution and never ammonia or alcohol, which haze the surface permanently.
Spray the cloth away from the frame, never toward it. Liquid mist settles on artwork and into mat windows, and it leaves a bloom that is hard to see until the frame is on the wall.
Handle the sheet by its edges with clean dry hands or gloves, lay it in the rabbet, and check the sleeve sits centered in the mat window from a foot back. Adjust now; shifting a mounted cover after assembly means opening the frame again.
6. Assemble, Hang, and Inspect the Frame
Seat the glazing in the frame rebate, add the dust cover, and turn the backing over. Check the back for loose grit and confirm every corner mount is holding before the frame goes to the wall.
Hang with hardware rated for the finished weight. A standard 16 by 16 frame with glass runs around three pounds, and a heavy shadow box with a record in it needs a proper anchor in drywall rather than a picture hook.
Leave airflow around the frame and keep it out of direct sun, away from a heater vent, and off an exterior wall where damp seasonal swing can bow the board. If the wall smells musty, check for pests before you hang anything.
Check the finished display at eye level and from a few feet back. A level with a bubble vial is worth more here than any amount of careful centering.
Which Frame and Size for Each Format
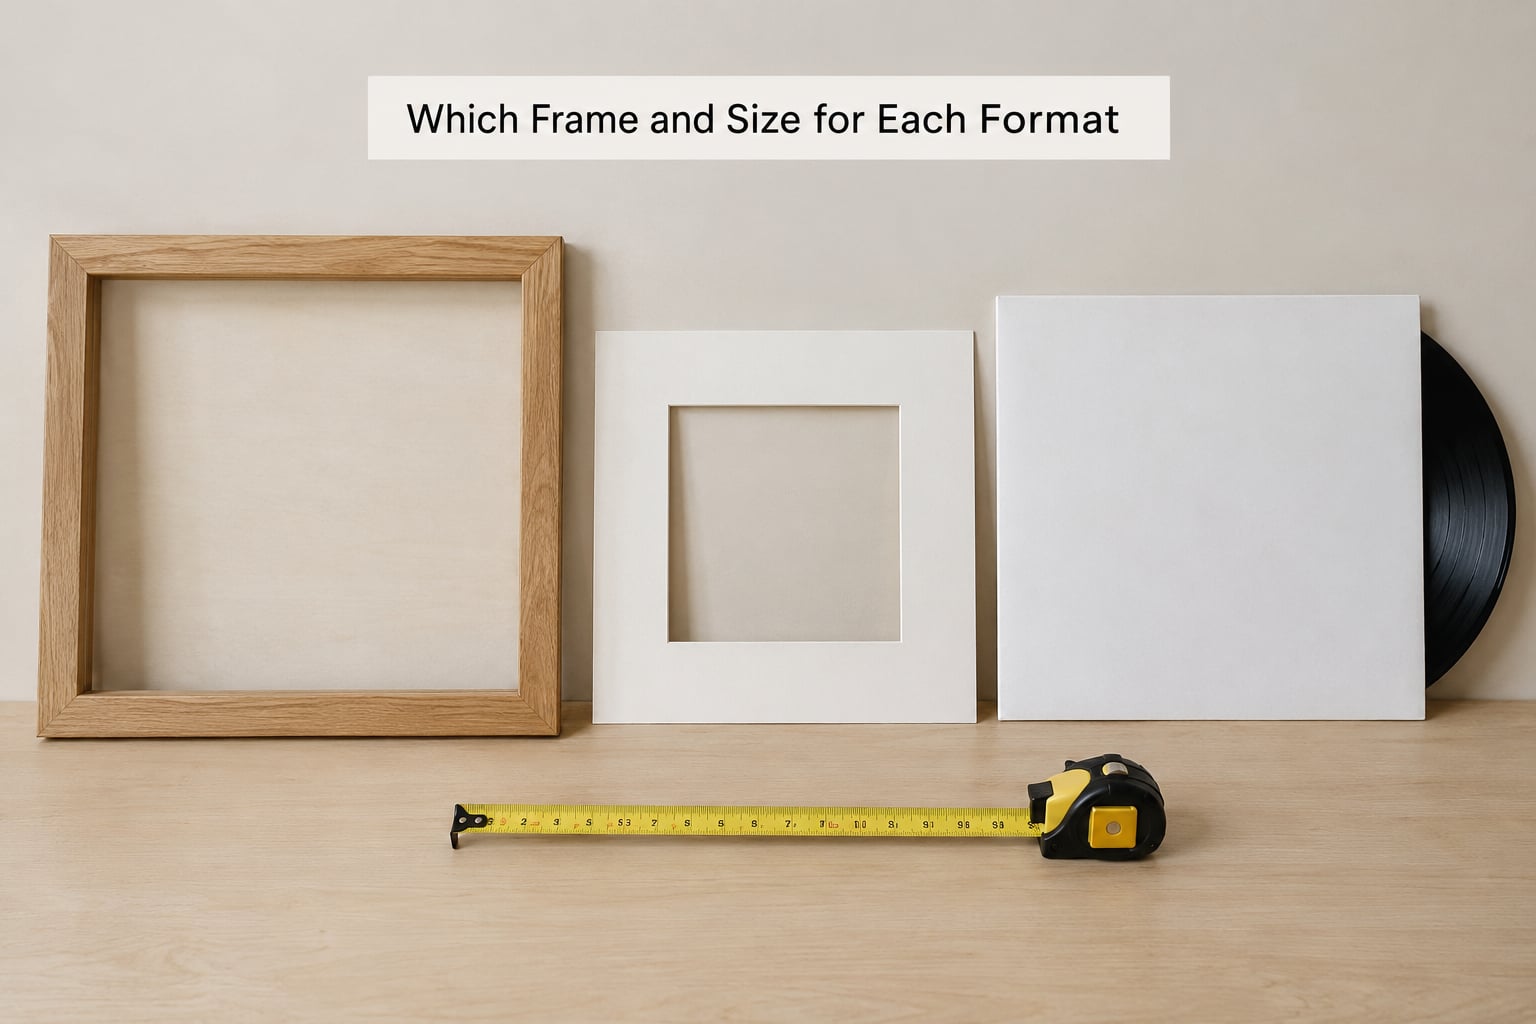
Match the frame to the format first, then adjust the mat so the artwork sits centered. Here are the sizes that come up most often.
- 7 inch single sleeve is about 7.5 by 7.5 inches. An 8 by 10 frame with a mat gives a clean, even border.
- 12 inch LP sleeve is 12.375 by 12.375 inches. A 16 by 16 frame with a 1.8 inch border, or an 18 by 24 with a 2.8 inch border.
- Gatefold opens to roughly 25 by 12.375 inches, so it wants a 26 by 14 frame or two 16 by 16 frames side by side, with a mat window split down the middle or a seam hidden along the spine fold.
- Double LP sleeve is about 18.75 by 12.375 inches. An 18 by 24 frame with a mat works; a 20 by 24 gives a wider border if you want breathing room.
- Box set is usually 12.375 square but two to four inches deep, so it needs a shadow box with a back that opens rather than a standard frame with clips.
- CD jewel case is 5.6 by 4.35 inches. An 8 by 10 frame is the standard fit, and cassette cases suit the same frame.
The mat is what makes an oversized frame look deliberate rather than empty. A 2 to 3 inch border on a white or black mat is the safe range; anything wider starts to swallow the art, and anything narrower crowds the sleeve.
Decide what the frame is for before you cut. A standard frame with a mat shows the artwork and protects it. A shadow box with two to three inches of depth shows the record itself and protects it, but the copy on the wall is no longer a listening copy.
Ready-made vinyl display cases are a reasonable middle ground because the sleeve drops in and comes back out without tools. What you give up is custom sizing, so gatefolds and double LPs usually do not fit them.
Common Mistakes
Almost every bad framed album on a wall comes down to one of a handful of avoidable moves.
- Ordinary tape on the sleeve. Masking or packing tape leaves adhesive that stays on the artwork long after the tape comes off. Use corner mounts or archival hinges.
- Trimming the jacket. Cutting a sleeve down to fit a small frame destroys the spine, the back cover, and any text along the bottom edge.
- Artwork pressed flat against the glazing. Contact turns every scratch and fingerprint into permanent damage, and it also traps moisture.
- Reflective glass in a bright room. A window opposite the wall turns a well-framed cover into a mirror. Museum glass or a matte-finish acrylic fixes it.
- Hanging in direct sunlight. Framing slows fading, it does not stop it. No sleeve survives years of direct sun without color shift, and the blues and purples go first.
- Ignoring humidity and pests. A cellar wall or a damp exterior wall will bow backing board and attract silverfish, which eat paper and leave the glue exposed.
- Framing the only playable copy. You lose the record every time you want to listen to it, and you will eventually take the sleeve out badly.
- Forgetting to catalog what went on the wall. A wall of twenty framed covers with no notes turns into a puzzle of crates. Photograph the frame, note the artist and title inside the room list, and label the sleeve pocket in pencil if you remove it.
The fix for fading is placement, not product. A north-facing interior wall, a little distance from the glass, and UV glazing together will protect a sleeve far longer than any frame alone.
Frequently Asked Questions
What is the best way to frame vinyl album covers?
Mount the jacket with acid-free corner mounts onto a rigid acid-free backing, add an archival mat with an even 2 to 3 inch border, seal it under museum glass or UV-filtering acrylic, and hang it with hardware rated for the finished weight. Most collectors frame the sleeve only and keep a separate playable copy in the crate.
Should I frame the record itself or just the album art?
Frame the art for long-term display and keep the vinyl playable in your storage. A shadow box with the record included works too, but the copy on your wall then never gets played, and oils from the disc can mark acrylic. If you own a duplicate, framing the sleeve from that copy is the cleanest option.
Do framed album covers fade less than unframed ones?
Framed covers fade noticeably slower because glazing blocks dust and a share of ultraviolet light, and the sleeve no longer flexes with handling or stack wear. The main protection still comes from placement: keep the frame off direct sunlight and off damp exterior walls. Sleeves in bright rooms fade even behind museum glass.
What frame size fits a gatefold, double LP, or box set?
A gatefold opens to about 25 by 12.375 inches, so it needs a 26 by 14 frame or two 16 by 16 frames with a seam along the spine fold. A double LP sleeve is around 18.75 by 12.375 inches and fits an 18 by 24 with a mat. Box sets are 12.375 square but several inches deep, so they need a shadow box.
How do I keep track of albums after they are framed?
Photograph each finished frame, then list the artist and title in the room inventory you already keep for your collection. Write the same information in pencil inside the sleeve pocket before the sleeve goes behind glass, so the frame can be removed and re-filed without guessing. Keep the framed duplicates filed by format rather than mixed into your listening copies.
Start by picking the sleeve you are willing to give up: a duplicate, or the jacket with the disc already living somewhere safe. Measure it, choose a frame one or two sizes larger, cut the mat to leave an even 2 to 3 inch border, and mount the cover with acid-free corner mounts so you can swap it later. That is the whole method. Everything else on this page is a variation on protecting the same square of cardboard and paper.