To store cassette tapes long term, keep each one in its case, filed upright on its spine, in a dark, cool, dry room at roughly 50 to 60 degrees Fahrenheit and 35 to 50 percent relative humidity. Move them away from direct sunlight and from anything that puts out a magnetic field, and check the whole collection twice a year.
That is the whole method, and it takes about an hour per hundred tapes once you have the supplies. Most of the damage people worry about comes from four ordinary habits: heat, damp, flat stacking, and sleeves that are slowly eating the tape.
There is a human reason this matters more than the technique suggests. A lot of people arrive at this question holding a box they inherited, labelled in a handwriting they recognize, and hoping for one specific recording to still play. Getting the storage right protects the whole box. Digitizing the two or three that really matter protects the part that cannot be replaced.
Table of Contents
- What You Need
- Step-by-Step: How to Store Cassette Tapes Long Term
- 1. Inspect and Identify Every Cassette
- 2. Remove Dirt Without Opening the Cassette
- 3. Replace Worn or Acidic Sleeves
- 4. Pack Tapes Upright in Archival Boxes
- 5. Control Temperature, Humidity, and Light
- 6. Create a Simple Retrieval and Backup System
- 7. Check the Collection Periodically
- Common Mistakes
- Frequently Asked Questions
- What is the average lifespan of a cassette tape?
- Do cassettes get ruined in heat?
- Should I rewind cassette tapes before storing them?
- How do I know if my cassette tape is moldy?
- Should cassette tapes be stored vertically or flat?
- Is it worth keeping old cassette tapes?
- Conclusion
What You Need
Archival sleeves and a proper box do most of the work. Everything else on this list is cheap or free, and each item below has a specific job.
- Archival polyester or polypropylene sleeves. Polypropylene is the default choice. True polyester is stiffer and more expensive, and it is what you want if a tape is valuable. Both are inert and do not off-gas anything onto the shell.
- Rigid storage boxes made from acid-free board. A shoebox is the traditional answer and it works well, provided the box itself is clean and dry. Woodgrain particleboard off-gasses mildly, so line it with acid-free tissue if you are keeping tapes for decades.
- Labels and a soft pencil or archival pen. Label the box, never the shell.
- A hygrometer. A ten dollar dial model tells you whether the room is actually in range or whether you are guessing based on how it feels.
- A soft dry brush, a microfiber cloth, and canned air. For cleaning the outside of shells before they go into storage.
- 99 percent isopropyl alcohol and lint-free swabs. For mold and grime on shell surfaces, and only when you have a specific reason.
- Acid-free tissue or a polyester sleeve. To hold J-card inserts, handwritten notes, and album artwork flat and separate from the tape.
A few materials look helpful and are not. Ordinary paper sleeves, especially the cheap wood-pulp kind, are mildly acidic and will brown over time. PVC clear sleeves off-gas, and they get brittle and cloudy within a few years. Sticky notes yellow, lose adhesion, and sometimes transfer a stain to the J-card underneath.
Where the room sits matters more than any of it. A closet on an interior wall of a climate-controlled house is a good spot. A basement, a garage, an attic, a bathroom cabinet, and the shelf above a radiator are all bad, and they are bad for different reasons.
Step-by-Step: How to Store Cassette Tapes Long Term
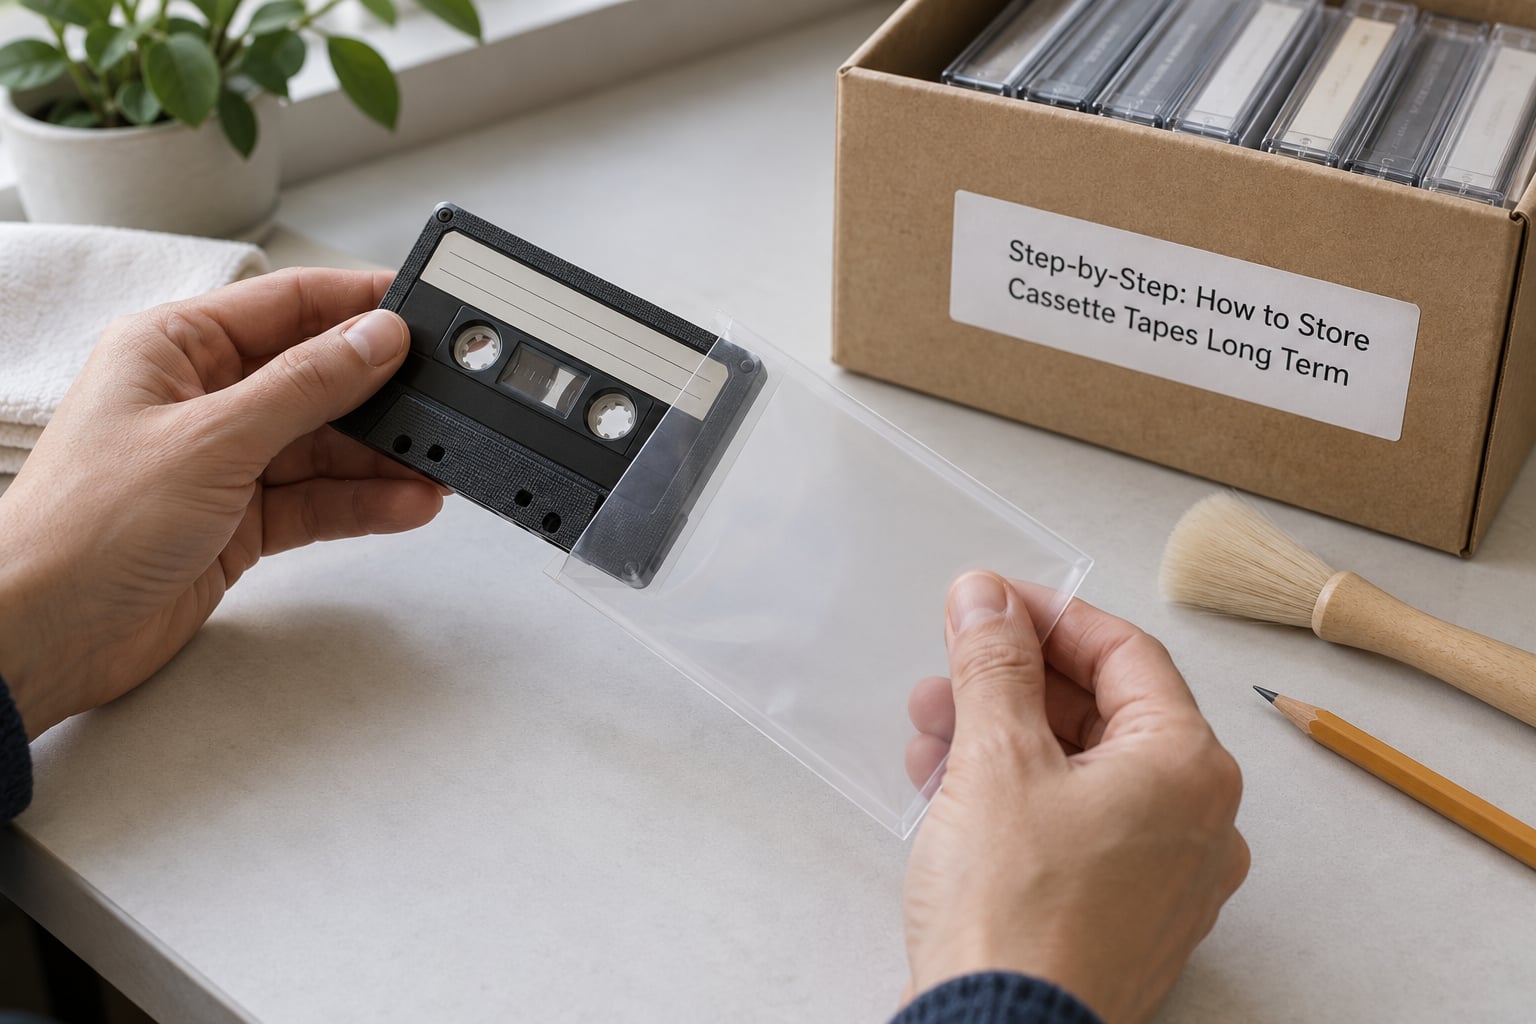
Set aside an afternoon, work in batches of twenty or so tapes, and do the whole sequence the same way each time. Consistency matters more than perfection here.
1. Inspect and Identify Every Cassette
Before anything else, write down what you have. A simple spreadsheet with artist, title, format, recording date, rough condition, and where the tape sits in the box is enough. If the box has thirty tapes, a numbered index card works fine.
Then look at each cassette closely, holding it by the edges. You are checking for a handful of things: tape visibly loose or bunched at one hub, hubs that spin without resistance or wobble, cracks in the shell, discoloration or cloudiness, a shell that no longer sits flat on the table, and any white or grey specks on the tape itself.
Simple sorts into condition groups help. Playable now, playable later, suspect, damaged. That grouping is what tells you which tapes get digitized this month and which can wait a year.
2. Remove Dirt Without Opening the Cassette
Most tapes that feel gritty are dirty on the outside, not inside. Wipe the shell with a dry microfiber cloth and brush dust out of the label area and the tape window with a soft dry brush. Canned air held at arm’s length and blown across the window works well on packed dust, but keep the can upright and never spray directly into the shell openings.
What to avoid: household cleaners of any kind, aerosol sprays, and anything abrasive. Those leave a residue that ends up on the tape or on the head the next time it plays. Do not use 75 percent sanitizing alcohol. The water content makes the situation worse, and more on that in the mistakes section below.
Never touch the exposed tape. Oil from a fingertip gets on the oxide coating, collects dirt, and creates a permanent shiny patch that plays as a drop-out.
3. Replace Worn or Acidic Sleeves
Flip through your J-cards. Brittle paper that creases instead of bending, brown staining at the edges, tears, or a card held shut by a thick layer of dried adhesive all mean replacement. The adhesive is the worst offender, because it keeps slowly oozing into the insert and sometimes onto the shell.
Slide the cassette into a new archival sleeve by holding it at the two side edges. Never grip the exposed tape or push a finger against the open edge of the shell.
For inserts, hand-written notes, track listings, and artwork you want to keep, slip them into a polyester sleeve of their own and store them flat in a labeled folder next to the tapes. Original artwork on paper has a real shelf life, and once it discolors you cannot get it back.
4. Pack Tapes Upright in Archival Boxes
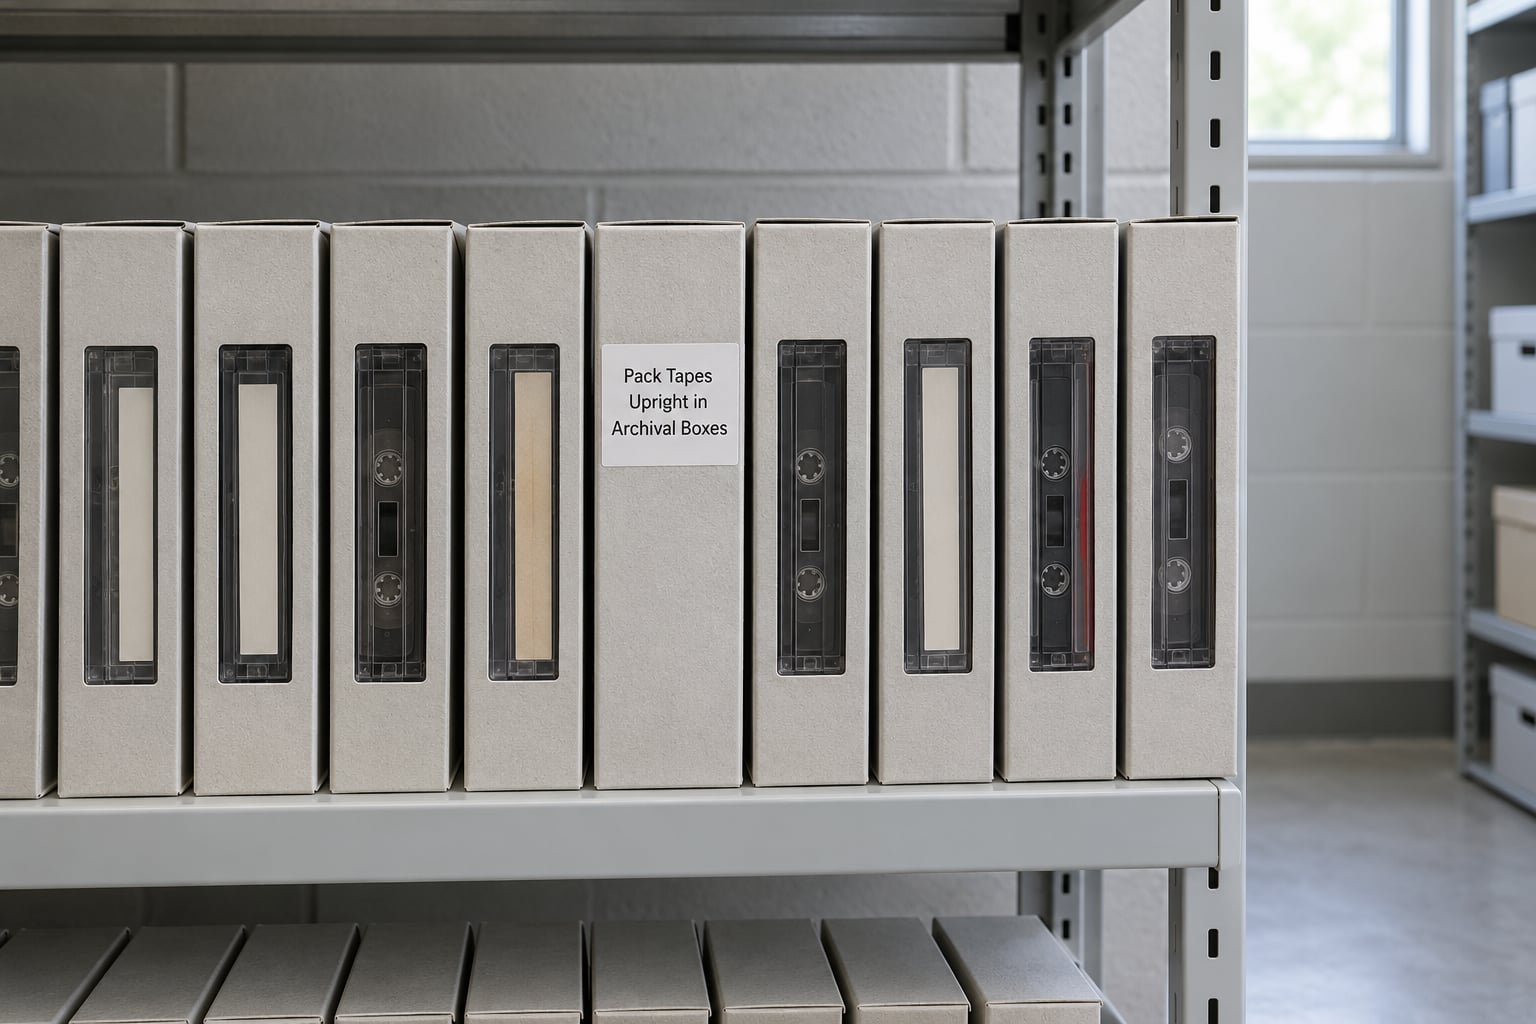
Store cassettes vertically, like books on a shelf, never stacked flat. The shell is a rigid plastic frame holding two hubs, and flat stacking puts the weight of everything above onto the cassette below. Over years that warps the shell, stresses the hub windows, and presses the tape pack against one side.
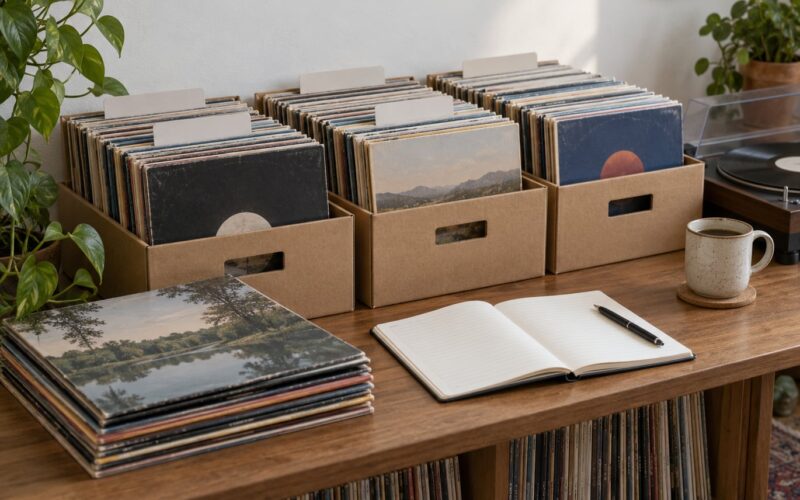
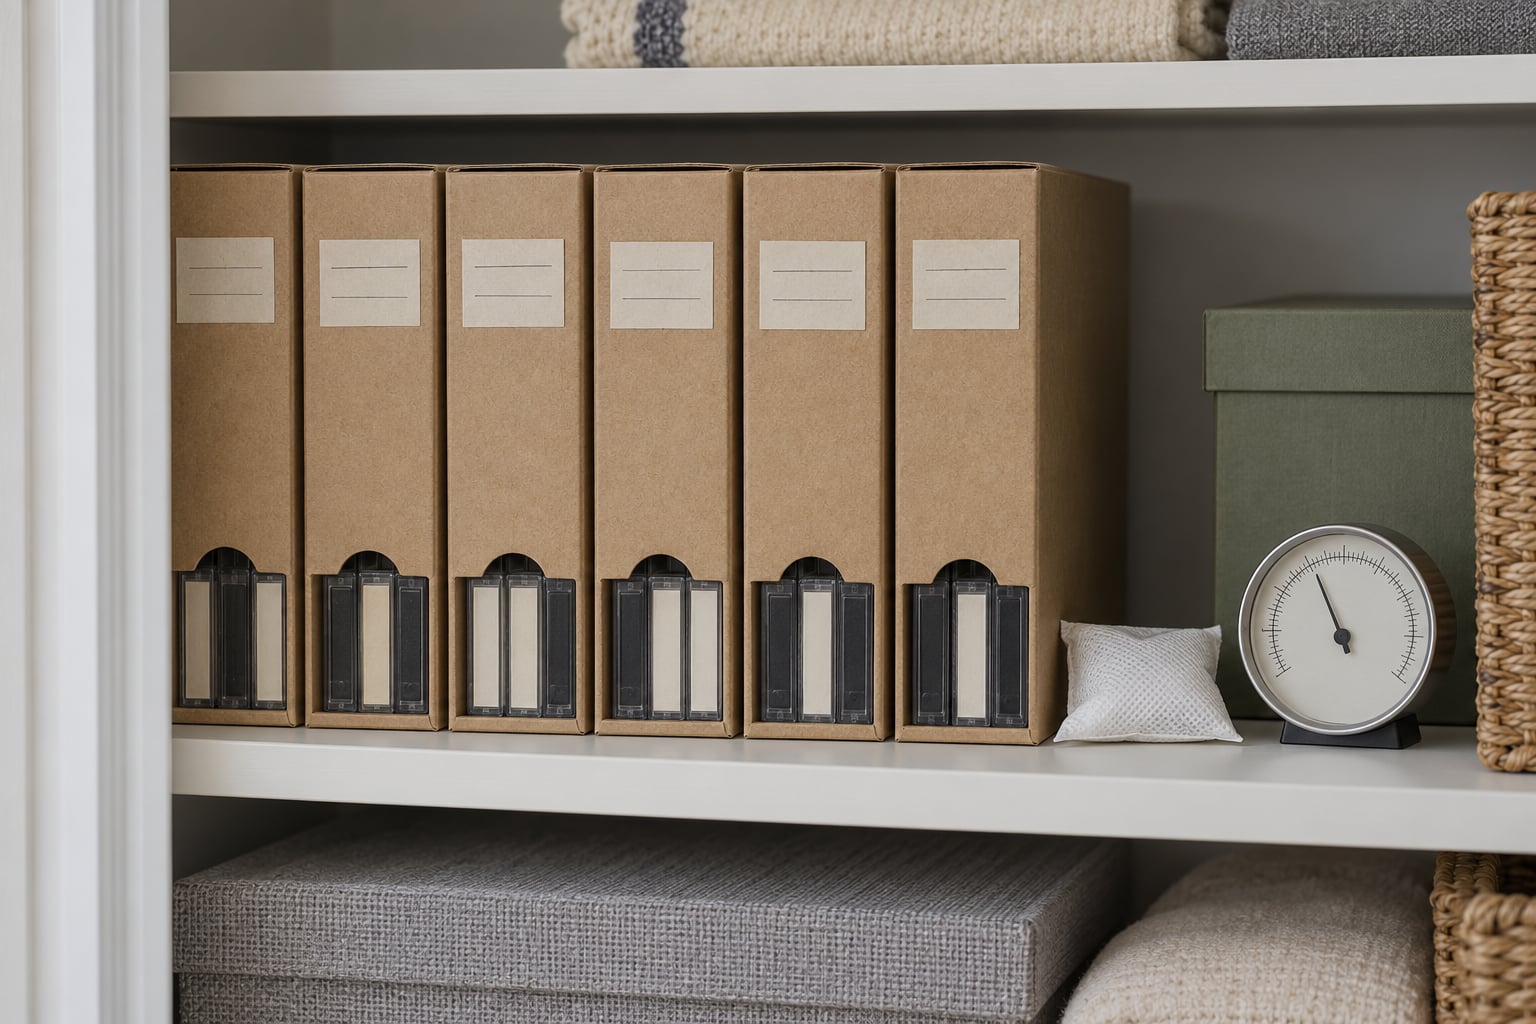
Use boxes that hold the tapes upright on their spines and that will not tip when you pull one out. Rigid board boxes beat cheap plastic totes, which flex, collect condensation, and take up more space than the contents need. Add card dividers or index tabs for sections and genres, and do not overpack; a box that has to be wrestled shut will eventually get dropped.
Put boxes on a shelf, not on the floor. Concrete floors and unconditioned crawlspaces are the two places where the worst storage conditions in a house live. Keep the whole run of boxes out of direct sunlight even if the room has a window, since a single bright pane focused across a shelf will fade labels and stress shells unevenly.
5. Control Temperature, Humidity, and Light
A cassette is a thin polyester film coated with magnetic oxide and held in place by a binder. That binder is hygroscopic, meaning it pulls moisture out of the air, and it is chemically unstable. Moisture is what starts the whole decay process, so keeping humidity steady matters more than keeping it low at any single moment.
| Condition | Target | Why it matters |
|---|---|---|
| Temperature | Around 50 to 60 F, and stable | Heat speeds up binder breakdown and warps the plastic shell. Freezing is far less harmful but the swings around it are not |
| Relative humidity | 35 to 50 percent, and steady | Below this range the binder dries out and the tape goes brittle. Above it, mold finds the shell, the label, and the J-card |
| Light | Dark, or low ambient light | Direct sun fades labels and degrades some plastics over long exposures |
| Magnetic fields | A few feet from speakers, microwaves, computer towers, and magnet-latched cabinet doors | Stray fields partially erase the recording, which sounds like thin sound and extra hiss and cannot be reversed |
| Airflow | Enough circulation to prevent stuffiness, but no draft blowing dust onto the boxes | Closed, still, damp corners are where mold starts |
Stability is the part people get wrong. A room that swings from 55 percent humidity in January to 80 percent in July is worse for tapes than one that holds a steady 60 percent all year, even though the summer number is higher. If you cannot control the room, put the boxes in lidded archival tubs with a silica gel pack and check the indicator card every few months.
Avoid heat spikes of any kind, including the ones that last a day. A car interior in summer can exceed 120 degrees Fahrenheit, and a cardboard box on a shelf next to a boiler or a washing machine is the indoor version of the same problem.
6. Create a Simple Retrieval and Backup System
The reason people dig through boxes is that nobody remembers what is in them. Number the boxes, write the range of contents on the side in pencil, and keep the inventory list somewhere other than the shelf. Ten minutes of cataloguing saves hours of handling, and handling is what causes most accidental damage.
For anything genuinely rare or personally meaningful, make a digital copy now. A decent deck with a line out into a computer, or a USB capture unit into Audacity or Audacity-compatible software, will do. Record at a high bitrate, export a lossless file such as WAV or FLAC, and keep two copies in separate places.
Treat the digital file as your copy and the cassette as the preservation master. Store the original after digitization in the same conditions as the rest of the collection, and never make it the thing you listen to casually.
7. Check the Collection Periodically
Put a reminder in your calendar for every six to twelve months and walk the shelves with a flashlight. You are looking for white or grey fuzz on the shell or tape edges, a musty smell in the box, insects or frass, labels that have bled or curled, shells that no longer sit flat, and tape that has crept loose inside a case.
If you find mold, isolate the affected tapes in a sealed bag until you can deal with them, and check the rest of the box and the surrounding shelf. Mold spores spread, and once they reach the labels and sleeves the cleanup stops being a five-minute job. Improve the conditions that allowed it, then clean the shells with 99 percent isopropyl alcohol on a lint-free swab and let them dry fully before rehoming.
If a tape is warped, stuck, or shedding oxide, that is when professional conservation or a digitization service is worth the money. It is also when being honest with yourself helps: a warped shell cannot be unwarped, and a hydrolyzed recording cannot be restored, only salvaged.
Common Mistakes
These are the habits that cost people the most tapes, and each one has a simple correction.
- Leaving tapes in a car, garage, attic, or unconditioned storage unit. These combine heat swings, freeze-thaw cycles, and often damp, which is the full set of conditions that destroy tape. Fix: move them indoors now, and expect that some will already be sticky or warped.
- Storing in a basement or bathroom. Both are humid by nature. Fix: an interior closet, upstairs if possible, with a hygrometer confirming it.
- Stacking tapes flat. Weight warps shells over years. Fix: stand everything up on its spine.
- Touching the exposed tape. Fingertip oil traps dust and creates permanent drop-outs. Fix: handle shells by the side edges only, every single time.
- Using sticky notes or ordinary plastic sleeves. Both age badly and can stick to the insert or shell. Fix: archival polyester or polypropylene sleeves, and put notes in a separate sleeve.
- Writing on the shell with a permanent marker. Most permanent markers are solvent-based and will stain or bleach the plastic, and some will reach the tape. Fix: label the box in pencil, or write on a paper insert inside a sleeve.
- Assuming a sealed plastic bag solves moisture. A sealed bag traps whatever moisture is already inside, and the tape will slowly condition itself toward that damp level. Fix: bags are for transport, not storage. For damp climates, use a lidded tub with a silica gel pack and monitor it.
- Putting tapes in a fireproof safe and calling it archival. Fireproof cabinets are often insulated with materials that off-gas, and many are not airtight. Fix: use a proper archival box on a shelf, and store the fireproof safe for the documents it suits.
- Repairing a break with ordinary clear tape. The adhesive gums up and leaves residue on heads, capstans, and pinch rollers, and it makes the next repair harder. Fix: use proper splicing tape applied to the non-oxide side, or a professional service.
One maintenance tip covers most of the rest: play your tapes, on a deck you trust, once a year. A ten-minute listening session tells you more about the condition of a tape than any amount of staring at the shell, and it keeps the collection from becoming an archive nobody opens.
Frequently Asked Questions
What is the average lifespan of a cassette tape?
Stored cool, dry, and dark, a good cassette usually stays playable for decades, and preservation guides commonly put the range at roughly 10 to 30 years for the media itself. Heat, humidity swings, cheap binder, and cheap shells sit at the short end of that range. The more useful framing is that a tape rarely fails all at once, it fades: hiss rises, treble drops, the recording thins. Play a few every year and you will know where your collection actually stands.
Do cassettes get ruined in heat?
Yes, and heat is usually the fastest destroyer in a home collection. Sustained warmth speeds up the chemical breakdown of the tape’s binder and softens or warps the plastic shell, and daily temperature swings are worse than a steady moderate temperature. Garages, attics, and car interiors are the worst offenders by a wide margin. Keep boxes in a climate-controlled room around 50 to 60 degrees Fahrenheit, away from radiators, boilers, and direct sun.
Should I rewind cassette tapes before storing them?
Rewind to the end of a side is the traditional convention, and it is reasonable for tapes you plan to play soon. For long-term storage, collectors often prefer the opposite: leave the tape packed at its end rather than tightly wound, so the pack does not sit deformed or jam against the shell window. Either way, do not force a stiff or sticky tape through a transport. If it hesitates, clean the deck and try again rather than pushing.
How do I know if my cassette tape is moldy?
Mold shows up as white, grey, or greenish specks or fuzz on the tape edges, the hub window, or the shell surface, often with a musty smell in the box. Under a magnifier it looks like powdery deposits rather than smooth plastic. Do not play a moldy tape, because spores and residue go straight onto the heads. Isolate it in a sealed bag, clean the shell with 99 percent isopropyl alcohol, let it dry fully, and check the rest of the box.
Should cassette tapes be stored vertically or flat?
Vertically, on their spines, like books. Flat stacking is the most common mistake in home collections because it is what most people did in the eighties and nineties. Each tape carries the weight of everything above it, and over years that warps the shell, stresses the hub windows, and packs the tape to one side. Rigid boxes that hold the tapes upright and will not tip are worth a few dollars more than flat plastic totes.
Is it worth keeping old cassette tapes?
Usually yes, because most commercial recordings exist in lossless digital form and nothing is lost by deleting a duplicate, while a hand-recorded family message, a radio recording, or a mix-tape with no master exists nowhere else. The decluttering question behind this one is really about the box, not the medium. Sort first: keep the unique recordings, digitize those within the year, and stop treating a commercial duplicate as an heirloom.
Conclusion
If you do five things this weekend, your collection improves more than it will from anything else: inspect and identify every tape, replace failing sleeves with archival ones, stand the tapes upright in rigid boxes, get those boxes into a cool, dry, dark room with steady humidity, and write down what is where.
Start with the most vulnerable tapes, which are the ones already showing shell cracks, loose tape, or white specks, and with the most valuable ones, which for most people are the hand-recorded family voices and mix-tapes with no other copy. Those are the two lists, and they overlap more often than you would expect.
Then digitize the irreplaceable ones while a working deck is still available to you, and keep the cassettes as preservation masters. Storage buys you decades. A digital file buys you permanence.