Concert shots go wrong for two reasons: your phone meters for the bright stage and turns the performer into a silhouette, and low light forces a slow shutter that smears movement. Learning how to take better concert photos with a phone is mostly about fixing those two things before the first song, and the whole setup takes about two minutes.
The short version: stay on the 1x lens, turn the flash off, pull the exposure down a third of a stop to a full stop, tap the performer to focus and hold to lock, and shoot in short bursts at the moments worth keeping. Everything below is the detail, written for the phones people actually carry.
Table of Contents
- What You Need
- Step-by-Step
- Prepare Your Phone Before the Show
- Choose the Right Phone Camera Mode
- Set Exposure for Stage Lighting
- Focus on the Performer and Keep It Sharp
- Frame Shots Around the Performance
- Use Burst Mode and Video Frames
- Protect Your Phone Without Missing the Moment
- Edit for Concert Lighting
- Common Mistakes
- Frequently Asked Questions
- Should I use Night mode for concert photos?
- Can I use flash at a concert?
- Is digital zoom useful for concert photography?
- Can I take good concert photos from video?
- How can I keep my phone safe in a crowded venue?
- Do I need a particular phone model to take concert photos?
- Conclusion
What You Need
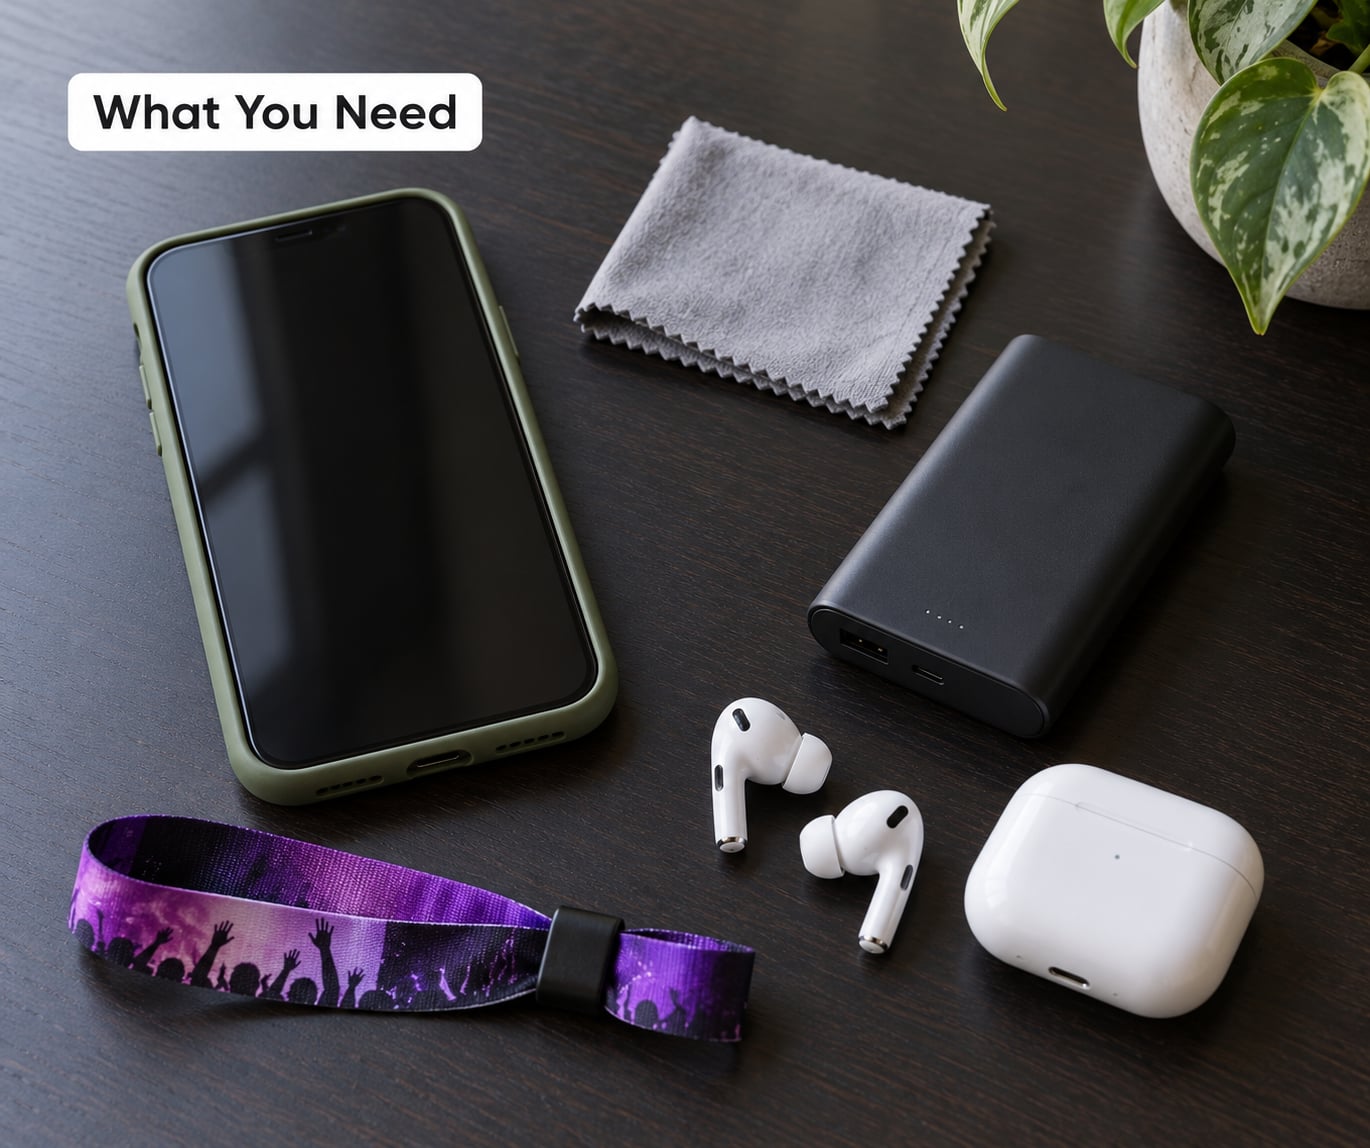
Any phone made in the last several years will do the job. What matters is whether it gives you control over exposure and focus, not whether the model launched this year. Shooters who work shows regularly say the same thing: once you stop the phone from over-metering the stage, the built-in processing does more for you than an expensive handset would.
Here is the kit list that actually affects your results:
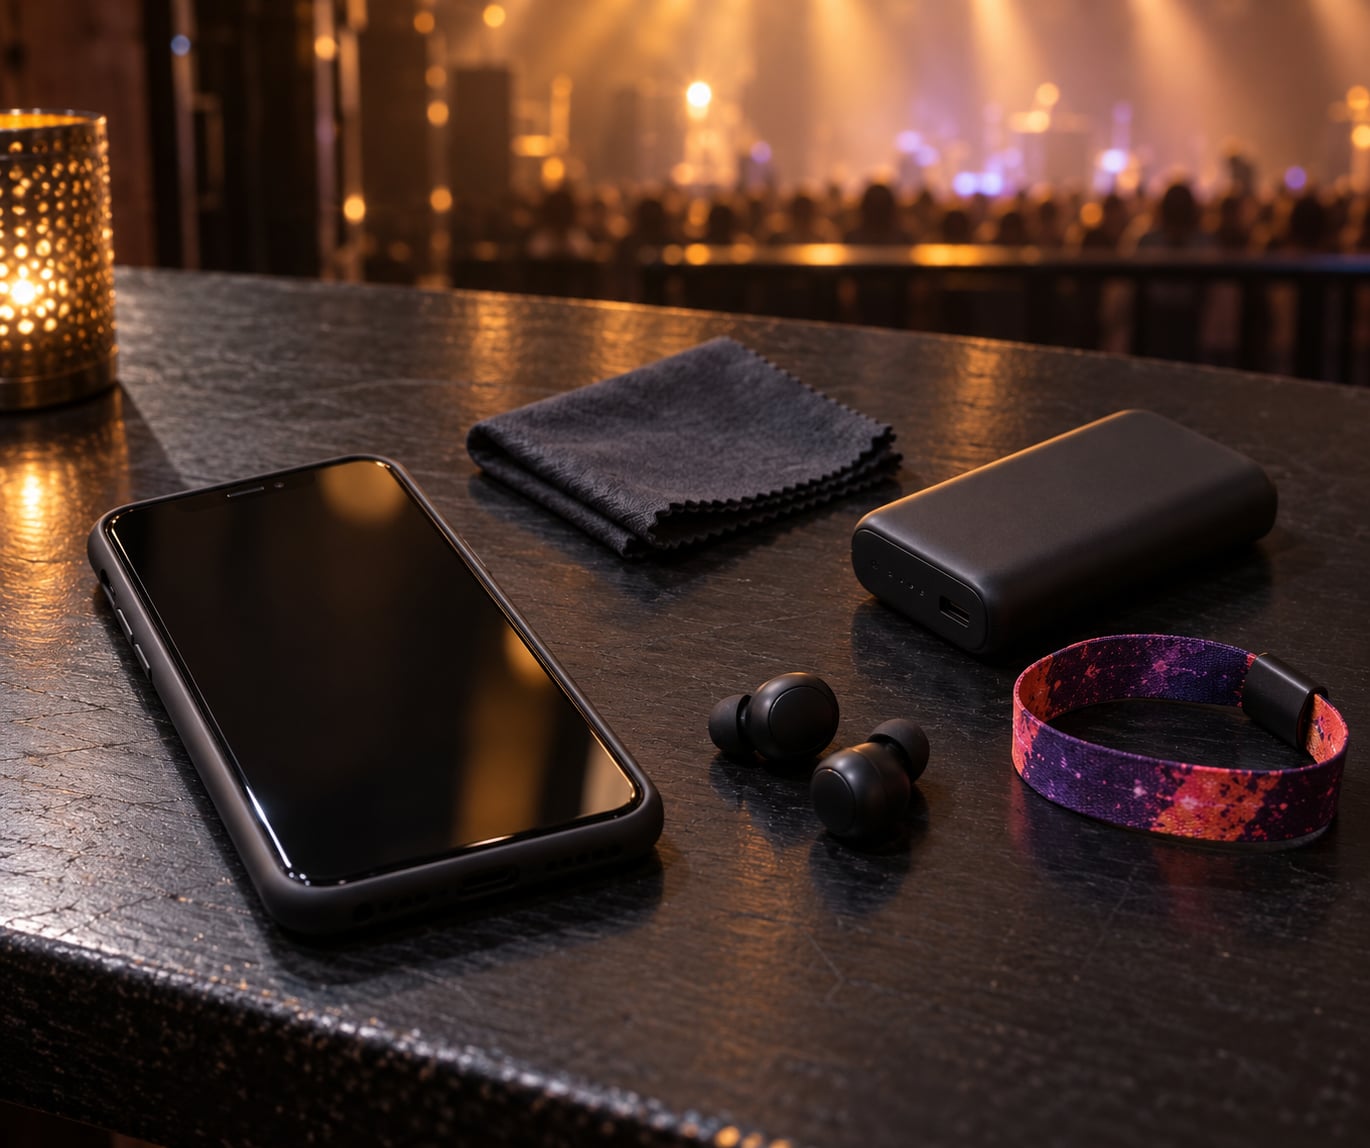
- Storage. A two-hour set with burst shooting fills 30 to 60 GB of space on a modern phone. Clear old video before you leave home, not in the queue.
- Battery. Screen use at full brightness drains a phone fast in a dark room, because the display runs near maximum. A 10,000 mAh power bank in a jacket pocket is the difference between a full set and a dead phone at the encore.
- A case with grip. Two hundred people moving in one direction will test your grip. A case with a raised lip protects the lens when the phone lands screen-down, which is exactly how it lands.
- A microfibre cloth. Pockets rub a haze of skin oil and dust onto the camera lens. That haze is the quiet cause of a lot of soft, low-contrast concert photos.
- Earphones and a rough setlist. Nobody is filming the singer for a music review, but knowing that song nine is the slow one tells you when the arms go up and the light changes.
A tripod or monopod helps if you want sharp wide stage frames, and a manual camera app gives you shutter and ISO control. Both are optional. The settings below all work in the stock camera.
Step-by-Step
This is the workflow in the order you would actually do it. If you are here to learn how to take better concert photos with a phone, work down the list in sequence the first time, then keep only the parts that suit the venue.
Prepare Your Phone Before the Show
Do this at home, not in the venue, where you will be shoulder to shoulder with someone checking their messages. Update the operating system, delete old clips, confirm you have enough free space, and charge the phone to full.
Then switch on airplane mode before the doors open. One is often enough with a modern phone, and the photo app never buffers or drops a frame because of a background sync. Turn on the grid lines so you can place the performer on a third rather than dead centre.
Wipe the lens with the cloth. Do it twice, once now and once in the set break, because your thumb touches the camera glass every time you raise the phone.
Choose the Right Phone Camera Mode
Use standard Photo mode for moving subjects. It fires the shutter faster than a multi-frame Night mode needs, and it does not spend two seconds recomputing while the guitarist is mid-solo.
Use Night mode for held shots: a wide stage with the lights up, the encore, a still crowd moment when nobody is moving. It stacks several frames to recover shadow detail, which is why the singer suddenly has a face instead of a black hole. Expect the background lights to bleed a little, and expect the frame to take a couple of seconds.
Turn portrait mode off. It looks for a face or a person-shaped edge, guesses at depth, and when a performer moves sideways it re-decides and softens the wrong half of the frame. Cinematic mode is worse: it drops the frame rate, hunts for focus and blurs the background on every move.
On current iPhones, open Camera, swipe to Night, tap the moon to turn it on, and use the yellow exposure slider to pull brightness down. On Samsung and other Android phones, swipe from the main viewfinder to Night, then tap the screen and drag the brightness bar to the left. Pro and manual modes live behind a hidden mode switch, and the shutter and ISO dials there are the closest thing a phone gets to a DSLR exposure triangle.
Set Exposure for Stage Lighting
Tap the performer and drag the brightness slider down. This is the single change that fixes too-dark concert photos for most people, and it costs one finger. Your phone sees a wall of stage lights and exposes for it, so the person in front of those lights goes black; pulling exposure down holds the highlights and keeps some detail in the face.
Tap to focus and hold, which locks focus and exposure together (called AE-L and AF-L). Now the exposure sticks even when the lighting rig sweeps across the stage or a camera flash goes off in the middle of the song. Lock it on the singer’s torso rather than the bright wash behind their head.
Shoot for the brightest part you care about. If a followspot is blowing out white, pull the slider down further. If the room is genuinely dark and the performer is lit only by a single amber lamp, accept some grain and brighten it later in editing, because noise is recoverable and a clipped white face is not.
Focus on the Performer and Keep It Sharp
Tap the subject to focus rather than letting the camera hunt. Continuous autofocus, sometimes labelled AI Servo or a motion icon, tracks a moving singer; single-shot autofocus locks once and will drift the moment they walk.
Hold the phone with both hands, elbows tucked, and use stabilization if your phone has it. In a crowd, the shake comes from other people, not from you, so a two-handed grip kills more blur than any setting.
Frame Shots Around the Performance
Where you stand changes the photos more than any setting. Two or three steps back from dead centre gives you a clean, symmetric stage frame; far to one side gives you the performer in profile with the rig and lights filling the background. Neither is wrong, but mixing them stops a set from looking like one long row of similar frames.
Work through a short list of frames: the full stage during the first song, a medium shot of the singer’s face, the guitarist’s hands, a silhouette against a white backlight, and one crowd shot with hands in the air. Reaction shots and signs in the audience often produce better results than another stage shot, because the stage light keeps moving and you are shooting a person who is lit from the front.
In a photo pit, stay in your marked space, shoot down at a slight angle, and keep the phone low so you are not blocking the person behind you. If you are on the floor of a standing room, check the view before the support act ends and pick your spot, because a phone does not see over twenty heads.
Use Burst Mode and Video Frames
Burst shooting is for the one moment a night when the whole room is up. Hold to get ten to twenty frames and you will get at least one where the guitarist’s head is still and the singer’s arm is not a blur. Delete the rest at home.
Do not burst through an entire song. The three-song rule is the workable compromise: choose three songs, shoot them deliberately, and put the phone down for the rest. You will come away with a usable set of images and still watched the show.
Live Photo captures a short clip with each still, which gives you a fallback if someone walks through the frame. Recording video in 4K at 30 or 60 frames per second and pulling stills afterwards also works well for motion the shutter cannot freeze, and it is genuinely the better option for a fast drum or panning solo.
Protect Your Phone Without Missing the Moment
Never use the flash. It bounces off every phone and camera screen in the first three rows, ruins your own shot and everyone else’s, and in most venues is a fast way to be asked to stop. Venue rules are usually relaxed for phones compared to detachable-lens cameras, but pits and restricted areas are commonly enforced, and staff do check.
Keep the phone in your hand rather than your pocket between songs. If you put it away, use a zipped pocket or an inner pouch. Grip firmly in a crowd, and if someone is shoved into you, step sideways rather than stepping back into them.
Edit for Concert Lighting
Do not judge a concert photo on the back of the phone screen, which is bright in a dark room and flatters you. Editing happens on the same device later, in a free editor such as Snapseed or Lightroom Mobile.
Work in a fixed order, one adjustment at a time:
- Crop to a clean frame and straighten it. Remove half the bad frames this way faster than you can retake them.
- Exposure and contrast to open the shadows on the face, but stop before the grain becomes visible.
- Highlights down, shadows up, which is the slider that recovers a stage look. Pull highlights harder than you think you need to.
- White balance toward the colour of the actual stage light, not toward neutral grey skin. A deep red wash is part of the memory.
- A small amount of clarity or sharpening last, plus noise reduction if the shadows were lifted far. Then leave it alone.
The temptation with concert photos is to push contrast until the lights look electric. Keep some of the grain and some of the haze, because a perfectly clean dark shot looks nothing like the night you are remembering.
Common Mistakes
Almost every bad concert photo is one of these, and every one of them has a two-second fix.
- Using flash. Ruins the shot for the photographer and the first three rows. Turn it off or set it to auto-off in the flash menu.
- A dirty lens. Pocket dust produces haze and flare that looks like bad low light. Wipe the glass with a cloth before the show and during the break.
- Digital zoom. Pinching to enlarge a far-off singer is the number one cause of unusable, soft, cropped concert photos. Move closer or use an optical telephoto lens, which crops from the full sensor rather than stretching pixels.
- Underexposing the whole frame. Sometimes the room really is too dark. Take the shot anyway and lift it in editing rather than leaving the file black.
- Portrait and cinematic mode. Fake background blur, focus hunting and a dropped frame rate. Switch to standard Photo.
- Holding the phone one-handed. A two-handed grip with elbows in is the cheapest image stabilisation available.
- Unlimited burst. You end up with hundreds of near-identical frames, miss the moment in the crowd, and fill storage. Short bursts on chosen songs only.
- Shooting from one spot all night. Twenty frames from the same position is a worse set than six different angles. Move early and often.
- Over-editing. Heavy clarity, aggressive noise reduction and oversaturated highlights turn a memory into a poster. Fix the exposure and colour, then stop.
Frequently Asked Questions
Should I use Night mode for concert photos?
Yes, but not for everything. Night mode stacks several frames, which recovers shadow detail and gives you a visible face on a dark stage, so it suits wide stage shots, held moments and the encore. It takes a couple of seconds per shot, which ruins fast movement, so switch back to standard Photo for a singer walking the stage and use Night for moments when people are standing still.
Can I use flash at a concert?
No. The flash fires straight into the crowd and bounces off dozens of phone and camera screens, which leaves your frame washed out and the first few rows blinking. Most venues treat a phone flash as grounds for a warning, and some pits ban all phones. Leave the flash off and pull the exposure down instead, which fixes the same problem without bothering anybody.
Is digital zoom useful for concert photography?
Almost never. Digital zoom crops a small part of the sensor and stretches it to full size, so a singer shot from the back of an arena comes back soft, smeared and unusable. Optical telephoto lenses, usually labelled 2x, 3x or 5x, use extra lenses and stay sharp, though they need more light. If neither gets you close enough, walk closer or accept a wide shot of the whole stage.
Can I take good concert photos from video?
Yes, and it is the best option for fast motion. Record in 4K at 30 or 60 frames per second, keep the framing tight, and grab stills afterwards. A frame from video can be far sharper than a handheld photo of a panning guitar neck, because the camera is tracking continuously. The trade-off is file size, heat and battery, so clear space and keep the phone cool.
How can I keep my phone safe in a crowded venue?
Use a case with a raised lip and a textured grip, and hold the phone with two hands rather than balancing it on a shoulder. Keep it in a zipped or inner pocket between songs, and step sideways if someone is pushed into you instead of stepping back. At the pit, stay in your marked space, and never prop the phone on the barrier, where it will be knocked off.
Do I need a particular phone model to take concert photos?
No. Any phone from the last several years shoots a usable concert photo if you manage exposure, stay off digital zoom and edit afterwards. Manual controls and a clean lens matter far more than the model. If you are starting out, spend the effort on a case, a power bank and storage instead, and treat a camera upgrade as a later decision once you know what you want from a show.
Conclusion
Before the band walks on: wipe the lens, clear storage, charge the phone, turn on airplane mode, switch off portrait mode, set the flash to off, and drag the exposure slider down a third of a stop. That is the whole setup, and it is what separates a dark, blurred, forgettable frame from a photo you would actually post.
Then pick three songs, move around, and shoot deliberately instead of holding the shutter down all night. You will get fewer frames and better ones, and you will still be watching the show when everyone else is staring at a screen.