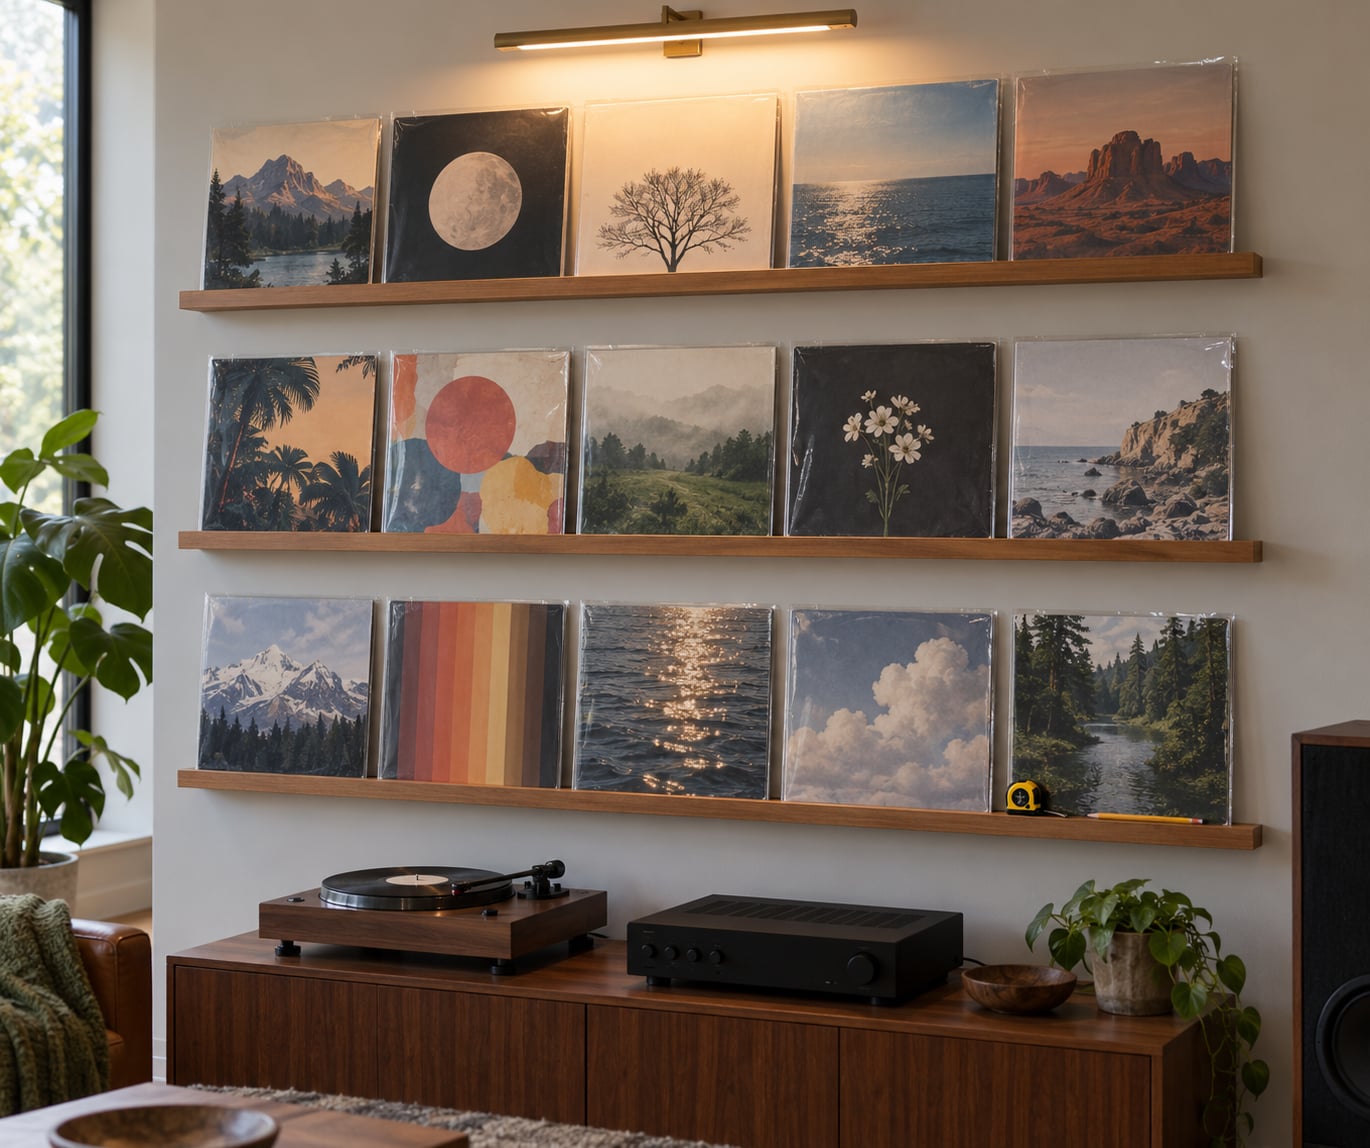
The short answer: display a record collection on a wall by putting the albums on wall-mounted hardware — a record ledge, an album rail, or a framed sleeve — anchored into a stud or the masonry itself, with the rows planned on the floor before anything gets drilled. Most collectors pick one method for the whole wall, light it indirectly, and keep the displayed copies separate from the records they actually play.
That takes about an afternoon for the first wall and an hour per row once you have a system. The part people rush is the anchoring. A 12-inch LP weighs close to a pound with its sleeve, so a full shelf of twenty albums is a real load, and the wall is what fails, not the shelf.
Table of Contents
- What You Need
- The Five Display Methods at a Glance
- Step-by-Step: How to Display a Record Collection on a Wall
- 1. Measure the wall and decide where to display a record collection on it
- 2. Sort records by visual theme
- 3. Decide between album covers and stored vinyl
- 4. Mark the layout before you mount anything
- 5. Install ledges, rails, or frames into the right wall
- 6. Arrange the records and refine the spacing
- 7. Add lighting and protect the collection
- How to hang records on a wall without damaging the wall
- Common Mistakes
- Frequently Asked Questions
- What is the best way to hang vinyl albums on the wall?
- How can I hang vinyl records on the wall without damaging the wall?
- Can command strips hold vinyl?
- Do record displays damage vinyl records?
- What destroys vinyl records?
- How do I display records with thicker than standard jackets?
- Start With One Row
What You Need
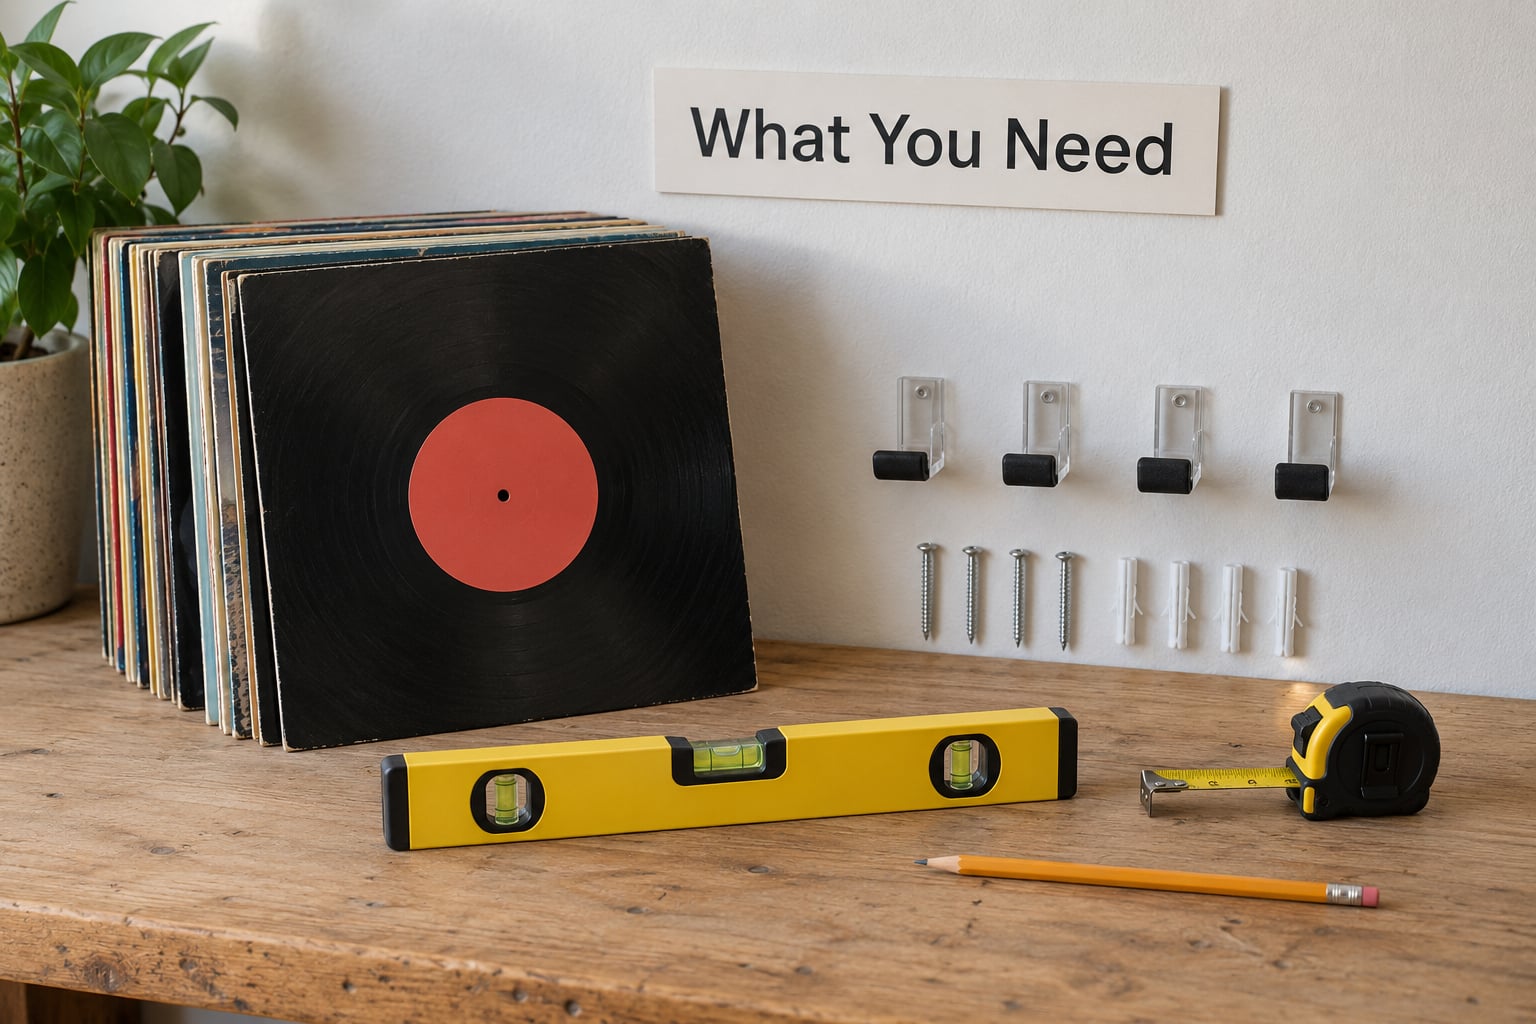
Start with the wall, not the records. Everything else follows from what you are drilling into and how much weight that surface can carry.
- Measuring gear: a tape measure, a pencil, a stud finder, and a 4-foot level. A cheap laser level beats a bubble one once the rows run past a doorway.
- Wall repair supplies: painter’s tape for layout, low-tack painter’s tape or removable mounting putty for marking studs, spackle and a touch-up paint pen for after the drilling.
- Mounting hardware: wood screws and a stud finder for drywall with studs, hollow-wall or toggle anchors for plasterboard, and masonry screws with a masonry bit for brick or concrete.
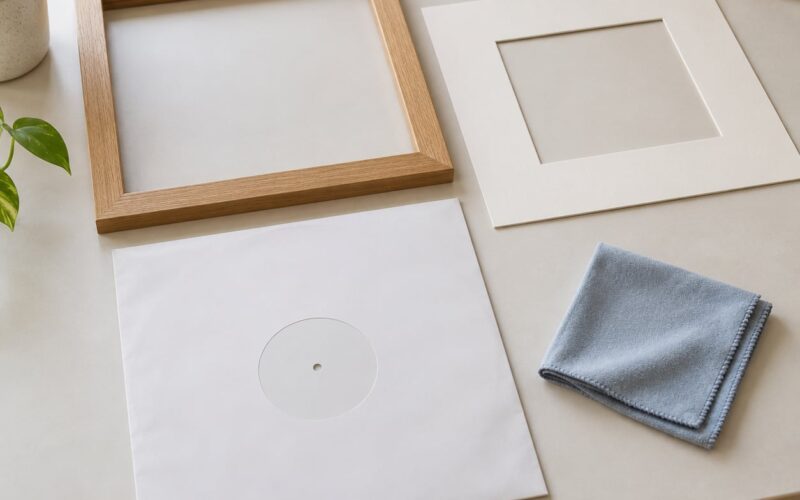
- Display hardware: wall-mounted record ledges with a front lip, album rails, or LP frames sized for a 12-inch sleeve.
- Protective material: felt pads or a strip of self-adhesive felt under each ledge so the sleeve corner never scrapes paint, plus a soft cloth for dust.
Spend most of your effort budget on the hardware and none on decoration. The finishes that read well on a small ledge are the same ones that scratch a corner sleeve when the album gets pulled off.
The Five Display Methods at a Glance
Five approaches cover almost every wall. They differ in three ways that matter: whether they mark the wall, whether they hold a thicker-than-standard jacket, and how easily you can swap a record later.
| Method | Marks the wall? | Holds thick jackets? | Swap a record | Best for |
|---|---|---|---|---|
| Wall-mounted record ledge | Yes, if screwed into studs or anchored | Yes, with a wide lip | Easy | A full collection you still want to play |
| Album rail | Yes, one or two fixings | Only standard-thickness sleeves | Easy | A single curated row |
| LP frame or shadow-box style holder | Yes | Yes, if the depth is right | Moderate | One or two albums you want framed |
| Glazed display case | Yes, heavier fixing | Yes | Harder | Rare first pressings and sunlit rooms |
| Printed or replica art, real records in storage | No, if mounted with removable strips | Not applicable | Easy | Renters, high-turnover collections, sun |
Rails are the hardware most listings get wrong for collectors. A rail that is a standard profile will not hold a gatefold sleeve in a double-LP box, and the record will lean forward until it falls. Measure the tallest jacket in your stack before you buy anything.
Step-by-Step: How to Display a Record Collection on a Wall
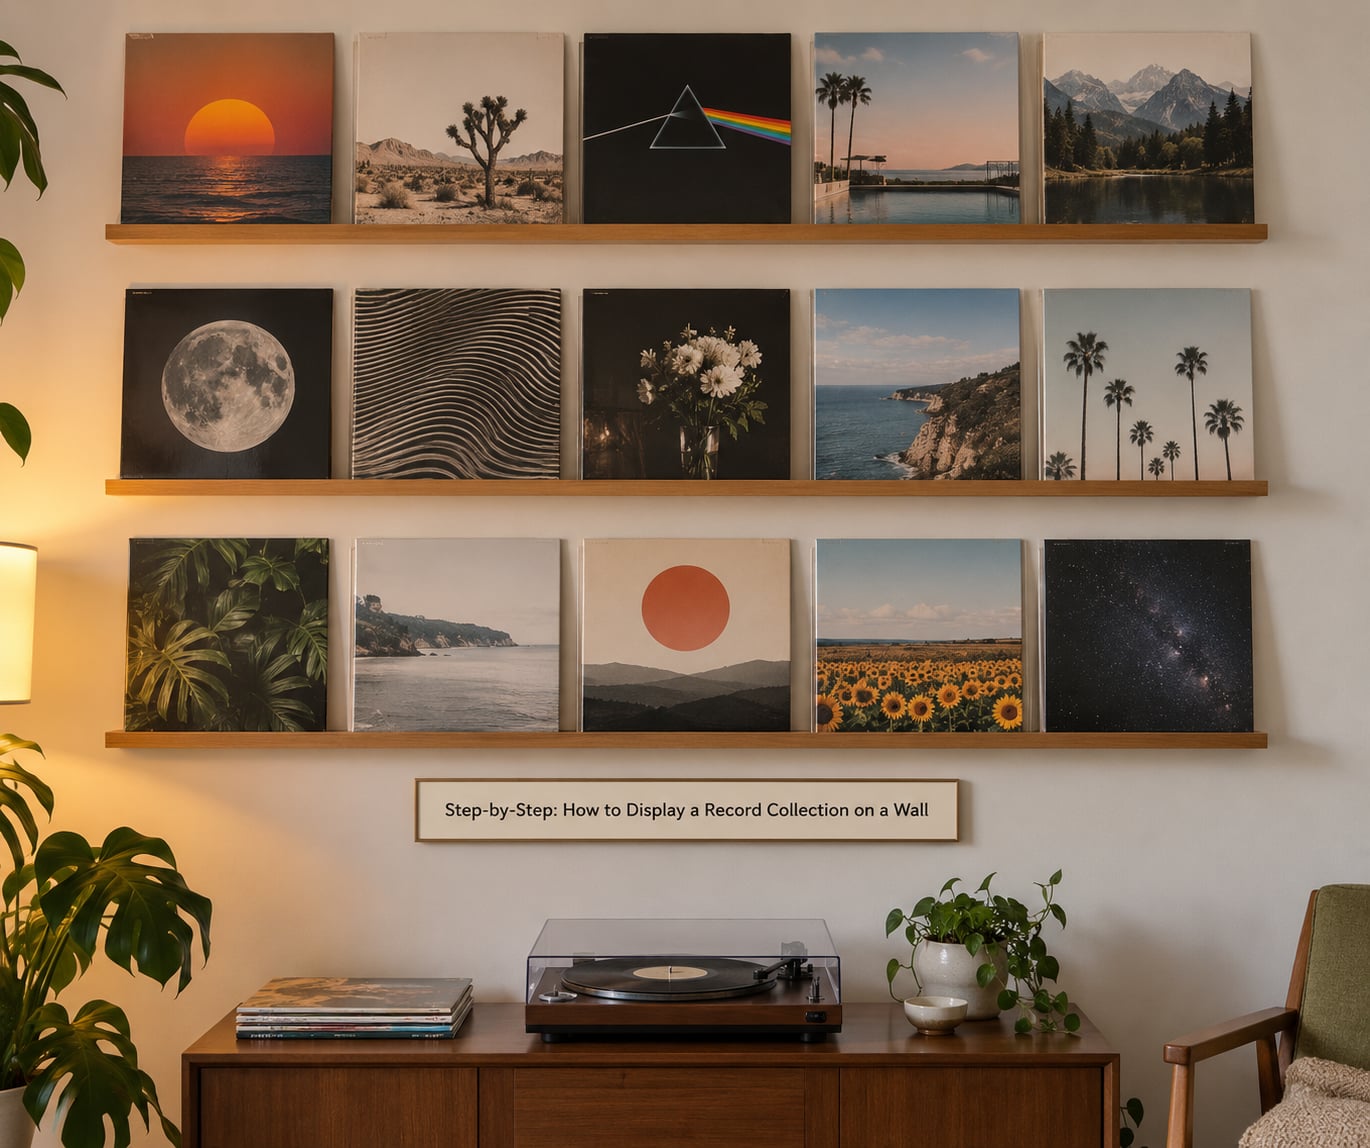
1. Measure the wall and decide where to display a record collection on it
Measure the width and height of the clear wall, then subtract three inches at each end and six inches at the bottom for clearance. Mark every obstacle: light switches, thermostat, vents, a door that swings out, and the trim height where the baseboard stops you.
Center the display at roughly eye level, which is about 57 inches from the finished floor. A wall of records reads best when the top row lands just above eye height rather than near the ceiling, because you can only enjoy the covers you can actually walk up to.
Leave air on both sides. Four inches of clear wall past the outermost row stops the display from looking crowded, and it gives your hands somewhere to go when you lift an album off its ledge.
2. Sort records by visual theme
Random placement on a wall reads as storage no matter how good the covers are. Pick one organizing principle and hold to it for the whole wall.
- By year: left to right, earliest to latest. A wall ordered by release date tells the story of what you were buying and when, which is the version people end up photographing.
- By artist: one contiguous block per artist, ordered by album. Works best for a listening-room wall where you want to see an entire discography at once.
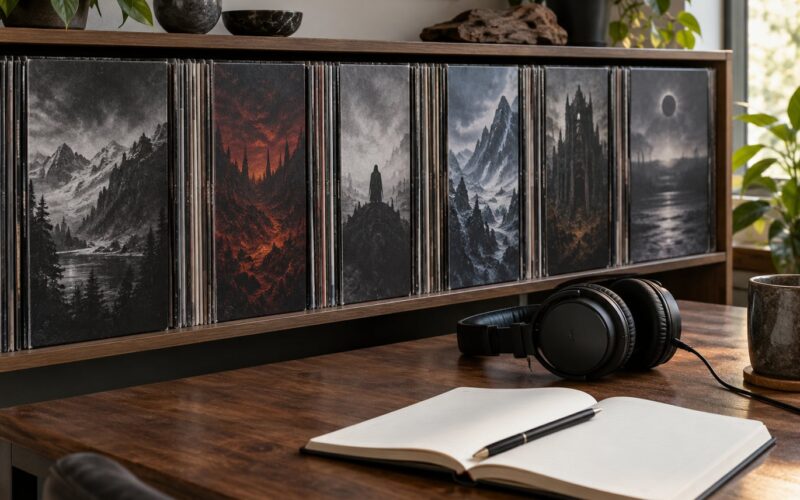
- By label: startling for metal and punk collectors, where the cover design language changes completely between imprints. The palette shifts across the wall in visible bands.
- By palette: pick two or three dominant colors and arrange by them rather than by anything factual. This is pure decor, and it is the one method that flatters a wall with mixed artwork.
Pick about a third more albums than fit. The extras become the rotation pool, and a wall with a few open gaps at the end never looks like you ran out of records.
3. Decide between album covers and stored vinyl
Show the front cover when you want the room to carry the artwork and you are happy to keep duplicates of anything expensive. Store the vinyl itself when the copy is a rare first pressing you will not want to handle weekly.
The usual split is to display the sleeves and keep the records themselves in a crate nearby, so the collection still gets played from the sleeve it lives in. For metal and punk, that often means the outer sleeve on the wall and the inner sleeve plus the disc in a crate, which is where most records end up anyway.
Whatever you choose, take the displayed records off the wall every few months and give them a clean. Dust on a ledge is harmless, but dust on a sleeve corner is permanent.
4. Mark the layout before you mount anything
Tape the full layout to the wall first. Cut plain paper to sleeve size, roughly 12.25 by 12.25 inches, stick them where the rows will go, and step back from across the room.
Keep gaps identical. The most common mistake is a consistent gap between rows but a different one between albums in the same row, and from a distance the wall looks subtly off without anyone being able to say why.
Photograph the taped layout with your phone. That photo becomes your reference for reinstallation later, and it takes twenty seconds.
5. Install ledges, rails, or frames into the right wall
Here is the load math that decides everything else. A 12-inch LP with its outer sleeve weighs about one pound. Twenty albums on one ledge is close to twenty pounds of cantilevered weight, and a ledge with twenty albums needs fixing into at least two studs, not into drywall alone.
| Wall type | Fixing | Practical load | How many LPs |
|---|---|---|---|
| Drywall over studs | Wood screws into stud centers | Highest, most secure | 20 or more per two-stud ledge |
| Drywall, no stud in reach | Hollow-wall or toggle anchor | Moderate, depends on anchor rating | 8 to 12 per anchor point |
| Plasterboard or lath | Toggle anchor, or screw to a stud | Moderate | 8 to 12 |
| Brick or concrete | Masonry screw with a masonry bit | High | 20 or more |
| Rental, no drilling | Command-strip hangers or removable mounting | Low, check the rating | A few albums at most |
Command strips do hold vinyl. A single record on one good strip is fine, and a pair of strips rated well above the weight of a sleeve is the practical ceiling for an adhesive hanger. They are not a substitute for a ledge carrying fifteen albums, because the failure mode is the sleeve dropping onto the floor, not the strip peeling slowly.
Wherever you fix anything, put a felt strip on the ledge surface before the first album goes on. It costs nothing and it stops the one mark that collectors notice immediately.
For thicker-than-standard jackets, measure first. Options are wider rails, a ledge with a deeper lip, or spacing the albums far enough apart that a fat box never leans on its neighbor. Framed holders work well here if the frame depth clears the box by half an inch.
6. Arrange the records and refine the spacing
Slide the albums on in the order you sorted them, working left to right on the bottom row and upward. Set the bottom row about six inches above furniture or skirting so the ledge can be wiped underneath.
Mix focal records with supporting titles. One strong cover flanked by two quiet ones reads as a decision; three strong covers together reads as a catalog. If you are unsure, leave the loudest cover alone on its own row and let the calmer colors fill the space around it.
Stand back after each row rather than checking alignment from arm’s length. Alignment errors that look invisible up close are obvious from the doorway.
7. Add lighting and protect the collection
Use indirect LED light. A picture light mounted above the top row, or a warm LED strip tucked behind a floating shelf, lifts the covers without putting heat on them.
Pick the wall by its exposure, not its emptiness. Avoid walls with direct sun at any point in the day, walls behind a radiator or a wood stove, and exterior walls that stay damp. Fading is slow and irreversible, and it happens first on the colors.
If the wall gets strong indirect light and you want a cheap fix, sliding a roller blind over that window during the brightest hours does more good than any frame you can buy.
Glazed cases are the one place UV-filtering glass earns its keep, and the reason is dust and light together. Elsewhere the money is better spent on the ledge.
How to hang records on a wall without damaging the wall
If you rent, or you simply would rather not patch paint, the no-damage options run from fully removable to semi-permanent.
- Adhesive hangers made for records: strips with a lip that the sleeve drops into. Fine for a few albums, weak for a row.
- Removable mounting putty: holds a lightweight sleeve flat to the wall with no hole. It works best on painted drywall and it does not stack vertically.
- Command strips on a backing panel: attach a slim piece of plywood or MDF to the wall, hang your records from the panel, and remove the panel when you move. The wall sees one clean line at most.
- Tension rod display: a corner-mounted system that needs no fasteners at all, and the standard answer for a rental where drilling is forbidden.
The backing panel trick is the best compromise for a renter with more than a handful of albums. It keeps the adhesive load in one place rather than spread over twenty sleeve edges, and it makes the whole wall removable in about ten minutes.
Common Mistakes
Fixing into drywall with no stud nearby. The anchor rating on the packet is a ceiling, not a target. If your studs sit 16 inches apart and your ledge is 48 inches long, you should have two or three fixings on studs, not one anchor holding the end.
Hanging records on a sunlit wall. Direct daylight will fade sleeve artwork and warp vinyl in a single bad summer. Check the wall at three times of day before you commit to it.
Filling every inch of the wall. Records edge to edge read as a stack, not a display. Break the wall into zones with clear gaps between them and the albums start to look chosen.
Using two organizing principles at once. Chronology by row and palette within a row is a legitimate choice. Alphabetical by row and random within it is just noise.
Skipping the taped mock-up. Every layout mistake is free for paper and expensive in holes. Twenty minutes of tape saves a repaint.
Trusting adhesive strips with a full row. That is the one mistake worth calling out twice. Strips fail suddenly, and a sleeve hitting a floor face-down can crack the jacket corners.
Sending the inner sleeve to the wall. Most collectors put a poly inner sleeve inside the jacket for a reason: dust, seam splits, and scuffing. Display the outer sleeve, keep the inner sleeve and the disc in the crate.
Two more worth avoiding: a display wall that doubles as the only copy of a record you love, and a wall you cannot reach past. If you have to move furniture to lift an album down, you will stop refreshing it within a month.
Frequently Asked Questions
What is the best way to hang vinyl albums on the wall?
For most collections, a wall-mounted record ledge fixed into studs is the best method. It holds thick jackets, keeps sleeves upright with art fully visible, and lets you swap albums in seconds. Album rails suit a single curated row, and framed holders suit one or two albums you want treated as art.
How can I hang vinyl records on the wall without damaging the wall?
Use adhesive record hangers for a few albums, or attach a slim plywood backing panel with removable strips and hang everything from that panel. A tension rod corner system needs no fasteners at all. Patch and touch up any screw holes before moving out, and always use a stud finder.
Can command strips hold vinyl?
Yes, for light loads. One record on a strip rated above the sleeve weight works fine, and pairs of heavy-duty strips handle a small cluster. They are not built for a full row: an album weighs close to a pound, so twenty records on adhesive strips is a load no strip is rated for.
Do record displays damage vinyl records?
A well-mounted ledge does very little to a record. Sleeve corners take most of the wear, and they take it when albums are slid on and off, so handle each jacket by its edges and keep the inner sleeve inside it. Real damage comes from sun, heat and dropping, not from being displayed.
What destroys vinyl records?
Heat is the main enemy: direct sunlight, radiators and fireplaces warp records and fade printed sleeves. Long-term damp causes mold and seam splits, and dust works into jacket corners. Use outer sleeves, store records upright, keep them off warm surfaces, and never stack them flat for long periods.
How do I display records with thicker than standard jackets?
Measure the widest jacket in your stack first, including gatefolds and double-LP boxes. Choose rails with a wider profile, a ledge with a deeper front lip, or framed holders with enough internal depth. Give fat boxes extra spacing so each one stands straight instead of leaning.
Start With One Row
Pick the wall, not the records. Choose the wall that gets no direct sun, mark out one row with paper, and check the collection fits before you touch a drill. One row done properly tells you more about your hardware and your layout than an entire wall built on a guess.