CD rot is corrosion of the thin aluminium layer that carries the data inside a compact disc, and understanding why cd rot happens and how to spot it comes down to one simple habit: hold the disc up to a light and look at the label side. Oxygen and moisture reach that metal layer through the polycarbonate substrate, through a damaged or badly formulated lacquer, or through a problem in the factory. The metal dulls, turns bronze or brown, and the laser can no longer read it cleanly. Left alone, a marginal disc skips, then stalls, then stops loading. Here is what is actually happening inside the disc, how to tell rot apart from mould, moisture damage and a failing label, and what to do about it before the music is gone.
I have pulled several hundred discs out of boxes over the years for this site, and the pattern is consistent. The discs that rotted were rarely the ones that were played most. They were the ones that sat in a hot loft, a damp basement, or a cupboard with a metal roof, pressed against the back of a shelf for a decade.
Table of Contents
- What Is CD Rot?
- What CD rot is not
- The three symptoms collectors actually see
- Why CD Rot Happens
- The four mechanisms of CD rot
- Manufacturing defect or bad storage?
- The myth that CDs last forever
- What CD Rot Looks Like
- CD rot, moisture damage, mould or a bad label?
- How to Spot CD Rot Early
- Step 1: Hold the disc to a light source
- Step 2: Turn it over and study the label side
- Step 3: Inspect the disc edge
- Step 4: Magnify the questionable areas
- Step 5: Test the batch, not just the disc
- Handling rules while you inspect
- Signs that mean isolate it now
- Can You Play a Rotting CD?
- What Does CD Rot Look Like Under a Microscope?
- What you can actually see
- The limits of visual inspection
- How to Test a Suspect CD
- Digital playback hides more than it fixes
- What Causes CD Rot in Storage
- How to Prevent CD Rot in a Collection
- Frequently Asked Questions
- Is CD rot the same as a scratched CD?
- Can a CD with visible rot still be played?
- Does CD rot spread to other discs in the same case?
- Can CD rot be repaired or reversed?
- Why do some CDs deteriorate faster than others?
- How should collectors store rare CDs long term?
- Conclusion
What Is CD Rot?
CD rot is the corrosion of the reflective aluminium data layer inside a compact disc. Oxygen and moisture reach the metal through the polycarbonate substrate or through a damaged, thin or poorly formulated label-side lacquer. The metal loses its reflectivity and turns bronze or brown, a condition the industry formally calls bronzing. The result is skips, dropouts and read errors.
The word gets used loosely, and that is part of why collectors argue about it. People say a disc has rot when they mean bronzing, and they also say it when they mean transparent pinholes, bubbling lacquer, or a label that has come away. Those are related but not identical symptoms, and some of them are harmless.
What CD rot is not
It is not a scratch. A scratch scatters the laser light and causes a momentary dropout; the metal underneath is still reflective and still readable. Rot is a chemical change to the layer itself.
It is not fading. Fading is what happens to the artwork and the printed dye layers. A sun-bleached booklet looks terrible and plays perfectly.
It is not the same thing as a disc that will not load. A warped disc, a dirty lens or a failing drive all produce read failures with no rot present at all. That is why the diagnosis has to start with the disc in your hand, not with the player.
The three symptoms collectors actually see
Bronzing is a bronze, brown, amber or dull grey tarnish spreading across the reflective surface. It usually starts near the outer edge and works inward. In advanced cases the whole disc takes on a bronze cast on the clear side, visible even with the lights off.
Pinholes are tiny transparent holes you can see when the disc is held up to a light. Some are rot. Some were in the disc the day it came out of the box and mean nothing, which I cover in detail further down.
Bubbling and delamination is where the lacquer or the label bond lifts away from the polycarbonate, leaving blisters, cracks or a layer you can peel with a fingernail. It is the most visually alarming form and usually the most advanced.
Why CD Rot Happens
Four mechanisms account for almost all of it, and they are worth separating because they point at different fixes.
The four mechanisms of CD rot
1. Oxygen and moisture migrating through the substrate. Polycarbonate is not hermetic. Over years, ambient oxygen and water vapour diffuse slowly through the disc body and reach the aluminium. This is ordinary chemical corrosion and it is why discs stored in a stable, dry, dark room outlast discs stored in an attic.
2. Label-side lacquer failure. The lacquer on the label side is the first barrier and the thinnest one. If it is applied too thin, formulated badly, contaminated during manufacturing, or cracked by a sharp object, it stops protecting the metal underneath. Nimbus Press warned about aluminium layer oxidation in the early 1980s, before the format had settled, and the debate about whether rot is a manufacturing fault or an environmental one has been running ever since.
3. Ultraviolet light damage. Direct sunlight degrades both the polycarbonate and the organic dye layers on a recordable disc. Sunlight is the single most cited preventable enemy in the collector forums, and the advice that comes with it has never changed: no discs in a window sill, no discs in a sunroom, no discs in a car.
4. Contamination and delamination. A foreign substance on the label side, an aggressive solvent, smoke, or a mould killer applied by an over-enthusiastic owner can eat through the bond. Discs that show a sticky or fully transparent patch where something has sat on them are the classic example, and the damage tracks the shape of the contaminant rather than a clean mechanical pattern.
Manufacturing defect or bad storage?
The useful distinction is inside-out versus outside-in. Genuine disc rot typically works from the inside out. It appears in batches, on specific pressings or plants, and it can take out three discs in a row from the same run while neighbouring titles in the same box sit untouched for thirty years. Collectors with libraries of several thousand discs in temperature-controlled basements report exactly this pattern, which is hard to explain with storage alone.
General deterioration works from the outside in. Scratches, scuffs, cracked hubs, sun damage and grime accumulate on surfaces, and they are what most collectors have when they say their collection is going bad. Both are real. Blaming storage for everything, or blaming the factory for everything, both cost collectors money they cannot get back.
The myth that CDs last forever
The immortality claim came from manufacturer marketing in the 1980s, when the disc genuinely looked like a miracle compared with a cassette or a needle-drop LP. Preservation bodies pushed back with harder numbers. The table below is the usual summary drawn from National Institute of Standards and Technology and Council on Library and Information Resources guidance, and it is worth reading with one caveat: most of these lifetimes come from accelerated aging studies that simulate decades of stress in weeks. Treat them as order-of-magnitude ranges, not guarantees.
| Format | Typical lifespan estimate | Main weakness |
|---|---|---|
| Audio CD / CD-ROM (pressed) | 20 to 100 years | Aluminium layer corrosion and label-side lacquer failure |
| CD-R (recordable) | 100 to 200 years | Organic dye layer fades under heat and light |
| CD-RW (rewritable) | 25 years or more | Phase-change layer degrades with write cycles |
| DVD / Blu-ray | Variable, with documented bad runs | Bond failure and second-layer adhesive problems |
The spread matters more than any single figure. A 20-year estimate for pressed audio CDs overlaps with the working life of a collector who buys them used. That is the practical point.
What CD Rot Looks Like
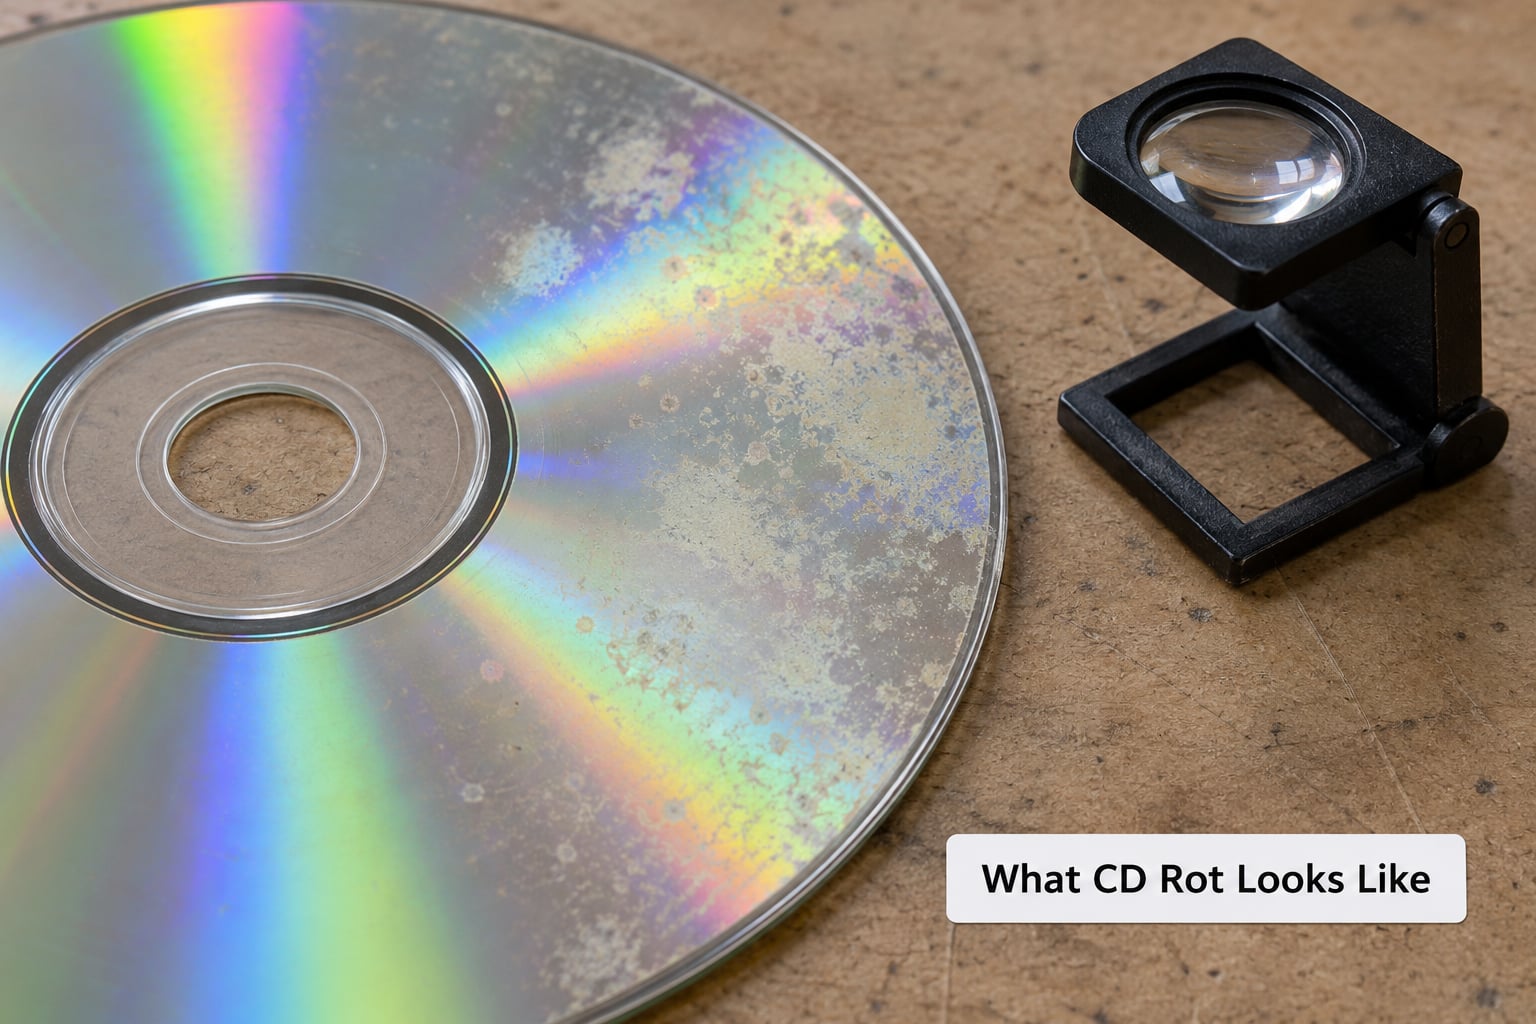
Visual identification is faster than most people expect, and it comes down to holding the disc against a light and looking at the label side first. The reflective side is where pinholes show. The label side is where bubbles, cracks and lifting edges show, and it is the more vulnerable face of the two because the lacquer there is thinnest.
Symptoms worth knowing by sight:
- Bronze or brown tarnish across the reflective surface, sometimes in an oil-slick or rainbow pattern near the edge.
- Transparent pinholes visible only when the disc is backlit.
- Bubbling lacquer, small raised blisters on the label side, sometimes with a network of cracks around them.
- Label peeling, lifting at the rim or coming away in one piece and taking lacquer with it.
- Surface haze, a matte uneven patch where the surface should be mirror smooth.
- Warping, a disc that no longer sits flat or that rattles in its case.
- Edge erosion, a rough or crumbling rim where the layers have separated.
- Musty smell when the case is opened.
CD rot, moisture damage, mould or a bad label?
Most of the confusion in collector groups comes from mixing four separate conditions under one name. This table is the distinction I wish every forum thread had pinned at the top.
| Condition | What it looks like | What caused it | Can it be reversed? |
|---|---|---|---|
| Disc rot (bronzing) | Dull bronze, brown or amber tarnish on the reflective surface; often with pinholes | Oxidation of the aluminium layer through the substrate or a failed lacquer | No. The metal itself has changed. |
| Moisture damage | Cloudy or hazy patches, a faint rainbow sheen, often uneven | Water vapour entering and staining the layers, usually temporary if caught early | Sometimes. Drying can recover a marginal disc. |
| Mould | Fuzzy growth, dark spots, musty smell, usually on the label side or the case | Fungal growth on organic residue in a damp environment | No. Clean the environment and isolate the disc. |
| Label adhesive failure | Paper label lifting at the rim, curling, or coming away with a layer attached | Adhesive ageing, heat, or a reactive label | The label yes, the exposed metal underneath no. |
If you can only check one thing, hold it to a light. That single move separates rot from mould from a bad label faster than anything else.
How to Spot CD Rot Early
You can check a disc in about a minute with a lamp and your eyes. This is the routine I use, and it works on a whole shelf of titles in batches.
Step 1: Hold the disc to a light source
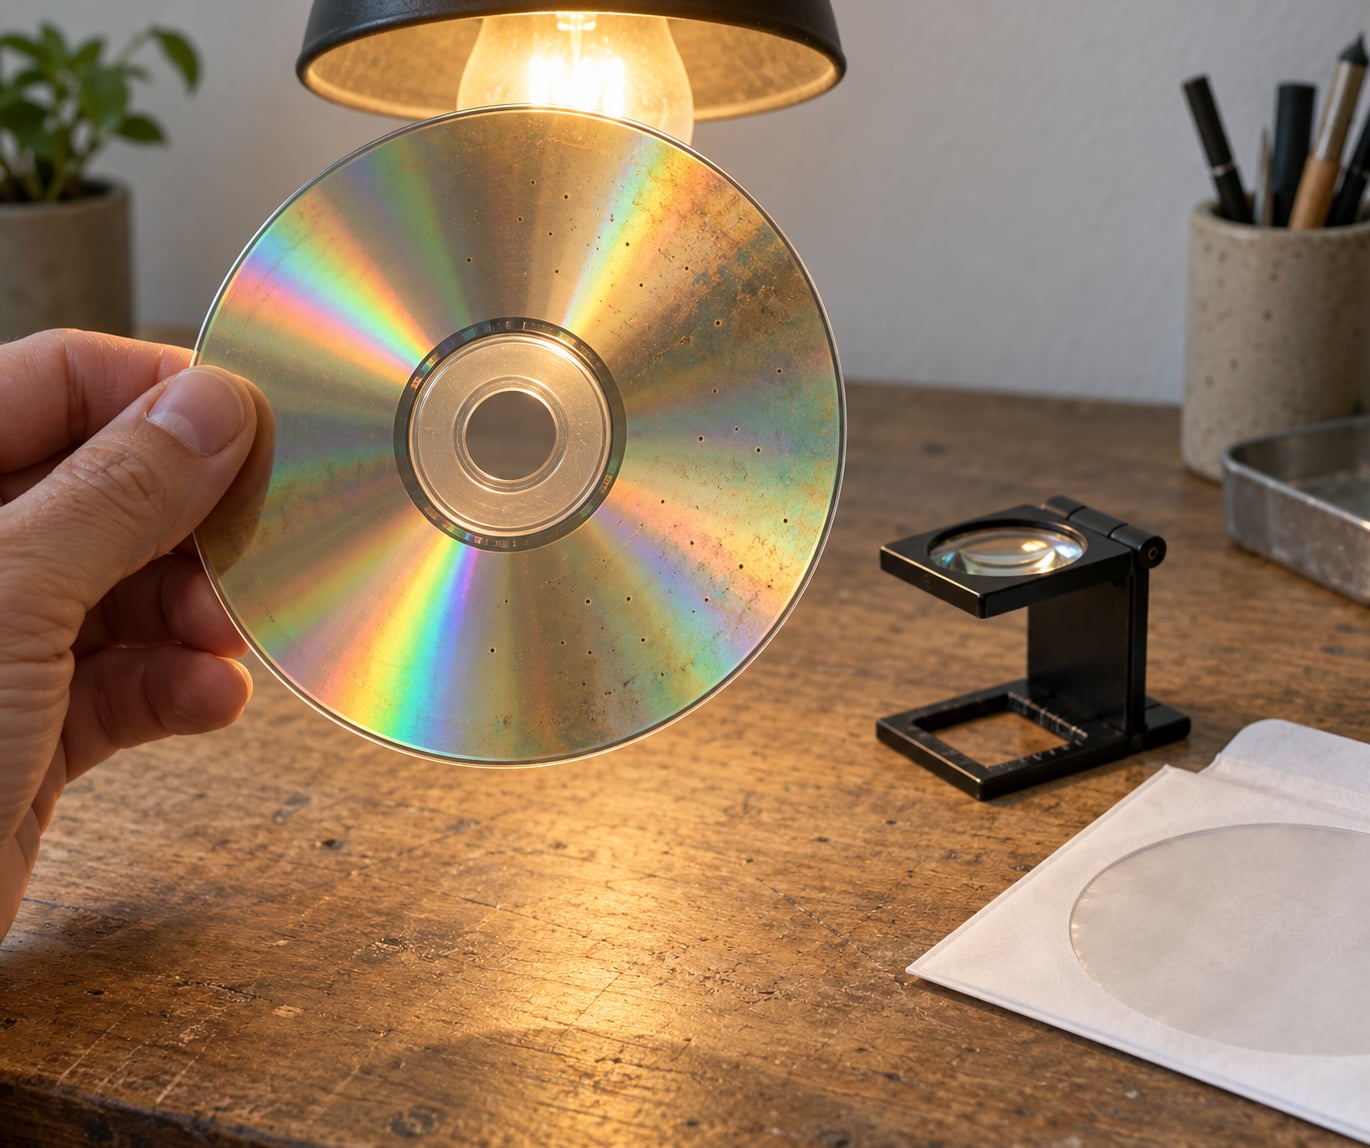
Use a bright lamp or a window. Hold the disc flat against the light and look straight through it. Pinholes, thin patches and delamination show up immediately as bright dots or irregular translucent areas. A healthy pressed audio CD should show an even, uniform glow across the whole surface. Concentrate on a band about two centimetres in from the outer edge, because that is where problems cluster first.
Step 2: Turn it over and study the label side
Now you are looking at the lacquer and the label bond, which is where the early signs appear. Look for bubbles, fine cracks radiating from a point, a label lifting at its edge, or any area that looks duller than the rest. Cracks like a spider web usually mean the layers have already begun to separate.
Step 3: Inspect the disc edge
Roll the disc on a flat surface under a light. A healthy edge is smooth and uniform. Crumbling, a rough or powdery rim, or a visible gap between layers all point the same direction. This is also where erosion from a rough case shows up.
Step 4: Magnify the questionable areas
A 10x loupe costs little and settles arguments. It tells you whether a mark is a scratch that crosses the surface or a pinhole that goes through the aluminium. That difference is the whole diagnosis.
Step 5: Test the batch, not just the disc
One bad disc is an incident. Five from the same pressing run is a pattern. When you find rot, check the neighbouring titles from the same label, plant and year before you put the box back on the shelf.
Handling rules while you inspect
Hold discs by the edges. Never touch the reflective surface, because fingerprints carry salts and oils that encourage corrosion. Never clean a bubbling or bronzing disc, as a cloth across a blister turns a cosmetic problem into a crack straight through the polycarbonate. If a disc is visibly damaged, handle it as little as possible and get the audio off it first.
Signs that mean isolate it now
Any of these and the disc should come out of the collection until you have dealt with it: pinholes you can count, any bubbling on the label side, a label lifting with lacquer attached, a musty smell, or a disc that has visibly warped. Do not stack a suspect disc back on top of clean ones in a tight jewel case while you think about it.
Can You Play a Rotting CD?
Yes, and you should, but with a purpose. Playback is the fastest way to find out whether a marginal disc still holds recoverable audio, and it is the first step in salvaging what is left.
What failing rot sounds like, in rough order of severity:
- Momentary dropouts, a tick or click in a still otherwise clean track.
- Skipping, the same bar repeating, usually at a fixed point on the disc.
- Freeze-ups and stalls, where the player hunts for a long time before giving up.
- Grinding or clicking, which usually means a physical crack rather than pure corrosion.
- Failed track detection, where the TOC will not read or the disc shows fewer tracks than it should.
- Total rejection, the drive refusing to load it at all.
One warning about the reverse direction: a disc that plays perfectly may still be rotting. Corrosion is progressive and early bronzing can sit below the threshold the drive cares about for years. Playback success tells you the disc is not dying today. It does not tell you the disc is safe, and it does not tell you when it will stop.
Format matters here too. LaserDisc rot tends to show as mild video noise that leaves the picture watchable, while DVD rot shows up as hard freezes that can require unplugging the player. Audio CD rot has no video to degrade, so the first thing you notice is silence.
What Does CD Rot Look Like Under a Microscope?
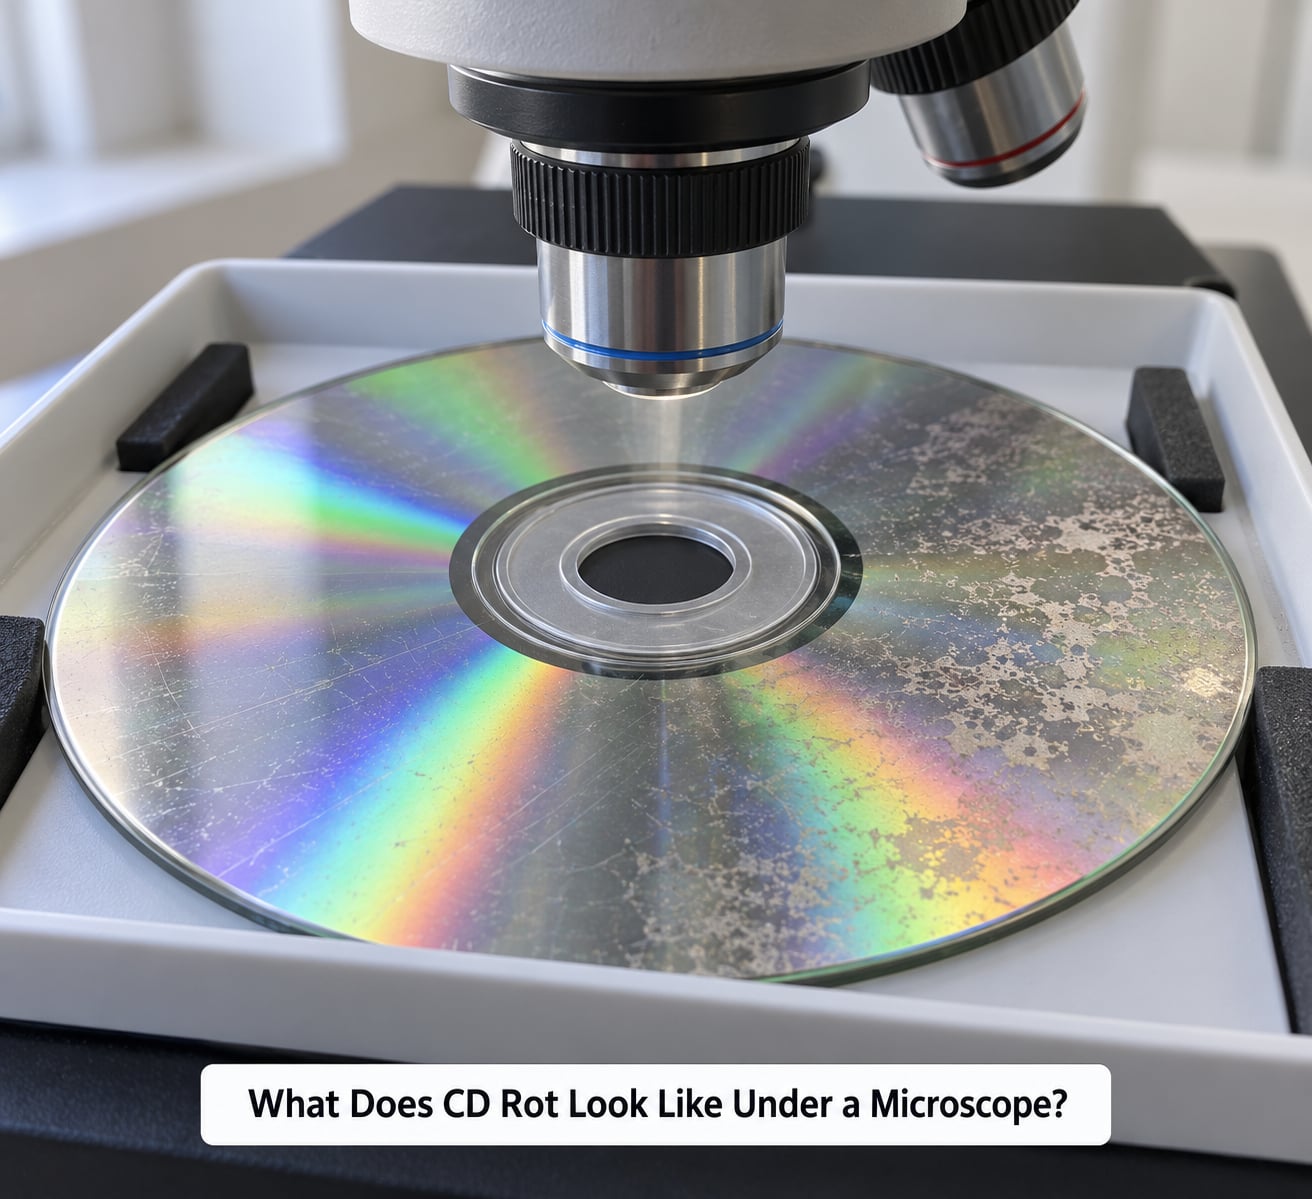
Under magnification the picture becomes much clearer, and it also shows why a microscope is a specialist tool rather than a routine one. A stereo binocular setup at 10x to 40x is plenty. Anything beyond that is academic.
What you can actually see
Pits and lands. The data layer is a spiral of microscopic pits and flat lands. A healthy disc shows a clean, regular surface. A degraded one shows disturbed or merged pit structure where the aluminium has swollen or flaked.
Scratches versus corrosion. A scratch is a groove with clean edges and a consistent width. Corrosion is irregular, blotchy and spreads. This is the single most useful distinction under magnification.
The reflective layer itself. Where the aluminium is intact it is mirror-bright. Where it has oxidised it turns dull, granular and bronze, and under a light you can see the corrosion front moving outward.
Delamination. A gap between the polycarbonate and the bonding layer shows as a dark void with a visible boundary. This is the stage where discs stop being recoverable.
The limits of visual inspection
You cannot judge playability from a lens. A drive measures block error rate and corrects data on the fly, and by the time uncorrectable errors reach audible levels the visible corrosion is usually already obvious under a loupe. Conversely, a disc can look imperfect and still measure clean. Magnification tells you what is happening to the metal. Only an error test tells you how it plays.
For most collectors a cheap loupe and a light bulb do everything that matters. A microscope earns its keep when you are assessing a rare pressing or a batch you intend to buy in quantity.
How to Test a Suspect CD
Test in this order. Each step rules something out, and skipping ahead wastes time and risks damaging a marginal disc.
1. Inspect it first. Hold it to the light, check the label side and the edge. Do not plug a bubbling disc into a deck.
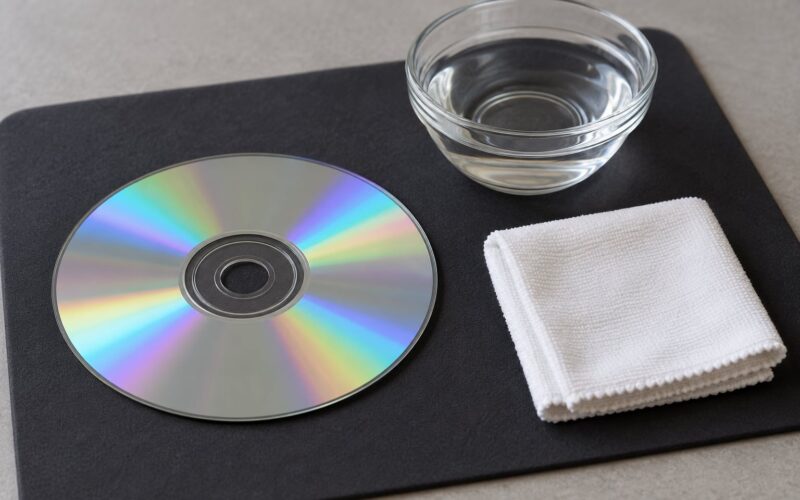
2. Clean it correctly, or not at all. If the disc is merely dusty, a lint-free cloth used straight across the surface from the centre outwards is fine, and never circular motion. If the disc shows bronzing, bubbling or pinholes, do not clean it. You will abrade the corrosion and turn a playable disc into a broken one.
3. Play it in a known-good player. A dirty lens or a marginal drive produces symptoms identical to rot. Use a deck you trust, and use the same deck you will use for the rest of the batch so the comparison means something.
4. Listen for the pattern. Random dropouts across a whole disc point at the player or the lens. A fixed repeating skip at the same track position points at the disc. That distinction saves a lot of wasted blaming.
5. Run an error check when it matters. A disc error-checking tool compares extracted data against an index and reports uncorrectable errors and their locations. On a rare or expensive disc this is worth the time. It gives you a number and a map instead of an impression.
6. Act on the result. Clean error report means leave it alone. A small number of correctable errors means play it and monitor. Uncorrectable errors concentrated in one area means rip it now and stop worrying about cosmetics.
Digital playback hides more than it fixes
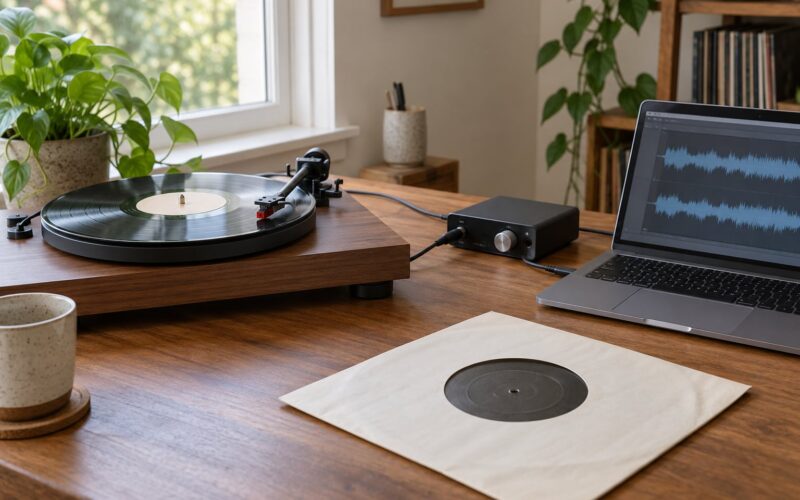
A successful rip does not mean a healthy disc. Error correction hides a great deal, and different rippers behave differently on marginal media. If you are archiving, take the rip and keep the disc, but do not treat the rip as permission to stop caring about storage.
What Causes CD Rot in Storage
Most of rot I have seen in metal collections is not exotic. It comes from where the discs lived for twenty years, not from anything the owner did while handling them. This table maps the usual suspects to what to do instead.
| Storage condition | Likely risk | Safer alternative |
|---|---|---|
| Hot loft or unheated shed | Heat cycling that softens adhesives and drives off protective coatings | Interior cupboard or climate-controlled room |
| Damp basement | Humidity feeding corrosion, mould and label adhesive failure | Dehumidifier plus silica gel packs, aim for roughly 35 to 45 percent relative humidity |
| Direct sunlight through a window | UV damage to polycarbonate and dye layers | Closed cabinet, blinds, or a room with no direct sun |
| Garage or storage unit | Temperature swings far beyond anything indoors | Never. There is no safe version of this. |
| Smoking indoors | Residue and particulate that settle into the label side | Keep discs out of rooms where people smoke |
| Cardboard sleeves stored long term | Acid migration and edge wear against the disc rim | Polypropylene sleeves and jewel cases with a proper hub |
| Unstable shelving, stacked flat | Warping from weight, cracked hubs, edge erosion | Store upright, spine out, no heavy stacks |
| Disc repair kits with adhesive | Glue and solvents that stain and soften the polycarbonate | Leave them in the drawer. Cracked cases can be replaced cheaply. |
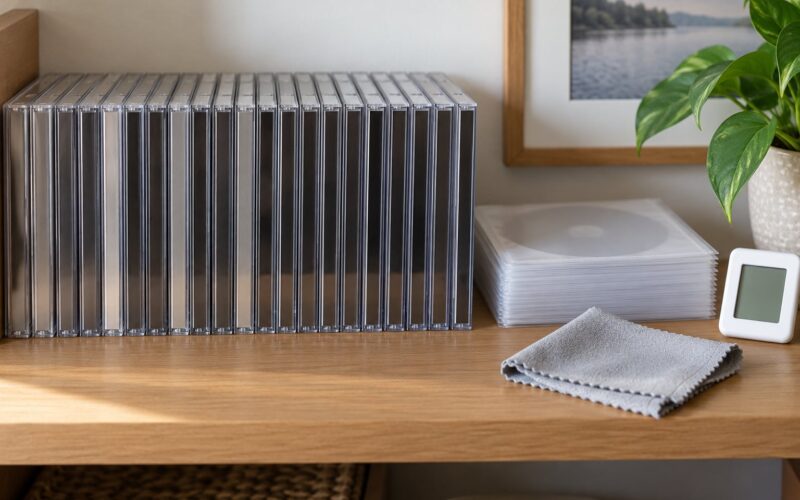
A cheap hygrometer is the single most useful purchase for a collector with a large collection. Ten minutes and two pounds gives you a number instead of a guess, and it tells you whether a cupboard is genuinely safe or just currently dry.
How to Prevent CD Rot in a Collection
None of this is complicated. It is just boring, which is why most people skip it and then wonder why a shelf full of 1990s metal pressings turned brown.
Store upright, never flat. Weight on a stack of discs warps them. Upright on a shelf with the spines facing out, with a bit of space so you can slide one out without dragging its neighbour.
Keep temperature and humidity steady. Not simply low. A cupboard that is cool in February and warm in August is worse for adhesives than one that is mildly cool all year. Roughly 35 to 45 percent relative humidity is the practical target.
Keep discs in cases. Bare discs collect dust, scratches and fingerprints. Polypropylene sleeves for anything rare, and never PVC, which off-gasses and yellows over time.
Limit light. No discs on open shelving in a room with windows. If you display anything, display the covers and keep the discs boxed.
Handle by the edges and keep fingers off both surfaces, with a clean dry cloth for anything dusty.
Handle plasticisers carefully. That includes rubber matting, some cleaning products and solvents that will haze a polycarbonate surface permanently.
Separate suspects. A disc showing rot goes into its own sleeve, away from the rest of the batch, until you have ripped it. Two mouldy discs in a humid cupboard is a mould problem, and mould does spread. Rot does not, but habit costs nothing.
Prioritise the rip. For anything rare or hard to replace, audio off the disc first. Storage improvements protect what is left. A rip protects the music.
Frequently Asked Questions
Is CD rot the same as a scratched CD?
No. A scratch is a mechanical groove that scatters the laser light for a moment but leaves the aluminium underneath intact. CD rot is a chemical change: the aluminium layer has oxidised and lost reflectivity, which is why it turns bronze or brown. A scratched disc usually plays with an occasional tick. A bronzing disc tends to develop dropouts that get worse over months. The practical test is a loupe: a scratch has clean edges, corrosion is blotchy and irregular.
Can a CD with visible rot still be played?
Yes, and you should try, because playback is how you find out what audio is still recoverable. Early bronzing discs often play start to finish with a few dropouts. Discs with pinholes or light bubbling can be worse but still yield a usable rip. The risk is not the playing, it is the damage: never clean a bubbling or bronzing disc, since a cloth across a blister cracks the polycarbonate and ends the disc for good.
Does CD rot spread to other discs in the same case?
No. CD rot is a chemical corrosion process acting on a single disc. It needs oxygen and moisture reaching that disc’s own aluminium layer, and it does not travel from disc to disc or through a shared case. Mould is the one that spreads, because it is a living growth that thrives in a damp environment. That is why a mouldy disc should be removed and the surrounding area cleaned, while a bronzing disc can simply be set aside.
Can CD rot be repaired or reversed?
No, and this is the point collectors find hardest to accept. The aluminium has already changed chemically. Polishing removes material from the surface but cannot restore the reflectivity underneath, and on a bronzing disc it usually turns a cosmetic problem into a crack. There is no chemical treatment and no DIY repair. What you can control is containment, meaning correct storage to slow further decay, and ripping the audio while the disc still reads.
Why do some CDs deteriorate faster than others?
Two main reasons. The first is the manufacturing batch: a pressing with a thin or poorly formulated label-side lacquer exposes the aluminium from the start, and collectors routinely see three or four titles from one plant or year fail together while neighbours survive. The second is where the disc lived. Heat, humidity and sunlight accelerate corrosion, and discs from the same run stored in different rooms will diverge completely. Rare pressings and thinner discs tend to be more vulnerable.
How should collectors store rare CDs long term?
Upright in a proper case, spine out, in an interior room rather than a loft, shed or garage. Keep relative humidity around 35 to 45 percent using a cheap hygrometer to check, keep discs away from direct sunlight, and avoid temperature swings as much as heat. Use polypropylene sleeves rather than PVC, handle by the edges, and never use disc repair adhesive. Above all, rip anything irreplaceable first and keep the disc as a backup.
Conclusion
Why cd rot happens and how to spot it is a two-minute job if you know where to look. Hold the disc to a light, turn it over, check the edge, and remember that the label side is the face that fails first. Bronze tarnish, pinholes and bubbling mean the aluminium is corroding, and that damage is permanent.
Start with the discs that still play: rip anything rare before you do anything else, because audio you have already copied cannot rot. Then move the whole collection out of any loft, shed or garage, keep it upright in cases, and put a hygrometer in the cupboard so you are working from a number rather than a feeling. Do not clean a bubbling disc. Do not throw a bronzing disc away before you have copied it.