To clean scratched CDs safely, hold the disc by its outer edges, wipe the reflective side with a lint-free microfiber cloth dampened with distilled water, and always use straight strokes from the center outward. Skip the circular scrubbing and the household products. The whole job takes about five minutes and needs almost nothing.
That matters more than it sounds. A CD stores its music as a spiral of microscopic pits and lands under a thin reflective layer, and a laser reads it by bouncing off that smooth surface. Grime, fingerprints and scratches scatter the beam, so the player retries, stutters or skips. Cleaning removes the dirt; it does not repair a damaged data layer. Knowing which one you are dealing with is the whole trick.
One more thing before you start. If a disc matters to you, rip it first. For these formats you are usually playing a copy you can replace, and a five-minute audio backup beats an afternoon of buffing. Set your rip tool to the slowest read speed, let it retry on errors, then listen to the result before touching the disc with anything abrasive.
Table of Contents
- What You Need
- Step-by-Step: How to Clean Scratched CDs Safely
- Step 1: Inspect the CD and Disc Player
- Step 2: Wash the Disc With a Safe Solution
- Step 3: Rinse or Remove Residue Carefully
- Step 4: Dry and Test Playback
- Step 5: Protect the CD From Future Damage
- Common Mistakes
- Frequently Asked Questions
- Can toothpaste remove scratches from a CD?
- Are alcohol wipes safe for CDs?
- Can a scratched CD be fixed?
- Can a disc be too scratched to fix?
- Can you clean a CD while it is in its case?
- When should I replace a scratched CD instead of fixing it?
What You Need
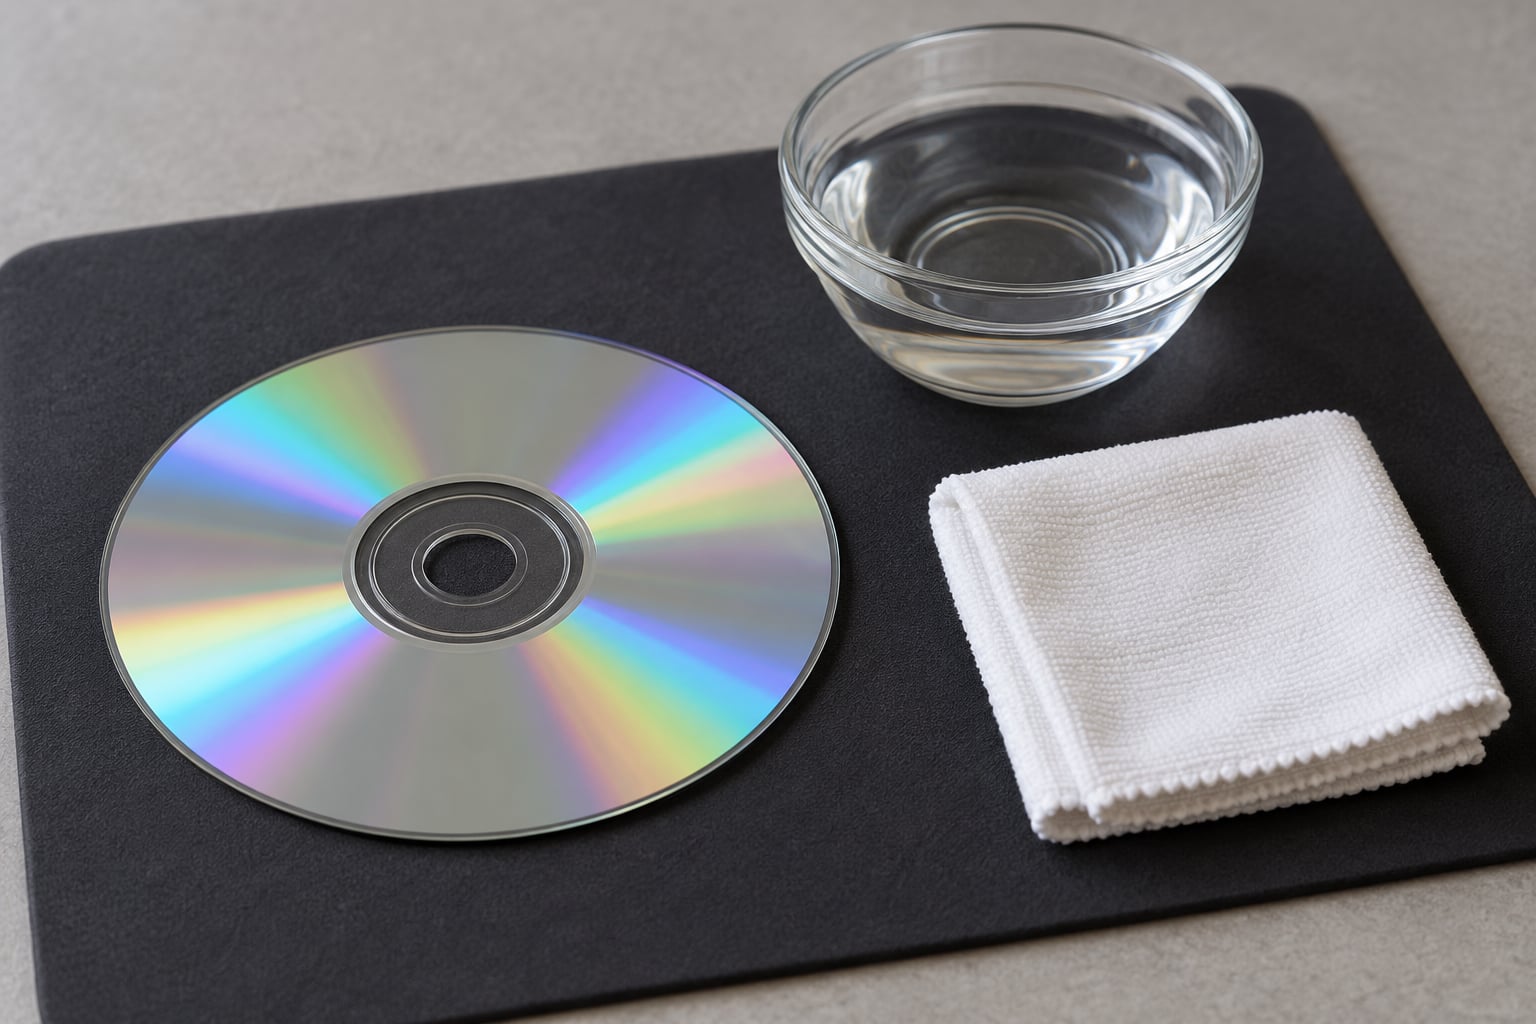
Almost everything on this list costs nothing, which is why the safe method is also the cheap one. Gather it before you touch the disc so you are not hunting for a dry cloth halfway through.
- A soft lint-free cloth. A microfiber lens cloth is ideal. Any clean cotton cloth without loops, stitching or lint works too.
- Distilled water. Tap water carries minerals that leave their own film on the disc.
- Mild dish soap. One drop in a bowl of water. Nothing with bleach, solvents or scent added.
- Cotton swabs or cotton balls for grime sitting in a scratch or around the center hole.
- A soft brush or clean toothbrush for dust caught in the label ring.
- Canned compressed air, held upright, to blow loose dust off before you ever touch the surface.
- A clean work surface. A towel on a table beats a carpet or a sleeve every time.
- 70% isopropyl alcohol, only for grime that water will not shift, and only on reflective sides with no printed label over them.
Keep these out of reach: window cleaner, which contains ammonia and often alcohol, petroleum jelly, kerosene-smelling polish, baby wipes, paper towels, and any t-shirt you do not mind ruining. Paper towel fibers are coarse, and every one of them becomes a new scratch.
Step-by-Step: How to Clean Scratched CDs Safely
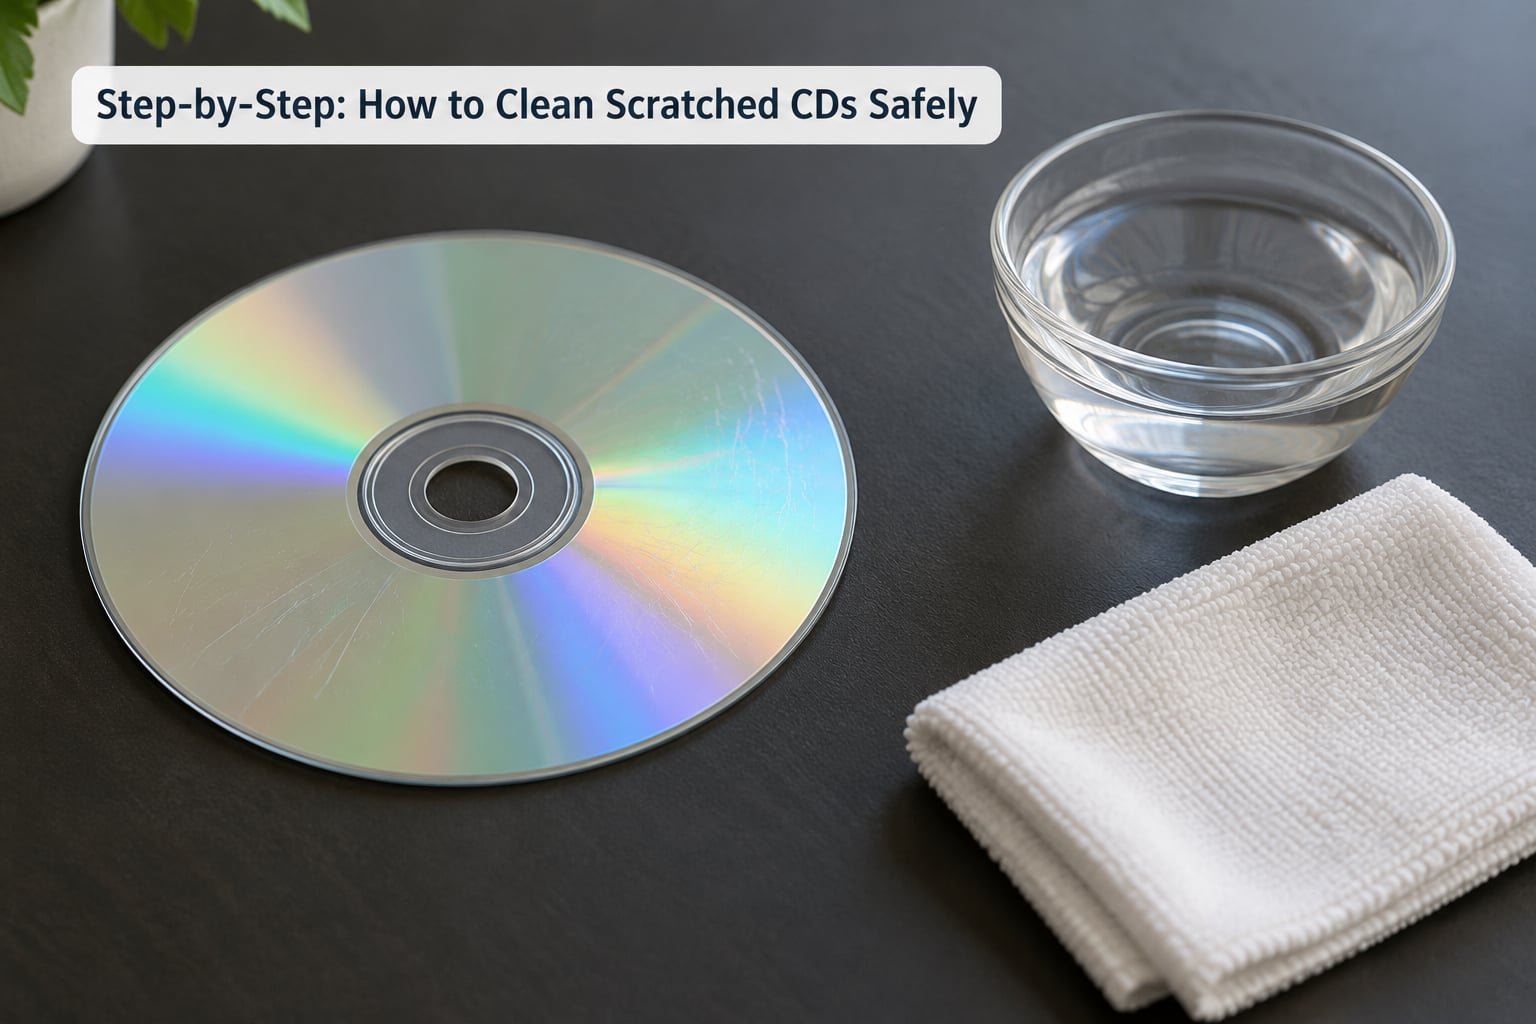
Step 1: Inspect the CD and Disc Player
Hold the disc by the edges with both hands and turn it under a light. You are looking for two different problems: dirt on the surface, and damage in the polycarbonate. Cleaning fixes the first. Only polishing touches the second, and polishing works on the unprinted reflective side only.
Here is the triage that tells you which job you have.
| What you see | Where it is | What to do |
|---|---|---|
| Circular scuff or dull smear | Reflective side | Wash and dry. Often the whole fix. |
| Radial scratch running from the center outward | Reflective side | Wash first. Try a mild abrasive only if it still skips. |
| Gouge or divot you can feel with a fingernail | Reflective side | Rip it. Polishing cannot fill a divot. |
| Scratch through the printed artwork | Label side | Rip it now. The data sits under that print. |
| Disc rejected by two different players | Either side | Clean both sides, then test the player itself. |
The reason label-side damage is fatal sits just below the ink. A pressed disc is a 1.2 mm polycarbonate disc with a spiral data layer deposited near the label side and a mirror-like reflective layer on the unprinted side. A laser enters through the label side and reflects off the far surface. Scratch the unprinted side and you have taken polish off a mirror, which the error correction can often absorb. Scratch the label side and you have cut straight through the data itself.
There is a field check people on collector forums still use. Shine a light at a low angle across the reflective side. A surface scuff catches the light but stays faint. If you can see light entering through a point in the scratch, the damage goes deep. That scratch probably is not worth your afternoon.
Also check the player before you blame the disc. A tray that rattles, a sticky rubber band or a visible hairline of dust on the laser lens will skip clean discs all day. Power it off, unplug it, and look at the lens with a flashlight from below.
Step 2: Wash the Disc With a Safe Solution
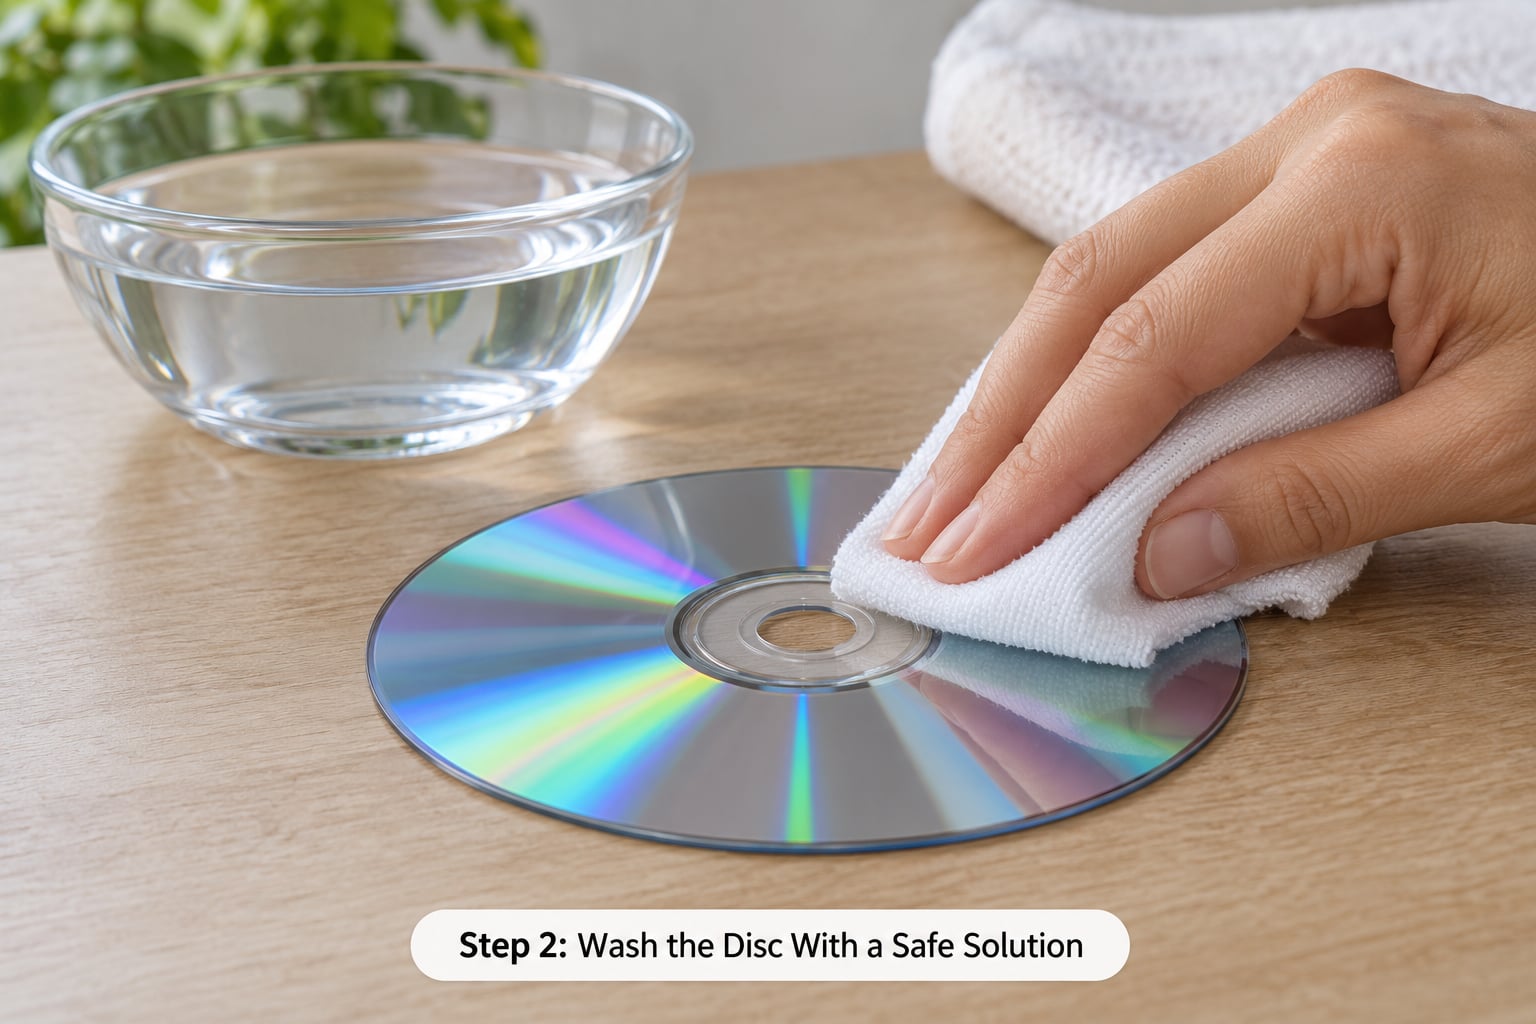
Fill a bowl with cool distilled water and add one drop of mild dish soap. Dip the corner of the microfiber cloth in it and wring it out until it is damp, not dripping. Wringing matters. A soaked cloth is how water gets under the label edge and warps the disc.
Now wipe in straight lines from the center hole outward to the rim, following the direction of the spiral. Use light pressure and a fresh section of cloth every few passes. You are lifting dirt, not sanding the surface.
Never scrub in circles. This is the single most common mistake and the reason so many discs come back worse than they started. Circular motion cuts across the spiral at a shallow angle, which is exactly how a scratch becomes a scuff across the whole face. One Tom’s Hardware poster put it plainly: avoid circular motion, especially during the cleaning stage.
Work both sides. Plenty of people clean only the reflective face and leave the label side dirty, then wonder why the disc still skips.
Step 3: Rinse or Remove Residue Carefully
For a disc that is merely dusty, skip the rinse. Wipe the surface nearly dry, then use a dry section of the cloth to lift what is left. For a filthy secondhand disc with sticky residue, a gentle rinse under cool running water is worth it. Hold it by the edges and keep the water moving from the center outward.
Use cool water only. Warm water can subtly warp polycarbonate, and a warped disc can overheat the pickup inside the player. Soak nothing, and never leave the disc sitting in a bowl. If peanut butter or a sticky label has ever touched a disc, a soak of a few minutes with dish soap beats scrubbing.
Alcohol comes in only after water has failed. Spray 70% isopropyl onto the cloth, never onto the disc, then wipe straight outward. A commenter on r/gamecollecting summed up the rule well: a damp microfiber cloth first, isopropyl if you need it, and keep it off the labels. Alcohol lifts inks, dissolves some label adhesives and can leave a rainbow haze on printed art. The concentration question comes down to water content, and 70% has more of it, which is what you want for lifting grime.
Step 4: Dry and Test Playback
Shake out trapped water, blot the disc gently, then let it air-dry completely on a towel with the reflective side up. Do not rub it dry and do not wipe the last of the moisture in tight circles. Blot, then wait. A wet disc going into a tray is how you scratch it and how you risk the laser.
Hold it up to a light and look for streaks, not scratches. Streaks mean residue is still there and you need another pass with the damp cloth. Once it is dry, insert it label-side up and test several tracks, including one from the start and one from the far end of the disc. Radial scratches near the outer rim cause trouble in the last minutes of an album, so always test the ending.
Be honest about what you are hearing. If skips are gone, the dirt was the problem. If the disc now sounds louder, hissier or drops out in places it did not before, cleaning has removed a film that was masking read errors, and the disc is worse than you thought. Either way, rip it while it still reads.
You can verify the result in software. Most audio CD rippers report C1 and C2 error counts, where C1 means a corrected error and C2 means a burst too large to correct. A disc that was washed clean usually shows sharply lower numbers on the second rip than the first.
Step 5: Protect the CD From Future Damage
Put the disc back in its jewel case, sleeve or a multi-pocket CD wallet straight away. Bare discs on a table pick up the grit that causes the next scratch. Jewel cases scratch discs more than wallets do because of the ridge on the inner tray, so keep the disc snapped in its hub and never slide it in loose.
Store discs upright in a cool, dry room away from direct sunlight. Move them out of attics, garages and unheated units. Heat cycles are what craze and warp polycarbonate, and a warped disc no longer spins true in the player.
For the player, lift the lid or tray with a cotton swab dampened with a little isopropyl and dab the lens gently without touching the glass with anything solid. If your model has a lens-cleaner disc, use it as directed and skip it on a player with a very tight or very delicate pickup. Many skipping discs are actually dirty lenses, and collectors confuse the two constantly.
One last habit for the discs you care about most: the moment a disc starts giving you trouble, rip it to FLAC or ALAC before you experiment. A scratch left alone only ever gets worse, and the repair methods below all shave material off the disc.
Common Mistakes
Almost every scratched CD I have seen ruined was ruined in the five minutes somebody spent trying to fix it. Here is the list, with the reason and the fix.
| Never use this | Why it hurts | Use instead |
|---|---|---|
| Paper towels, napkins, old T-shirts | Loose fibers scratch the polycarbonate | Microfiber or lint-free cotton cloth |
| Circular scrubbing | Turns one scratch into a spiral scuff across the whole disc | Straight strokes, center outward |
| Window cleaner or glass spray | Ammonia and dyes haze and print damage the disc | Distilled water with a drop of soap |
| Petroleum jelly or kerosene polish | Petroleum derivatives attack polycarbonate and stay on the surface | Water first, then 70% isopropyl on the reflective side |
| Baby wipes | Lint and hand cream, leaves a film that attracts more dust | A cloth dampened with soapy water |
| Compressed air at close range | Can scratch and spins dust into the label ring | Fine bursts from 30 cm, upright can |
| Warm or hot water | Softens and warps the disc, which can overheat the pickup | Cool or cold water only |
| Alcohol straight onto the disc | Wet pools under the label and attacks printed surfaces | Spray the cloth, never the disc |
The household hacks deserve their own verdict, because they keep circulating. Plain white paste toothpaste has mild abrasives and one audiogon collector reports it working on old scratched discs, while also being clear that deep scratches are not remedied. Whitening and tartar-control pastes work best, and gel pastes do nothing. Chapstick, banana peel, shoe polish and car wax all show up in threads as occasional successes, usually because they fill a scratch temporarily with oil or wax and the fill wears off. Peanut butter is a joke, except when sticky residue has to come off.
For polishing rather than cleaning, the gentler option people on r/fixit recommend is polywatch, the paste sold for polishing watch crystals, used in small circular passes rather than long ones. Hand-crank repair kits do restore some discs to playability, but posters on Tom’s Hardware note they leave a dull finish behind, which collectors hate on a rare pressing. Nobody in those threads mentions a repair that made a disc look worse.
Two more errors worth naming. First, cleaning a wet disc: put it away before it dries and the water leaves rings. Second, assuming a disc that skips in one deck is broken. A poster on Stereonet put it well: a disc that skips in one player may play fine in another or on a computer drive, so rip it and find out before you buff anything.
Frequently Asked Questions
Can toothpaste remove scratches from a CD?
Plain white paste toothpaste has mild abrasives that can smooth light surface scuffs on the reflective side, and collectors on audiogon report it working on old scratched discs. Use a paste, not a gel, and whitening or tartar control types are the strongest. It will not fill a gouge, and the same collectors are clear that deep scratches are not remedied. Rip the disc before you buff it.
Are alcohol wipes safe for CDs?
Only on the reflective side, and only with care. Most alcohol wipes are 70% isopropyl and leave lint, and the preservatives in scented wipes leave a film that traps more dust than you started with. Spray 70% isopropyl onto a clean microfiber cloth instead, never onto the disc, and keep it away from printed labels because alcohol lifts inks and softens label adhesive.
Can a scratched CD be fixed?
Light surface scuffs usually clean up with water and a soft cloth. Radial scratches on the reflective side sometimes respond to a mild abrasive such as toothpaste or polywatch. Damage through the printed label side, gouges you can feel, or scratches you can see light entering are permanent, because the data layer sits under that label. For those, rip the audio and stop.
Can a disc be too scratched to fix?
Yes. If a scratch reaches through the label into the data spiral, error correction cannot recover it and no amount of polishing changes that. The same goes for a gouge deep enough to catch a fingernail, and for a disc that warps. If light enters the scratch at an angle, treat it as unfixable and preserve the audio instead of the disc.
Can you clean a CD while it is in its case?
You can clean a disc in a jewel case, but only the exposed outer edge, and only with a soft dry cloth. For the reflective side you have to take it out, which means holding it by the rim and never touching the data face. Do not scrub the disc inside the case, since the case itself scrapes across the surface as the door moves.
When should I replace a scratched CD instead of fixing it?
Replace it, or rather preserve it, when the damage is on the label side, when the disc skips on a second machine after a clean wash, or when it is a pressing you cannot buy again and the repair would dull the surface. Rip it to FLAC or ALAC at the slowest read speed, verify the file plays, then decide whether the physical copy is worth replacing at all.
That is how to clean scratched CDs safely, start to finish: the rim, a bowl of cool soapy water, and straight strokes from the center out. Skip every household product that was not made for discs, and keep the label side dry. If it still skips afterward, rip it at the slowest read speed before you try anything harsher. Getting these five steps right in 2026 is the difference between a disc you can still listen to and a souvenir.