You can record drums in a small room, and the room is not the excuse people think it is. The fix is threefold: kill the harsh reflections with absorptive material, stop the low-frequency pile-up, and use fewer microphones placed closer to the source. Do all three and a bedroom can produce a tight, controlled heavy-metal kit that sits in a mix without swamping everything around it.
Budget roughly an afternoon for room work and an evening for the first session. The steps below are ordered the way they actually need to happen, because fixing the room after you have already mixed a kit means re-tracking.
Table of Contents
- What You Need
- The minimum viable setup
- Worth adding later
- Step-by-Step
- 1. Prepare and Treat the Room
- 2. Tune the Drums and Choose the Sound
- 3. Position the Mics for the Kit’s Character
- 4. Set Levels and Record Clean Takes
- 5. Build the Drum Sound with EQ and Compression
- 6. Export, Bounce, and Judge the Result
- Common Mistakes
- Frequently Asked Questions
- Can I record drums in a bedroom or very small room?
- What is the best microphone setup for drums in a small room?
- Should I use bass traps and acoustic panels in a small room?
- How do I stop drums from sounding too loud in a small room?
- How can I record drums at home with only two microphones?
- Conclusion
What You Need
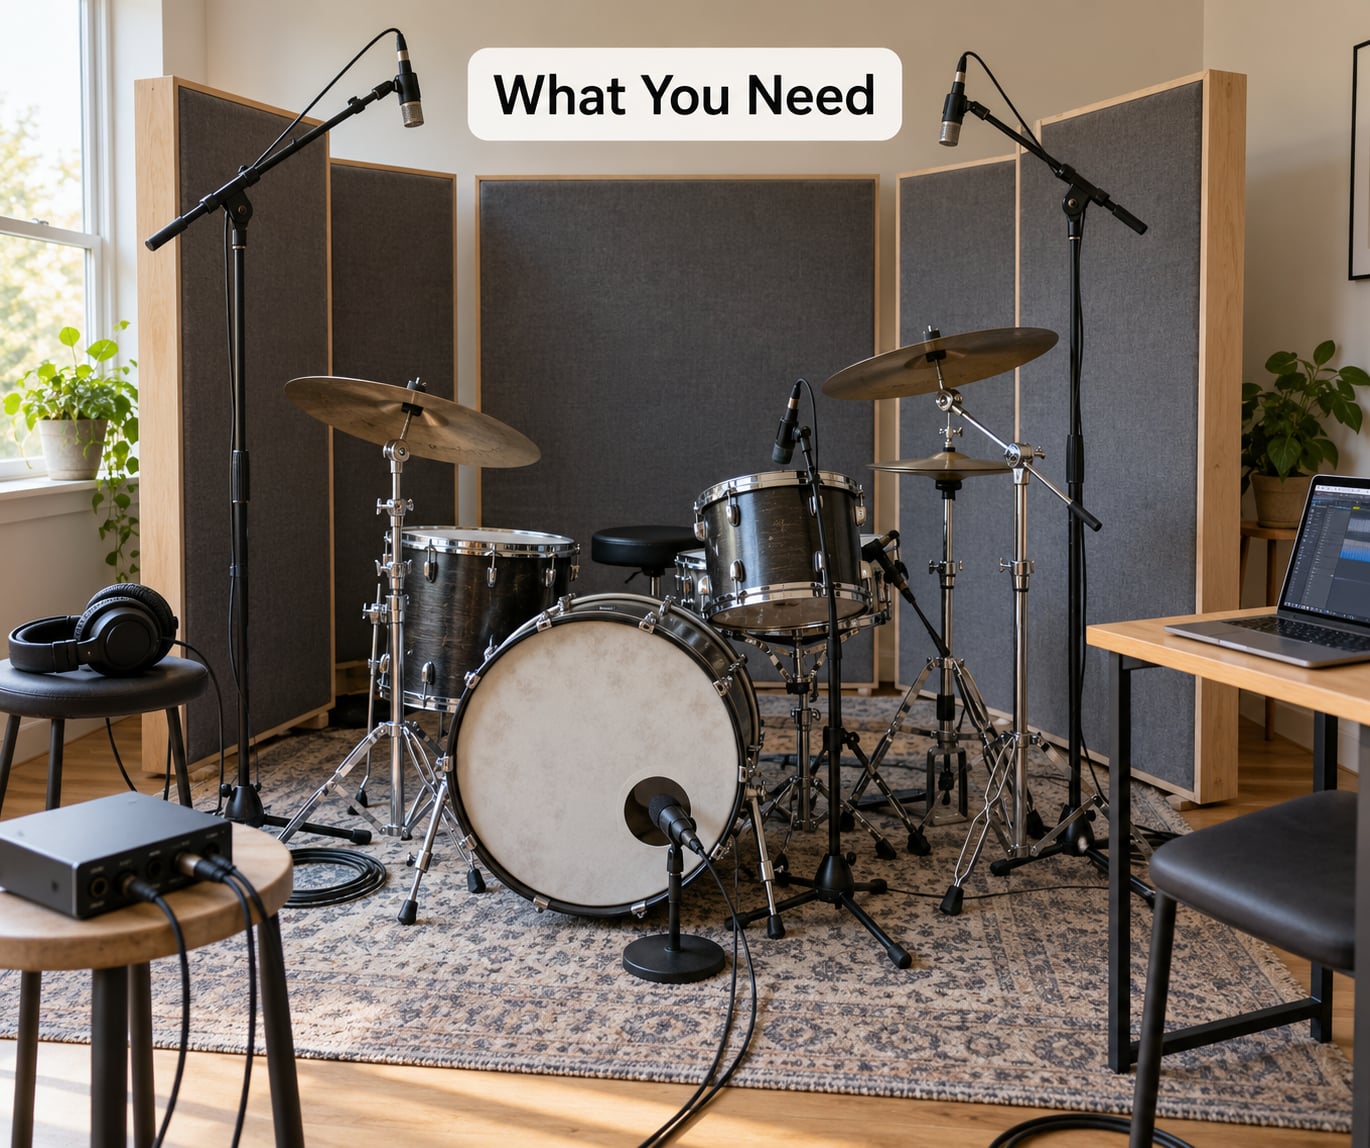
Start with the room, not the shopping list. Stand in the middle of it, clap once, and listen to how long the tail rings and whether it smears or rattles. That single clap tells you whether your problem is a bright reflective room, a boomy one, or a resonant one with one bad frequency.
Next, look at the kit. Check head tension by pressing the center of each batter head with a thumb, look for dents or scuffs, and confirm the pedals and hi-hat are not rattling. Tuning a kit that has a warped head is a waste of an afternoon.
The minimum viable setup
- One or two dynamic mics for kick and snare. A Shure SM57, Shure Beta 52A, AKG D112, Audix D6 or Sennheiser e604 all handle the levels and reject more room than a condenser does.
- Absorbptive material: moving blankets, duvets, old sleeping bags or foam panels. These fix mids and highs, which is exactly what a small room reflects.
- An interface with at least two mic preamps and a gain stage that does not distort when the kick drum lands.
- Headphones, so you are not monitoring through speakers in the same room and colouring what you record.
- Stands and clamps, including a boom for overheads and a way to hang a blanket over the top of the kit.
Worth adding later
A pair of small-diaphragm condensers such as Behringer C-1s or Audio-Technica AT2020s gives you overhead cymbals and a proper stereo image. A ribbon mic is excellent for a grunge or vintage wall sound, and a tube trap or a heavy duvet hung on a mic stand adds absorption exactly where you need it. None of these matter as much as the room, so buy them second.
One warning about preamps: more inputs do not equal a better drum sound. Four mediocre preamps beat two good ones only for a drummer who wants separate tom control. A tight two-mic kit always trumps a thin eight-mic one in a small space.
Step-by-Step
Six stages, in this order: fix the room, set the kit, place the mics, set levels and track, build the sound in the mix, then judge the bounce honestly. Each stage has an audible result, so you can tell whether it worked before moving on.
1. Prepare and Treat the Room
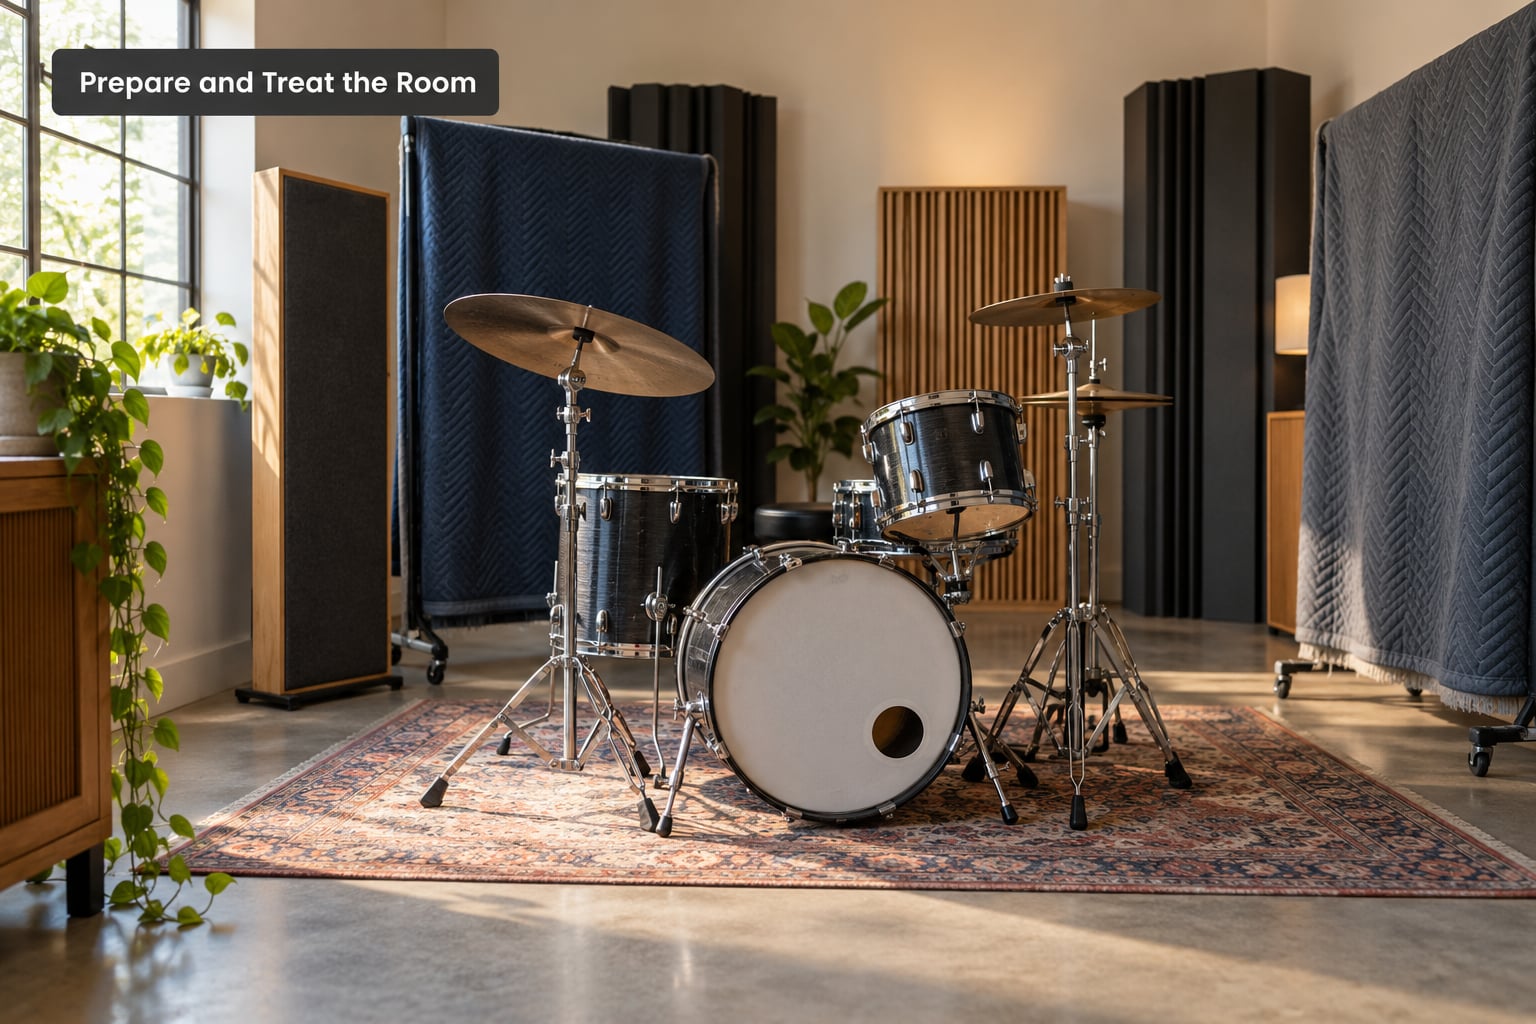
First, find the reflections. Have someone walk a phone or a mic in a circle around the kit while you listen, and note where a single hi-hat note sounds like it comes from a specific wall. Those spots are your first reflection points, and that is where absorption earns its keep.
Then deal with the low end. Bass traps belong in the corners of the room, and a few duvets on the walls behind the kit will stop the kick and toms from bouncing back at you as mud. One thing to accept early: blankets and foam do nothing below roughly 200 Hz. Low-frequency build-up in a small room is a placement problem, solved by getting mics close and keeping the kit off the walls, not by adding more material.
- Move the kit away from walls. A foot or two of clearance on all sides beats any corner position.
- Do not jam the kit into a corner. Corners stack every reflection on top of itself and pile up the exact low-end mud you are trying to remove.
- Hang absorbers at the first reflection points, not randomly. Moving blankets are the cheapest effective option; a duvet on a cymbal stand is a very credible alternative.
- Treat the ceiling if it is close and hard, because a low ceiling reflects straight back into overhead mics.
- Take things out. Wardrobes with mirrored doors, glass, bare shelving and computer monitors all add reflective surface. Move them out for the session if you can.
Keep some room alive. A dead booth gives you a flat, lifeless kit with no ambience, and you can add space later with a convolution reverb far more easily than you can add life. Treat the harsh stuff, not every surface.
2. Tune the Drums and Choose the Sound
Tune every head to an even pitch across the kit so the shells ring consistently, and check tuning after the room has warmed up. A thin or pre-warped head changes pitch as the temperature climbs, so a tuning done at 9am can drift by the third take.
Choose a target before you tune, because the style decides the setup. For metal and rock, low and tight: a moderately damped kick, a snare with a little ring left in it, and a slightly choked hi-hat. For punk and hardcore, let the kick ring and play harder, since the aggression comes from the player. For jazz trio work, a full kit with almost no dampening and an overhead pair as the main source.
Dampening is where a small room pays off. Moongel or gel pads on the snare, a small pillow or folded blanket inside the kick, and a sock over the bottom of the hi-hat will cut the sustain that otherwise smears into the next beat. Keep some shell resonance alive, though: overdamped drums on a recording sound like they were recorded inside a wardrobe.
Over-tuning makes this worse, not better. Tension drums up as tightly as you can and you get a brittle, choked kit that sounds tense and dull, and the head gives up after a few weeks anyway.
3. Position the Mics for the Kit’s Character
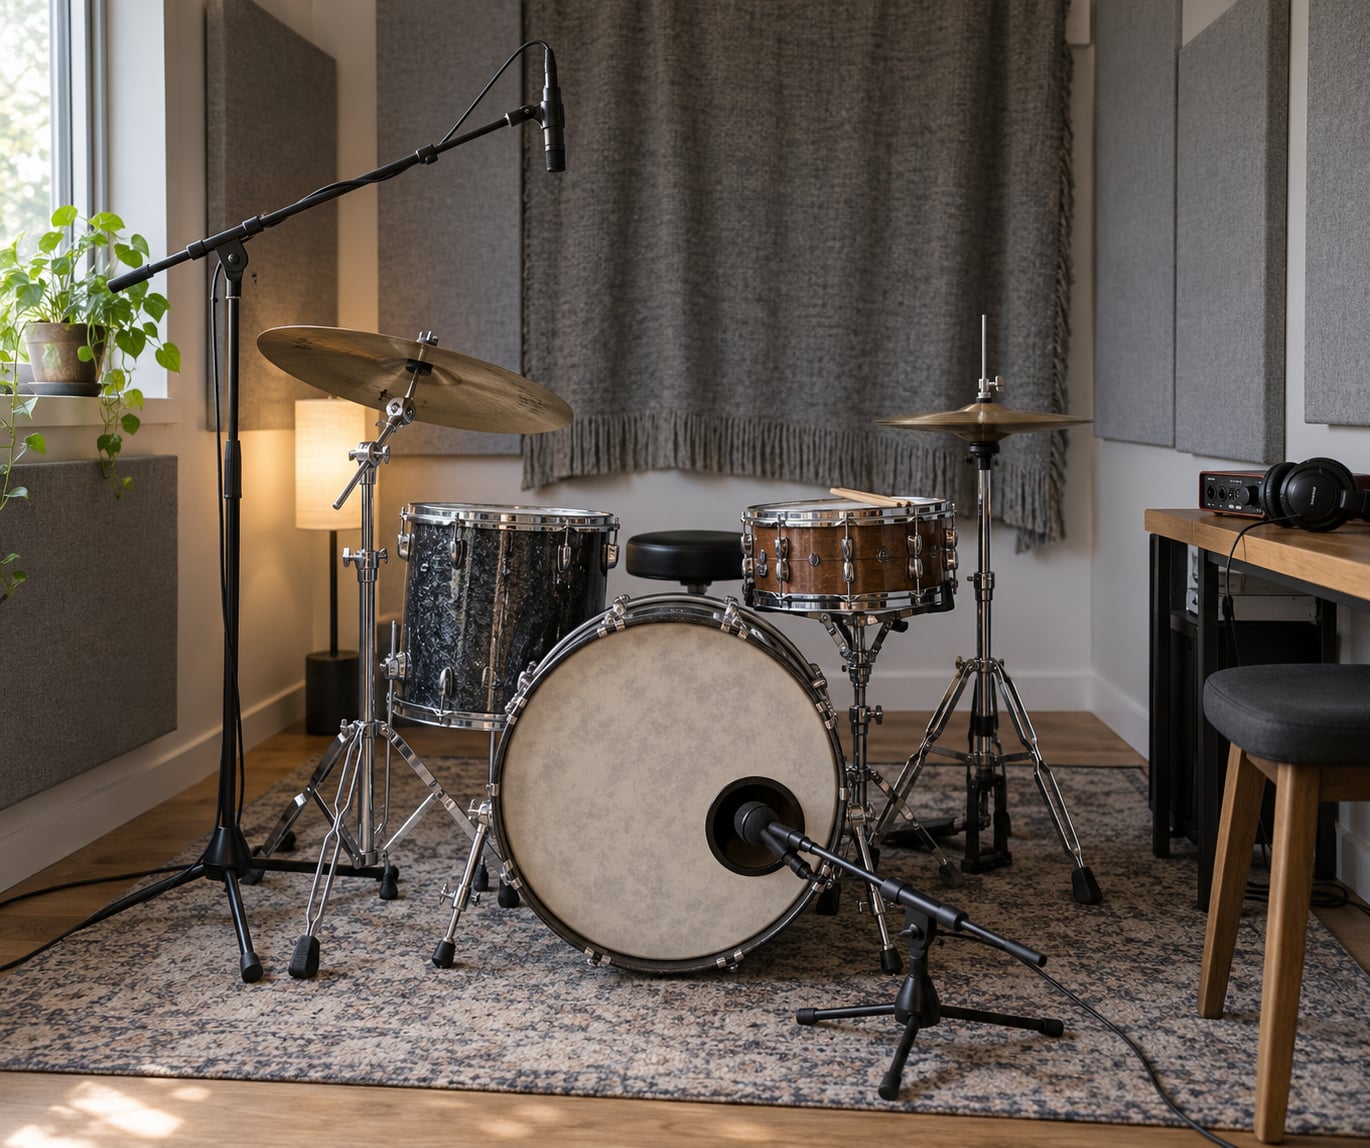
Close miking is the core principle. A mic 3 inches from a drum head captures mostly direct sound; the same mic 8 feet away captures mostly the room. In a small room you want the first one.
| Mic | Type | Position and distance | What it gives you |
|---|---|---|---|
| Kick | Dynamic | Inside the shell, 2 to 4 inch from the batter head near the beater impact point | Punch and low-end weight with almost no room |
| Snare top | Dynamic | 8 to 12 inch above, angled at the head just above the wires | Crack and stick definition, low bleed |
| Snare bottom | Condenser | 3 to 5 inch below the resonant head, offset from the wires | Shell body, snappy response |
| Toms | Dynamic | 6 to 10 inch above each drum, tilted in | Attack and weight per drum |
| Overheads | Small-diaphragm condenser | X/Y 45 degrees apart, 18 to 24 inch above the kit, 6 to 10 inch apart | Cymbals, kit balance, stereo image |
| Room or ambience | Ribbon or condenser | Low level, 6 to 10 feet out, or in the next room with the door cracked | Space and glue, added last |
With four inputs, a workable set is one kick dynamic, one snare dynamic, and an X/Y pair of condensers overhead. With two inputs, put one mic over the snare and one aimed at the kick batter head from the side, which is roughly the bedroom setup that people on r/recording keep describing.
Overhead spacing decides the room sound. X/Y puts the capsules about 45 degrees apart, which gives excellent phase coherence and a narrow but focused image, and it is the right choice in a small room. An A/B spaced pair sounds wider and more natural but needs roughly double the ceiling height, and near a low ceiling it turns into a comb filter that hollows out the snare.
Keep the kit mono-friendly. Pan your close mics into a narrow band and check the whole mix in mono at the end; anything that disappears has been cancelled by phase, not by taste.
4. Set Levels and Record Clean Takes
Set gain so the loudest hit, usually a kick and snare together, peaks around -12 to -6 dBFS on your meters. That leaves headroom and keeps preamp distortion out of the signal. If a mic clips, pull it back rather than pulling the fader down later.
Record the kit in isolation wherever you can, because bleed locks in and you cannot undo it. Play with a consistent intensity across takes: dynamic variation you did not intend will show up as level shifts that compression later smears.
Before committing, hit record for thirty seconds and play along as if the band were there. Then check three things: that the kick is not swallowing the snare, that the cymbals are not too far forward, and that nothing is sitting in a wall of boxiness. Fix placement and re-check rather than planning to fix it in the mix.
5. Build the Drum Sound with EQ and Compression
Work in this order. Correct phase, then EQ, then compression, then room.
For phase, put the kick mic on one channel and solo it, then solo the overheads. If the kick loses weight when the overheads come in, delay the overhead track by a few milliseconds until it aligns, and let your ears decide the exact amount. Check in mono too, since a close wall behind the kit can comb-filter and thin out the low end.
For EQ, high-pass the close mics around 60 to 80 Hz unless the kick needs weight, notch out any resonant frequency you can hear as a ringing tail, and gently cut the snare band where it masks the guitars. Small moves of 1 to 3 dB do the job; large cuts sound like a mistake.
For compression, start with a 4:1 ratio, 2 to 4 dB of reduction, and a 10 to 30 ms attack, then release slowly so the tail breathes. Over-compressing in a small room is what makes a home kit sound crushed and lifeless, and no amount of reverb brings that back.
Finally, add space. A convolution reverb on a drum bus, mixed at around -20 dB or lower, will do more for a thin kit than any new microphone.
6. Export, Bounce, and Judge the Result
Check the drums in mono first, then in stereo. Play them with cymbals, then with a guitar, because a kit that sounds great alone can vanish under six strings.
Turn your monitor volume down until the drums are only just audible. If they hold up there, the balance is probably right. If they disappear, something is too quiet or too buried, and that is the moment to fix it.
Export a reference bounce the same day, label it with the date, the tuning and the mic positions, and keep it. If a take sounds worse in three months, you will at least know the settings that produced it.
Common Mistakes
These are the errors that ruin a small room kit fastest, with the fix for each.
- Recording too loud into the preamp. Distortion is permanent. Set the gain so peaks land below -6 dBFS.
- Using every microphone you own. More mics means more phase cancellation and more room. Close mics beat a full close-plus-room rig here.
- Treating the room until it is dead. Full absorption kills all the room and leaves you with a dry, lifeless kit. Absorb the harsh reflections only.
- Over-tuning. Drum heads tightened hard sound brittle and lose their character within weeks. Tune evenly, not aggressively.
- Overheads hung too low. Below about 18 inch they crush the cymbals and swallow the toms. Raise them and pull the volume down.
- Over-compressing the room mic. You cannot make a small room bigger with compression; you can only make it worse.
- Using too much reverb. Once the cymbals disappear, you have gone too far. Pull the wet level back until the wash sits behind the kit.
- Overheads mounted in front of the toms and blocking the front head. You get a dull thud instead of the drum.
Also worth knowing: thick foam panels do almost nothing below 200 Hz, so a kit that is boomy will not be fixed by a wall of egg-carton-style foam. Move the kit, move the mics, and address the corners.
Frequently Asked Questions
Can I record drums in a bedroom or very small room?
Yes. Start by reducing obvious reflections, isolating the kit from walls, using movable absorbers around the first reflections, and placing microphones close to the drums. A small room can work well precisely because you can get very close to the kit, so most of what you capture is direct sound. You can add a larger-sounding space later with a convolution reverb, which is far easier than trying to build one in the room.
What is the best microphone setup for drums in a small room?
A four-microphone setup is a versatile starting point: one close mic on the kick, one on the snare, and two overheads. For a tighter recording, place the overheads lower and closer in an X/Y arrangement. With only two inputs, put one mic above the snare and one aimed at the kick batter head from the side. Two well-placed mics will always beat six badly placed ones.
Should I use bass traps and acoustic panels in a small room?
Use them where they solve an audible problem. Bass traps help control low-frequency build-up at corners, while panels or heavy movable blankets reduce early reflections around the kit. Avoid covering every surface, because a fully dead room sounds flat and lifeless. Remember that foam and blankets fix mids and highs only; low-end problems in a small room come from kit and mic placement, not from more material.
How do I stop drums from sounding too loud in a small room?
Reduce the raw level before adding any processing, move close mics farther from the loudest sources, use cardioid polar patterns to limit unwanted bleed, and check the recording in context with guitars and vocals. A lot of small-room kits feel loud because the room reverb is too high, so start there before reaching for compression. If you are still fighting it, record less in the room and rely on a gated convolution reverb instead.
How can I record drums at home with only two microphones?
Angle one mic over the snare toward the head just above the wires, and aim the second at the kick batter head from the side rather than inside the shell. Record the pair as your main kit, then add cymbals later from a convolution reverb or a sampled layer. This setup is the most common real-world solution for people with a two-input interface, and it captures plenty of punch as long as the room reflections are controlled.
Conclusion
Take these four actions first. Deal with the worst problem in the room, usually the closest bare wall or a corner. Choose a deliberate mic pattern instead of an improvised one, and stick to it. Record a reference take before you touch a single plugin, and judge that raw balance before you build the drum sound.
Everything after that is refinement. A tight small room kit is won in the first hour, with placement, distance and gain staging, and no microphone will rescue a kit that was tracked too loud in a boxy corner. The gear has improved enormously over the years, but the physics of a small room have not changed at all, and that is still what decides whether your drums sit properly in the mix.