Mixing metal guitars at home comes down to four jobs: setting the level so the guitars sit with the drums instead of shouting over them, clearing the frequencies that turn distortion into mud or fizz, controlling the low-end bloom when you palm mute, and giving the rhythm part enough width to sound like two players. Get those right and the rest is detail. Get them wrong and no amount of extra saturation will hide it.
The order matters more than the gear. Most home mixes fall apart because someone EQed a guitar track in solo until it sounded good on its own, then bolted it into a mix built around a snare that was too loud and a kick that disappeared underneath the chugging. This guide walks the whole chain in sequence: the guitar, the amp, the mix balance, the pedals, the noise, and finally how to test and record the result.
Table of Contents
- What You Need
- Step-by-Step: How to Mix Metal Guitars at Home
- How to Set Your Guitar for a Tight Metal Tone
- How to Set the Amp for Rhythm Clarity
- How to Shape the Metal Guitar Mix
- How to Order Pedals for a Metal Signal Chain
- How to Control Noise and Feedback
- How to Test and Record Your Metal Guitar Mix
- Common Mistakes
- Frequently Asked Questions
- Do I need pedals to get a good metal guitar sound?
- What is the best distortion setting for metal guitars?
- Should I use a noise gate with a metal amp?
- How do I make rhythm guitars audible in a full band mix?
- What pedal order should I use for a metal guitar?
- How can I record a metal guitar at home without sounding harsh?
- Conclusion
What You Need
You need far less than most home metal recordings suggest. The list below is the working minimum, and every item on it matters more than the pedal count.
- A guitar you know well — the one you will be recording and mixing, with a fresh set of strings and a cable you trust.
- An amplifier, or an amp sim plus a cabinet impulse response if you are tracking direct. Either path works; the mixing steps after it are the same.
- A power source — a clean regulated supply for pedals, or a properly grounded outlet for the amp. Do not daisy-chain cheap adapters.
- A tuner, pedal or clip-on. Tuning drift between takes is one of the fastest ways to make a guitar sound worse than it is.
- A noise gate, or an amp with a usable noise control.
- Reference tracks in the genre you are mixing, at a matched level.
- Basic recording tools — an audio interface for DI, and either a DAW or a phone recorder for checking the result.
A clean signal matters more than a large pedalboard. If the DI is clipped, the amp sim is pushed into noise, and the takes were recorded forty minutes apart with different pickup heights, the mixing stage starts three moves behind. Spend the effort on take quality first, then on processing. Every extra plugin on a compromised recording adds a decision you have to make twice.
Step-by-Step: How to Mix Metal Guitars at Home
Each step below says what to do and how to tell it worked. If a step fails its test, go back rather than compensating later with volume.
How to Set Your Guitar for a Tight Metal Tone
Start with the pickup that will carry the rhythm part. Bridge humbuckers give the low-end weight that metal riffs need; a neck pickup sits thinner and works better for leads and arpeggios. Set the guitar volume to ten and leave it there. Rolling it back mid-take is the most common way home recordings end up quiet and noisy at the same time, because the noise floor comes up with the signal.
Set the tone control wide open or at ten and treat it as a pickup selector, not a mixing tool. Where the action matters is in the amp and plugins later, not on the guitar.
Change the strings. Dead strings lose pick attack, and pick attack is what keeps a palm mute from sounding like a thud. If the frets buzz on a palm mute, raise the string action or lower the bridge pickup a fraction before you record anything, because that buzz lands in the 2.5 to 4 kHz range where it is hardest to remove later.
How to tell it worked: play a palm-muted chord at low volume and a full-volume riff at the same pickup setting. The character should match. If the quiet one is thin and the loud one is fizzy, the problem is the amp settings, not the guitar.
How to Set the Amp for Rhythm Clarity
Set gain before you touch the EQ. On a real amp, find the level where the distortion is saturated but the low end has not turned to wool, then back it off slightly. On an amp sim, keep the input signal comfortably below the clipping point and use the amp’s gain control instead of pushing the interface preamp harder.
For EQ, a workable metal starting point is: bass around 3 to 4, middle slightly scooped, treble between 4 and 6, and presence raised only enough that the guitar has an edge when the cymbals are not playing. The Ultimate Metal forum thread on EQing metal guitars puts it plainly — high-pass below roughly 100 Hz, low-pass above roughly 8.8 kHz, cut 400 to 500 Hz if the sound is dark, and lower 3 to 6 kHz if it is too bright. Those are starting points, not rules.
Leave the master volume alone until the tone is right, then bring it to a moderate playing level. On a valve amp, dropping the master volume lowers the power-supply sag, which firms up the low end and reduces crackle. If the amp has two channels, give yourself three: a clean channel for riffs and pads, a crunch channel for rhythm playing, and a high-gain channel for leads and drop tuning.
How to tell it worked: the guitar should stay recognisable when you turn the master down to a whisper and back up. If the tone turns fizzy as you raise it, the gain structure is wrong, not the EQ.
How to Shape the Metal Guitar Mix
Balance before you process. Put the rhythm guitars up against the kick, snare and bass and set a rough level before touching a single plugin. In most metal mixes the palm mutes cover the kick drum’s low end, so the guitars often sit slightly under the snare and roughly level with the bass. Move in half-decibel steps and mute the others to compare.
Leave a gap in the guitars for the vocal. A mid-scoop between roughly 400 Hz and 2 kHz, applied lightly to the guitar bus rather than each track, opens the space where intelligibility lives. Small moves here make a bigger difference than any boost.
For width, double-track the rhythm part and pan the two takes fully to opposite sides of the stereo field. That is the near-universal convention in metal and it is the reason a two-guitar mix sounds wide rather than narrow. Narrowing the pair toward the centre during quieter passages is a taste call, not a rule. Skip stereo imagers on rhythm guitars; they widen the single take but leave the doubled parts fighting for the same space.
Check mono compatibility before you finish. Fold the bus to mono and listen for the guitars disappearing or thinning out. If that happens, the two takes are sitting close enough in phase that they cancel, and you should nudge the timing or re-record the second pass slightly differently.
How to tell it worked: solo the guitar bus and note where it sits in the stereo field. Then mute it. If the drums collapse inward, the guitars were doing structural work that they should not have been doing.
How to Order Pedals for a Metal Signal Chain
Working from the guitar toward the amp, the usual metal chain is: tuner, noise gate, distortion or drive, modulation, ambience, and EQ last if you use one at all. Put the tuner first because everything after it benefits from an accurate signal. Put the gate after the tuner so it does not chop the tuner’s output.
Distortion sits early. Once ambience and modulation are in the chain, the drive pedal is already carrying the timing and reverb tails of what came before it, and moving it later changes how all of it behaves.
There are two ways to get distortion: from the amp’s gain channel, or from a pedal. Pick one as your main source. Stacking a high-gain amp channel with a distortion pedal usually produces an undefined, compressed-out tone where the palm mutes lose their note definition. A boost pedal is the exception — it pushes the amp harder on the top end rather than adding its own dirt, so it goes into a crunch channel to turn it into a lead tone.
How to tell it worked: unplug one pedal at a time and listen. If the tone changes dramatically, that pedal is doing more than its share, and moving it or removing it is usually an improvement.
How to Control Noise and Feedback
Noise in a home metal rig comes from four places: the guitar’s electronics, the preamp gain, an ungrounded power supply, and the room itself. Work through them in that order rather than reaching straight for the gate.
Fresh strings and a shielded cable fix the first one. Keeping the input signal out of the amp sim’s clipping range fixes the second. A single regulated supply, properly earthed, fixes the third. Only the fourth needs the room, and no gate fixes a bad room.
Keep cable runs as short as practical, especially between guitar and interface, and keep the cable away from power transformers and dimmer switches. A pedal on a daisy chain with a noisy adapter will hum no matter where the gate sits.
On the gate, set the threshold just below your clean playing level so open chords pass untouched and palm mutes close between them. Set the release slowly enough that decay tails do not get chopped into silence, and back off the threshold whenever the gate chatters during sustained notes. Add a little gain reduction to the compressor on the guitar bus, usually two to three decibels, and it will act as a gentle gate of its own.
Feedback is a different problem and it is about energy, not noise. Lower the volume facing the amplifier, move further from the cabinet, or roll off the upper mids, where feedback first appears. Do not defeat any built-in protection or limiter on the amplifier; those exist for a reason.
How to tell it worked: record thirty seconds of silence with the rig at full gain and no input. Whatever you hear there is noise floor, not signal, and it should be low enough that you can ignore it while mixing.
How to Test and Record Your Metal Guitar Mix
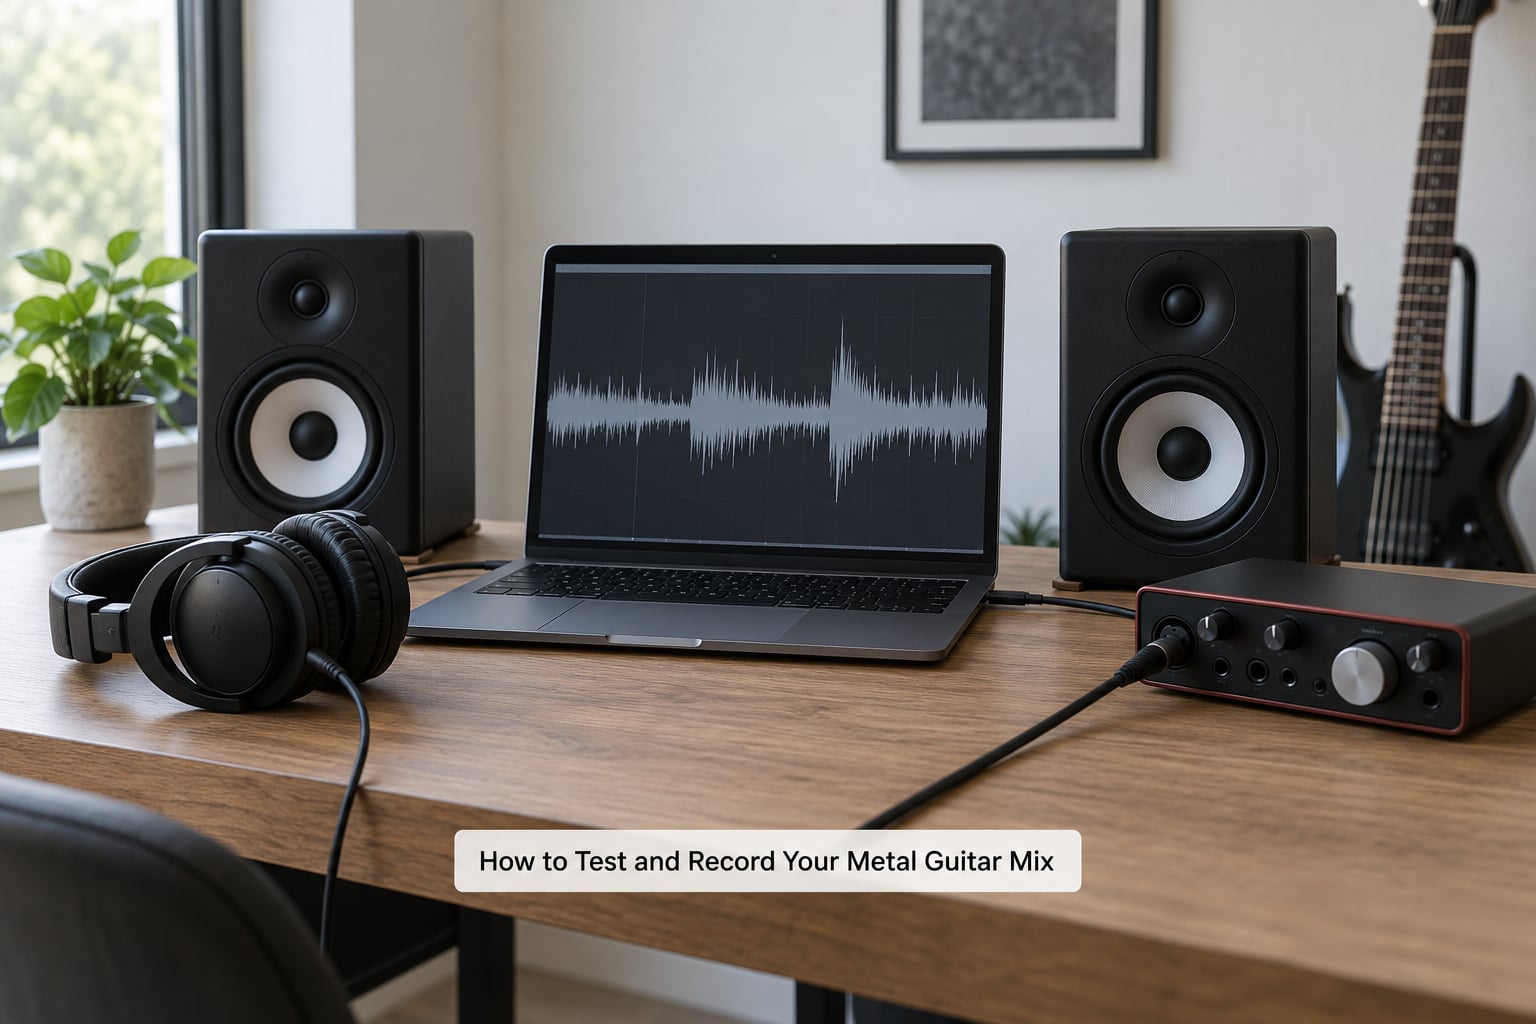
Use a reference track from the genre you are mixing, and level-match before you compare. Volume bias is the oldest trap in mixing: a brighter, louder mix always sounds better than it is. Play your track, then the reference, at the same loudness, back to back, several times.
Check at two volumes. Loud, at the level you would play along with the track, is where you catch balance errors. Quiet, almost inaudible, is where you catch masking problems, because frequencies that disappear at low level are the ones fighting another instrument for the same space.
Watch your output meter for clipping, and check the guitar bus alone for inter-sample peaks if your DAW shows them. Inter-sample peaks do not show on a plain meter but do distort on playback, and they usually arrive from a limiter with a release set too fast for the material.
Record the result. A phone recording of your mix playing back is the most useful critique tool most home producers will ever own, because it strips out the flattering room and leaves only the balance, the top end and the low end. If the guitars vanish on a phone recording, they are buried in the 200 to 500 Hz range or too quiet against the kick.
Do not try to copy another player’s exact amp, pickups or mix. Compare the character and the level relationships, not the settings. Forum veterans are consistent on this: there is no preset that transfers between guitars, because every instrument and every pickup height puts energy somewhere different.
How to tell it worked: your mix plays back acceptably on your monitors, on earbuds and on a phone recording without you reaching for a fader. The Gearspace thread on EQing a metal mix drew the same conclusion from a different direction, with several engineers pointing out that the drums needed channel and group compression and a lower snare fader, not more guitar EQ.
Common Mistakes
EQing in solo. This is mistake number one, and forum users name it repeatedly. A guitar track that sounds perfect alone is usually sitting in the same range as the bass, the snare body or the cymbals. Solo down to hear what a filter does, then judge it in context every time.
Too much gain. Excess saturation compresses the difference between notes, so palm mutes stop reading as separate hits. Back the gain off until you can hear each chug as its own note, then compensate for loudness at the fader if you have to.
Muddy low-end. Distortion generates a strong low-mid build-up, usually around 300 to 500 Hz, and palm mutes push that energy further. A narrow cut of two to three decibels there, applied lightly on the bus, does more than boosting the kick.
Harsh highs. The same distortion that adds bite at 2.5 to 4 kHz adds sizzle at 4 to 8 kHz, which is exactly where the cymbals live. Pull the harshness down before you reach for the overhead mics.
Two sources of distortion. A high-gain channel plus a distortion pedal flattens the tone and raises the noise floor. Choose one, and use a boost only to push the amp’s existing channel.
Guitars disappearing under the drums. Check the level relationship first, then the low-mid overlap. Boosting the guitars is the last option, not the first.
Making every decision on one monitor. If you only ever judge on your monitors, you are trusting a room you have not treated. Check the phone, the earbuds and the car before you call it finished.
Boosting to fix a problem. Cutting a narrow band solves a narrow problem. A broad boost adds level everywhere and takes the mix with it.
Quick checklist before you bounce: guitars sit under the snare and level with the bass, the kick is still audible during palm mutes, the vocal has room, the bus folds to mono without thinning, nothing clips, and the phone recording still sounds like a record.
Frequently Asked Questions
Do I need pedals to get a good metal guitar sound?
No. A single good distortion pedal plus a noise gate and a tuner covers most of what a metal rig needs, and a valve amp with a good gain channel needs nothing at all. Extra pedals only add noise, gain loss and decisions. Start with a clean recording, one source of distortion and a solid amp setting, then add a pedal only when you can name the problem it solves.
What is the best distortion setting for metal guitars?
There is no single best setting, because it depends on your guitar, pickups, amp and how the mix is balanced. The practical target is the least saturation that still sounds fully saturated, with the low end firm rather than woolly and each palm-muted note still readable as its own hit. If turning the gain up changes the tone more than it changes the loudness, there is too much gain.
Should I use a noise gate with a metal amp?
Yes, usually, but only after the cleaner routes are ruled out. Fresh strings, a shielded cable, a regulated pedal supply and an input level that stays out of clipping remove most hiss. Once the noise floor is as low as it is going to get, set the gate threshold just below your clean playing level so chords pass untouched, and set the release slowly so decay tails are not chopped.
How do I make rhythm guitars audible in a full band mix?
Set the level first, against the snare and bass, and move in half-decibel steps before touching anything else. If they are balanced but still masked, cut the guitar bus lightly between roughly 400 Hz and 2 kHz to open space for the vocal, and double-track with the takes panned fully to opposite sides for width. Watch the low-mid overlap with the bass around 300 to 500 Hz.
What pedal order should I use for a metal guitar?
Run tuner first, then noise gate, then distortion or drive, then modulation, then ambience, then EQ if you use one. Distortion sits early because every pedal after it changes the way it behaves. A boost pedal is the exception: place it into a crunch channel to push the amplifier harder, rather than treating it as a second source of dirt on a high-gain channel.
How can I record a metal guitar at home without sounding harsh?
Record at a moderate input level so the amp sim or preamp is not clipping, keep the amp gain moderate and raise the level at the fader instead, and leave the guitar volume at ten. Use a high-pass around 100 Hz and a low-pass around 8 to 10 kHz. If the harshness is in the 4 to 8 kHz range it will fight your cymbals, so pull it down before touching the overheads.
Conclusion
Start with a clean signal and one amp setting. Record a take you are happy with, set the fader balance against the kick, snare and bass, and only then reach for EQ — narrow bands in the 300 to 500 Hz range for mud, 4 to 8 kHz for fizz, and a high-pass near 100 Hz. Everything after that is refinement, and refinement sounds best once the basics are already right. As of 2026, that process has not changed, and neither has the order you should work in.