To mic a guitar cabinet at home, put a dynamic microphone one to three inches from the grille cloth, aimed at the dust cap of the best-sounding speaker, then record at a level that peaks around -12 dB. Move the mic, listen, adjust. Placement changes the tone more than the microphone does.
The most common complaint on home recording forums is the same one every time: the amp sounds huge in the room and thin and lifeless in the DAW. Usually the mic was not wrong. It was just dropped somewhere in front of the cabinet without a plan.
This guide is the plan. Six steps, roughly 30 minutes of setup, and a repeatable process you can run any time an amp needs capturing. It works in a bedroom studio with a five-watt combo, and it works in a treated room with a 100-watt head and a four-by-twelve cabinet.
Table of Contents
- What You Need to Mic a Guitar Cabinet at Home
- Step-by-Step: The Beginner Miking Method
- Step 1: Prepare the Amp, Room, and Recording Chain
- Step 2: Choose the Right Microphone and Polar Pattern
- Step 3: Find the Best Microphone Position
- Step 4: Set Distance and Reverb Balance
- Step 5: Set the Recording Level Without Overloading
- Step 6: Shape the Tone and Capture the Take
- Common Mistakes and How to Fix Them
- Tips for Repeatable Results
- Frequently Asked Questions
- What is the best microphone for recording a guitar cabinet at home?
- How far should I place the microphone from a guitar speaker?
- Should I aim a microphone at the center or the edge of a guitar speaker?
- Do I need room treatment to record a guitar cabinet?
- Are ribbon microphones suitable for a loud guitar amplifier?
- Should I use the guitar amp controls or the audio interface to set levels?
What You Need to Mic a Guitar Cabinet at Home
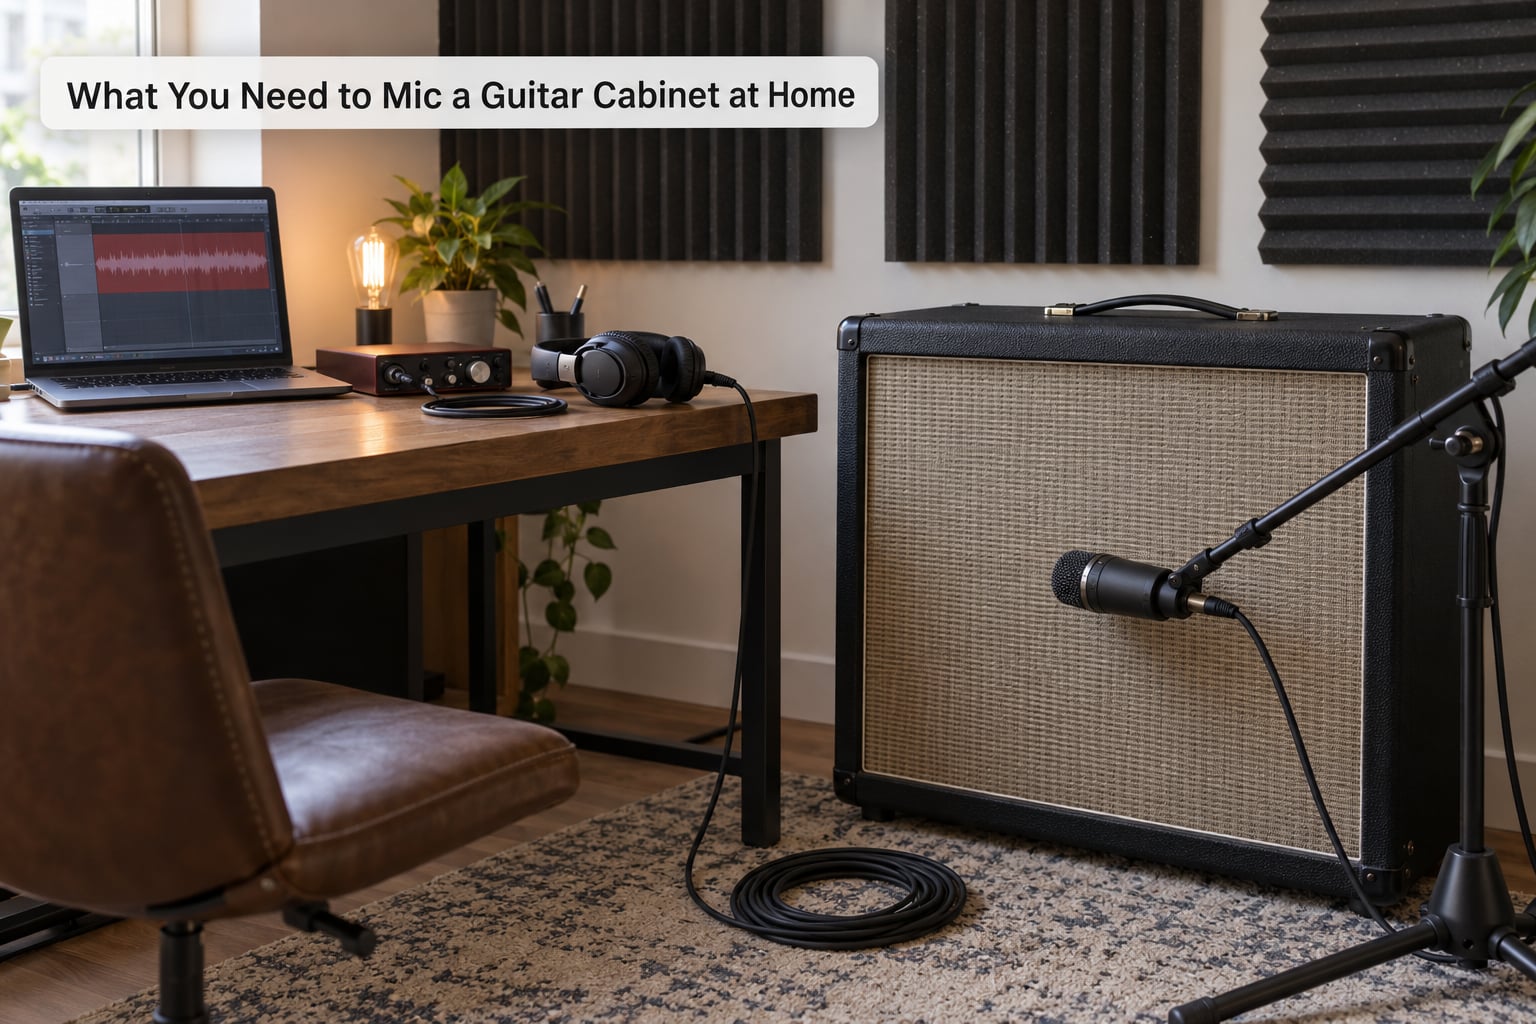
Six things, and you probably own four of them already.
1. An amp or cabinet. A tube combo, a solid-state head into a 4×12, or a practice amp. Nothing here needs to be expensive. Smaller amps recorded in a room with some life in it often beat a loud amp recorded in a dead bedroom.
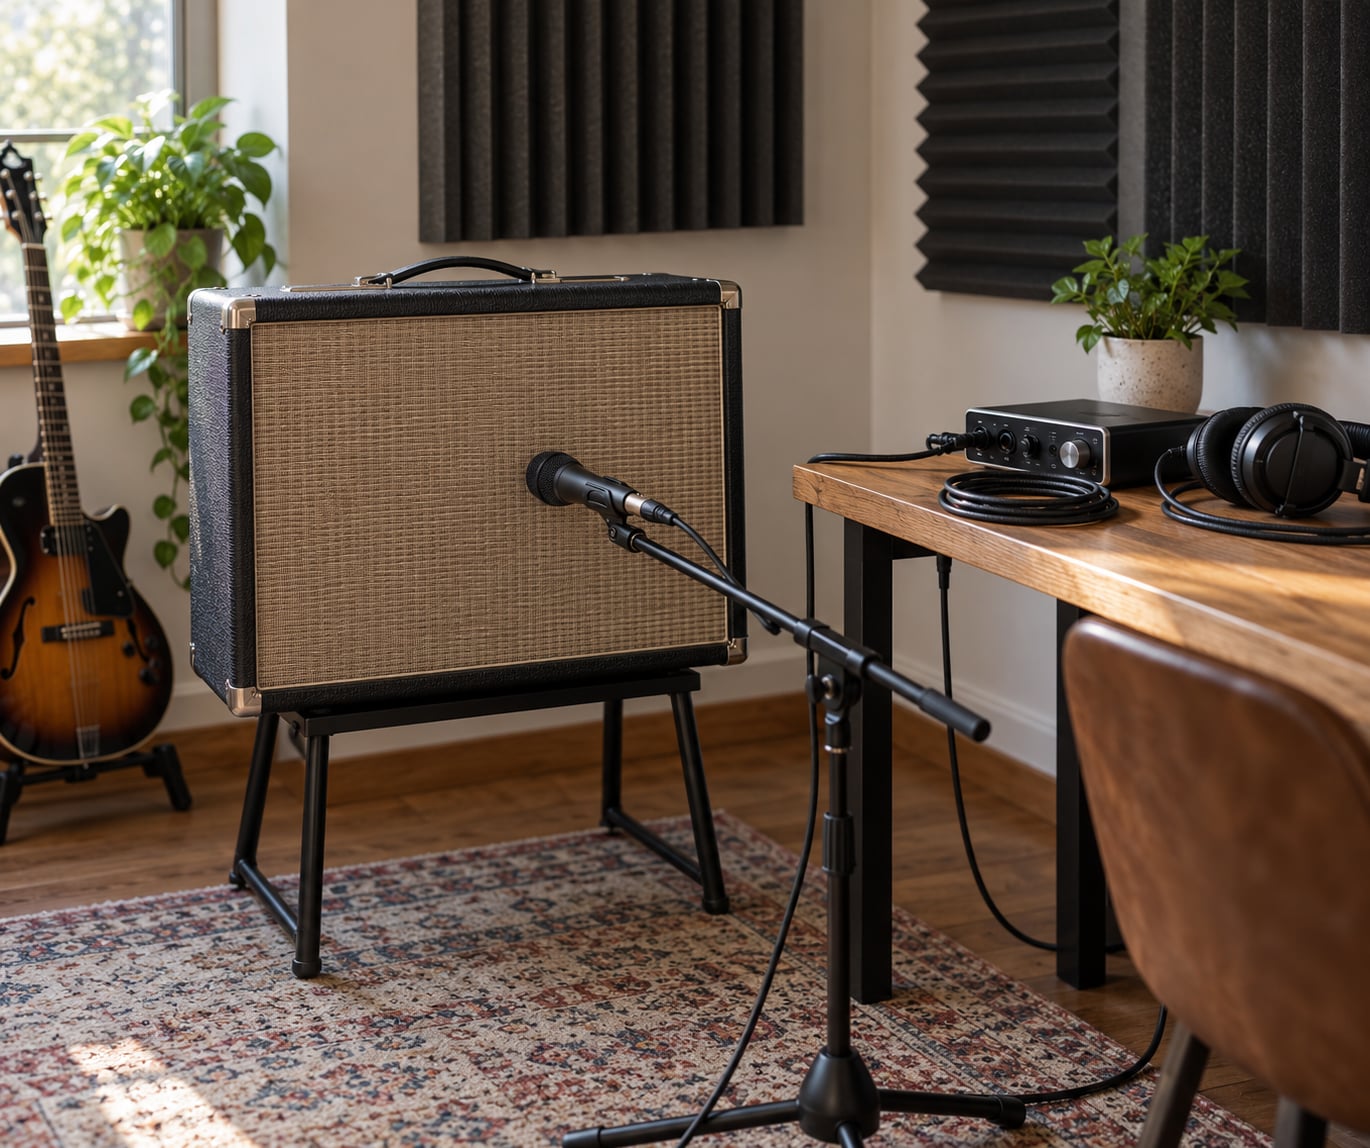
2. A microphone. A dynamic is the safe starting point and the right answer for most home sessions. An SM57 or SM58 works. So does a kick-drum mic like a Beta 52A or an Audix D6, which is a common trick for adding growl.
3. A mic stand. Any stand, but a boom stand is what lets you make small moves without knocking the cab over. Boom arm plus a counterweight is the cheapest upgrade in the chain.
4. An interface or preamp with a real instrument input. This matters more than the mic. Guitar inputs and mic inputs have different impedance, and plugging a microphone into a guitar input gives you a thin, lifeless take. Use the mic input. Always.
5. Headphones. Closed-back. They let you hear the actual mic signal instead of the amp leaking back at you through the grille.
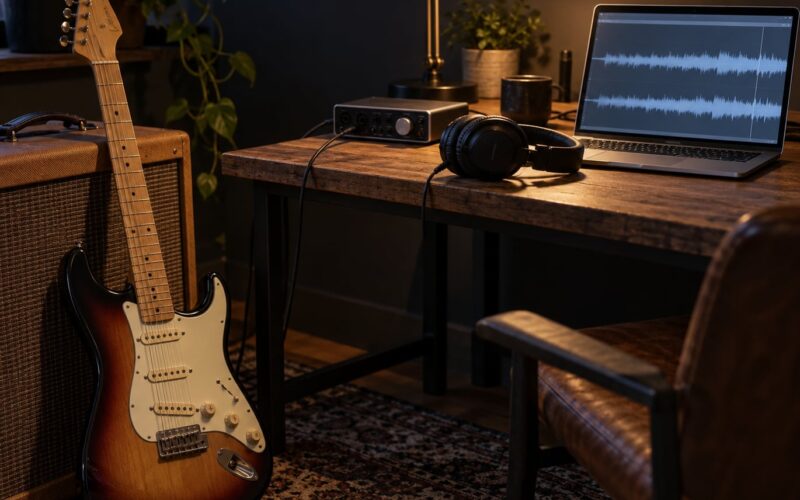
6. A DAW and a stand. Nothing exotic. But get the cab up off the floor and away from the wall. Floor bounce is the reason so many home tracks sound loose and boxy in the low end.
Optional extras that pay for themselves quickly: a reflection filter or duvet hung behind the mic, a second mic for blending, and a DI box so you can reamp later.
Step-by-Step: The Beginner Miking Method
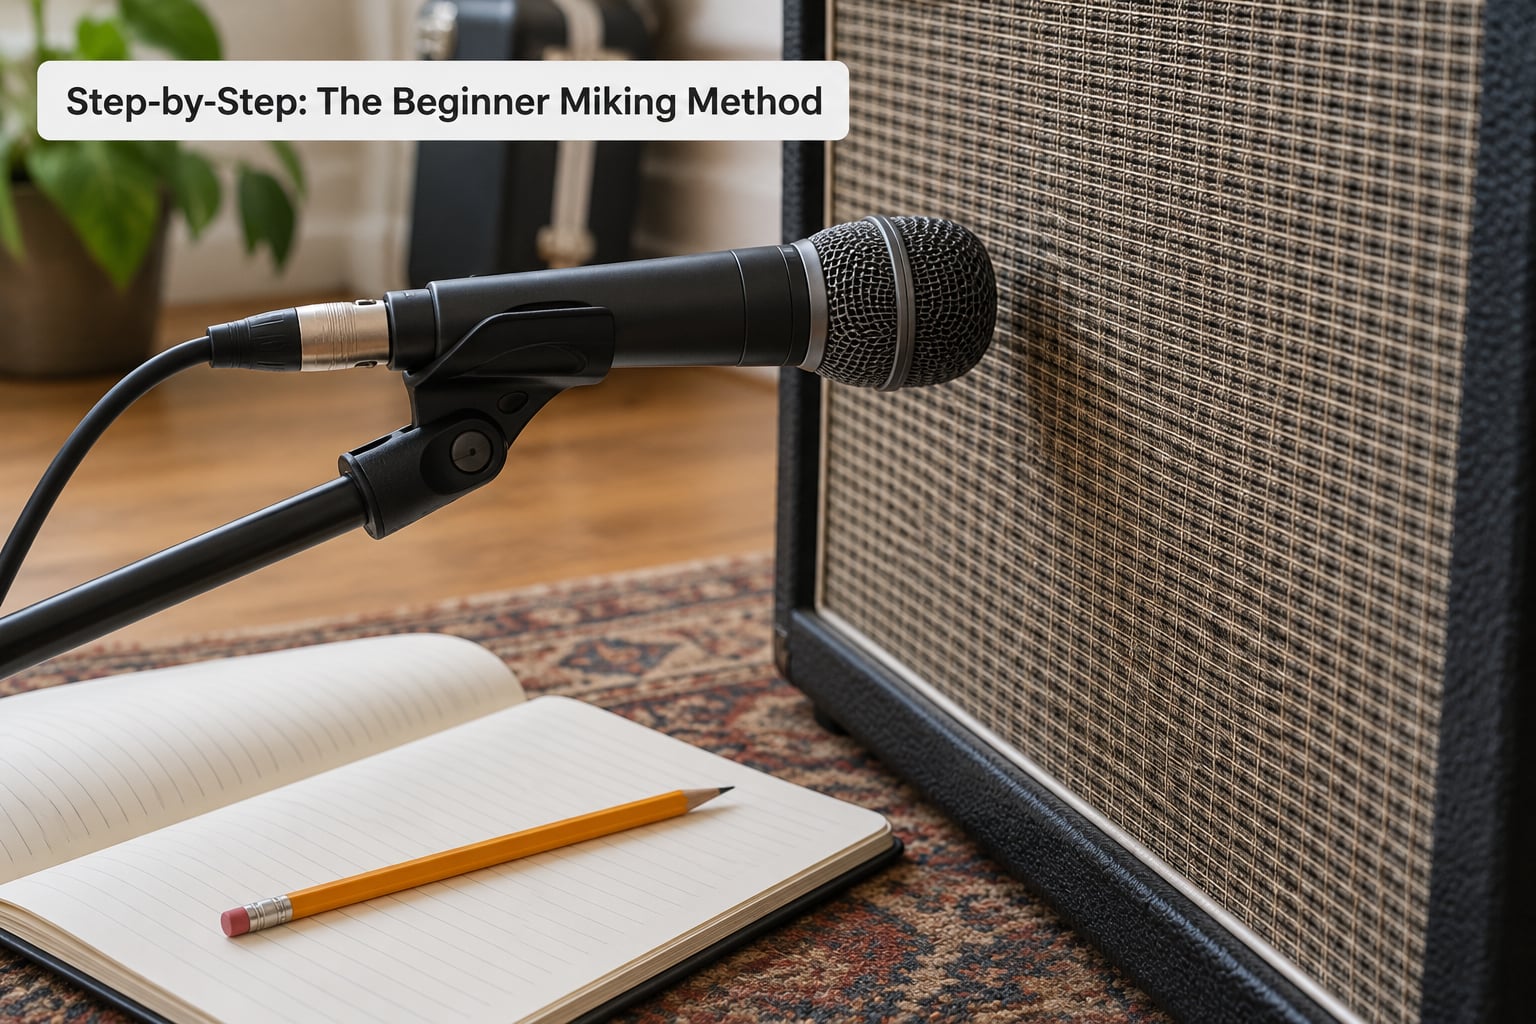
Step 1: Prepare the Amp, Room, and Recording Chain
Warm the amp for 15 to 20 minutes before you record. Tubes and speakers settle, and the first five minutes of a session are never the take you keep.
Put the cab up on a stand or a chair, tilted slightly downward and away from any wall corner. That single move kills most of the low-end mud in a small room. Then close the door, kill the computer fan if you can, and turn your phone to silent.
Run the cable from the mic to the interface mic input, not the instrument input. Confirm that you are hearing the mic through your headphones before you play a note.
Step 2: Choose the Right Microphone and Polar Pattern
Dynamics handle loud sources without flinching, which is why they are the default for guitar cabinets. A cardioid pattern, which nearly every stage dynamic uses, rejects sound from behind the mic, so the back of the cab and the rest of the room leak in far less.
Ribbon microphones sound smooth and detailed and pick up the room, but most of them are also delicate. Point a passive ribbon at a 100-watt amp from an inch away and you will find out quickly why passive ribbons have a pad switch or belong on quieter amps. A Royer R-121 is built for guitar cabs. A vintage Coles 4038 is not.
Condensers add detail and air but clip on peaks before your preamp does, which is how you get that squashed, brittle top end that no EQ fully repairs. Use a condenser from six inches out, or use a condenser with a pad.
The honest answer: whatever mic you already own will record your guitar cab. Placement matters more than the microphone.
Step 3: Find the Best Microphone Position
In a multi-speaker cabinet you get to choose which speaker the mic hears. Record a short clip aimed at each one and pick the best. The 57 sweet spot people talk about belongs to one particular speaker, not to the cabinet as a whole.
You also need to find that speaker if you cannot see it. Shine a flashlight through the grille cloth from the back of the cab and look for the cone outline, or tap the grille gently and listen for the dullest spot. The dust cap gives the most attack and bite, the cone edge is warmer, and off-axis placement smooths out harshness.
| Mic position | What you hear | Best for |
|---|---|---|
| On-axis, dust cap, 1 to 3 inches | Maximum attack, bite, aggressive upper mids | High-gain rhythm, modern metal, cutting through a dense mix |
| Edge of the cone | Scooped midrange, smooth top, warm | Blues, classic rock, layered guitar parts |
| Halfway between centre and edge | The balanced default most engineers land on | General-purpose tracking |
| Off-axis at an angle | Darker and rounder, less upper-mid fizz | Tame a harsh cab or an already-bright mic |
| Behind the cabinet | Odd, hollow, very room-dependent | Wild cards and experimental tones |
Aim at the cone paper rather than the centre of the dust cap if the direct sound feels too spiky. You will hear the difference immediately, and so will your listeners.
Step 4: Set Distance and Reverb Balance
Distance is a third tone control, separate from the mic choice. Move the mic closer and the bass thickens through proximity effect while room reflections fade. Move it back and the room comes in, which is often exactly what a thin mix needs.
| Distance from grille | Result |
|---|---|
| 1 inch | Tightest low end, least room, most bite |
| 3 inches | The classic starting point: present, controlled, still alive |
| 6 inches | More air and detail, slightly more room, still focused |
| 12 inches | Looser bass, noticeable room character |
| Several feet | Room miking: amp plus space, useful as a layer but rarely as your main take |
For a loud solid-state or tube amp, close miking wins because you record at a lower volume and get a stronger signal before any noise. For a small practice amp, pull back and let the room in.
Step 5: Set the Recording Level Without Overloading
Gain staging explains most bad home recordings. A reasonable target is peaks landing around -12 dB on your meters, leaving about 12 dB of headroom so nothing clips when the drummer hits hard.
Turn the amp volume up, play the loudest clean chord, then pull the preamp gain down until the meter peaks where you want it. Never raise gain after setting the level. This also keeps your interface’s noise floor down, which is what you hear as hiss on a quiet part.
Set a high-pass filter as insurance, not as a tone control. Somewhere around 80 to 100 Hz works for most guitar cabs. Set it too high and you hollow out the low end that made the amp sound expensive. Too low and it does nothing at all.
Use headphones rather than speakers while tracking. Speaker monitoring at recording volume puts loud low-mid energy into the room, and you end up chasing a balance you created with the wrong tool.
Step 6: Shape the Tone and Capture the Take
Record a clean reference take with no EQ on the amp and none in the DAW. That unprocessed version is what you compare everything else against.
If you want a second option, record a second pass from a different position or angle rather than changing your amp settings. Two contrasting placements give you a real choice later, instead of two versions of the same mistake.
When comparing takes, match the playback volume. Turning a take up and deciding it sounds better is the oldest trick in the book, and it still works on everybody, including engineers. Now put on closed-back headphones and nudge the mic a quarter inch at a time.
Common Mistakes and How to Fix Them
Mic pressed flat against the grille. Nearly touching the cab kills the room, compresses the top end, and gives you no room to aim. Pull it back to three inches.
Aiming only at the dust cap. This is a starting position, not a final one. Sweep across the whole cone, centre to edge, and listen. Most engineers end up somewhere in the middle.
Covering the cabinet with a blanket and mic’ing through it. It does dampen room sound, but it also absorbs top end and you lose the attack. Only do it when the room itself is the problem.
Too much room in the recording. Do not solve this by closing the mic. Close the door, kill the reflective surface near the cab, and treat the wall behind the mic instead. Rolling off 3 to 6 dB above 4 kHz also takes the edge off without touching the character of the tone.
Gain too high. If the meters are near the top or the waveform has flat tops, that is clipping, and clipping cannot be EQ’d away. Pull it down by half and record again.
Trusting the volume knob instead of the meters. The interface knob tells you what goes to your headphones. The meter tells you what lands in the file. Judge the meter.
Changing the mic, the position and the amp settings at once. Then you have no idea which one helped. Move one variable per take and write it down.
A mic into an instrument input. The impedance mismatch is why it sounds thin. Switch inputs.
Tips for Repeatable Results
Photograph the position before you unpack the stand. Mark the spot on the floor with tape. Next time you will know it took you 40 minutes to find.
Write down the distance. Three inches from the grille cloth, off-axis, bottom left speaker. Notes beat memory.
Learn the 3:1 rule properly. With two mics, the second one should sit three times farther from the source than the first, which keeps one mic from crowding the other. So mics at 3 inches from the grille belong roughly 9 inches apart. The rule reduces, but does not delete, phase problems.
Check phase before you blame the tone. Solo one mic, flip it to opposite polarity, and listen while somebody plays. With the guitar volume down and only the amp hiss audible, a sweep tells you instantly whether the two mics agree. Hollow and small usually means they do not.
Pick one alpha mic and blend everything to it. That anchor mic sets your reference level and tone, and the others sit underneath it. Without an anchor you end up with four takes fighting each other.
Record room tone. Thirty seconds of silence with the mic in place. You will need it later to fill gaps when you edit.
Track a DI at the same time. It costs nothing and lets you reamp through the same cab with a different mic, or through a different cab entirely, months later.
Protect the mic. A ribbon will not forgive an amp vibrating off its stand. Isolation pads and a firm grip on the boom matter more than you would think.
Keep the volume legal. If the neighbours or a lease limit you, take that as data. Record quieter, get closer, and add a room layer later. A clean low-level take beats a distorted loud one every time.
Try the loud bathroom trick. A five-watt amp in a tiled hallway can sound enormous and alive. The small live room beats the treated bedroom more often than engineers like to admit.
Know when not to mic at all. Amp modelers and simulators give you a usable tone with zero volume, which matters in an apartment. Track the DI and the modeler output, and skip the cabinet entirely.
Frequently Asked Questions
What is the best microphone for recording a guitar cabinet at home?
A dynamic microphone is the safest starting point, and a Shure SM57 is the usual answer because it handles loud cabs without clipping and picks up enough top end to cut through a mix. An SM58 works fine. Kick-drum mics like the Beta 52A add growl. Ribbons sound smoother but need more distance. Whatever you own will record the cab properly.
How far should I place the microphone from a guitar speaker?
Start at three inches from the grille cloth. Closer gives you a tighter low end, more bite and less room; further back adds air, detail and room character. For a loud solid-state or tube amp, stay close and record at a lower volume. For a small practice amp, pull back to six or twelve inches and let the room in.
Should I aim a microphone at the center or the edge of a guitar speaker?
Aim at the dust cap for the brightest, punchiest result, which suits high-gain tones. Aim at the edge of the cone for a warmer, scooped midrange that sits back in the mix. Many engineers settle between the two, halfway across the cone. Sweep the mic while someone plays and pick the spot that sounds right at your mix volume.
Do I need room treatment to record a guitar cabinet?
Not a treated room, but you need some control. Get the cab off the floor and away from the wall corner, close the door, and place a duvet or reflection filter behind the mic. That kills most floor and wall reflections in a bedroom. When the room is genuinely too live, record quiet and close rather than fighting it with blankets over the cabinet.
Are ribbon microphones suitable for a loud guitar amplifier?
Yes, if the ribbon is built for the job. A Royer R-121 is designed for guitar cabs and handles loud amps from about one inch away. Vintage passive ribbons and older studio models can be overwhelmed by a 100-watt amp and will need a pad or extra distance. Many players pair a ribbon on the cone edge with a dynamic on the dust cap and blend them.
Should I use the guitar amp controls or the audio interface to set levels?
Use both, in this order. Turn the amp up to the volume you want for the tone, then set the interface preamp gain from the recording meter so peaks land near -12 dB. Leave that knob alone afterwards. Judging levels by the headphone volume instead of the meter is how tracks end up clipped or buried in hiss.
So: mic into the interface, three inches off the grille, aimed between the dust cap and the cone edge, peaks near -12 dB, amp off the floor. Record, listen at matching volume, move the mic a quarter inch, record again. Repeat until you like what you hear, and write down where the mic was so the next session takes five minutes instead of forty.