A clear bass in a metal mix is one where you can pick out every note of the line under distorted rhythm guitars and a loud kick. You get there by giving the bass its own frequency space, enough harmonic content to survive those guitars, and a steady level — not by turning the fader up.
Most of the time I mix a band with no engineer, and the bass is always the first casualty. It sounds excellent in isolation, the guitarist loves it, and then the demo comes back and the low end is just a rumour. Almost every time the cause is the same: the guitars are unfiltered in the bass’s territory and the bass level drifts across the song.
This guide walks through the workflow in the order that saves you the most time. Budget roughly two hours for a first pass on a full song, and expect to revisit the checks at the end.
Table of Contents
- What You Need
- Step-by-Step: How to Get Clear Bass in a Metal Mix
- 1. Clean the Bass Recording
- 2. Set the Bass Tone Before Adding Effects
- 3. Use EQ to Separate the Bass from the Kick
- 4. Control the Bass Dynamics
- 5. Add Saturation and Harmonic Definition
- 6. Create Movement Without Losing the Center
- 7. Check the Bass in the Full Mix
- Common Mistakes
- Frequently Asked Questions
- Does a high-pass filter make the bass lose weight?
- How do I make the bass audible on small speakers and phones?
- Do I need compression on the bass to make it clear?
- How do I stop the bass turning to mud against distorted guitars?
- Should I sidechain the bass to the kick in a metal mix?
- What is the 3 fret rule on bass?
- Conclusion
What You Need
You do not need an expensive signal chain to solve this. You need a recording that is workable and a handful of processors you already own.
- A bass DI or a clean amp recording. A DI line gives you a flat signal to shape, which makes it far easier to EQ than a saturated amp track.
- A DAW with a parametric EQ and a compressor. Any of the major DAWs covers this. The EQ needs a high-pass filter and movable bands.
- Saturation of some kind. A tape emulation, a console emulator, or even a guitar amp sim on a parallel send will do the job.
- Headphones plus monitors you trust. Monitors for balance, headphones for detail and phase.
- A small speaker or a phone. This is how you find out whether the bass actually survives outside your room.
- One reference track whose bass you already like, so you are matching a result instead of guessing.
If the recording itself is full of hum, fret buzz and clicks, no amount of processing will rescue it. Clean the file first and everything downstream gets easier.
Step-by-Step: How to Get Clear Bass in a Metal Mix
Work in this order: clean the recording, set the tone, carve the frequency space, control the dynamics, add saturation, add movement, then judge it in the full mix. Each step assumes the one before it is finished. If you start boosting presence on a noisy take you will just be making the noise louder.
1. Clean the Bass Recording
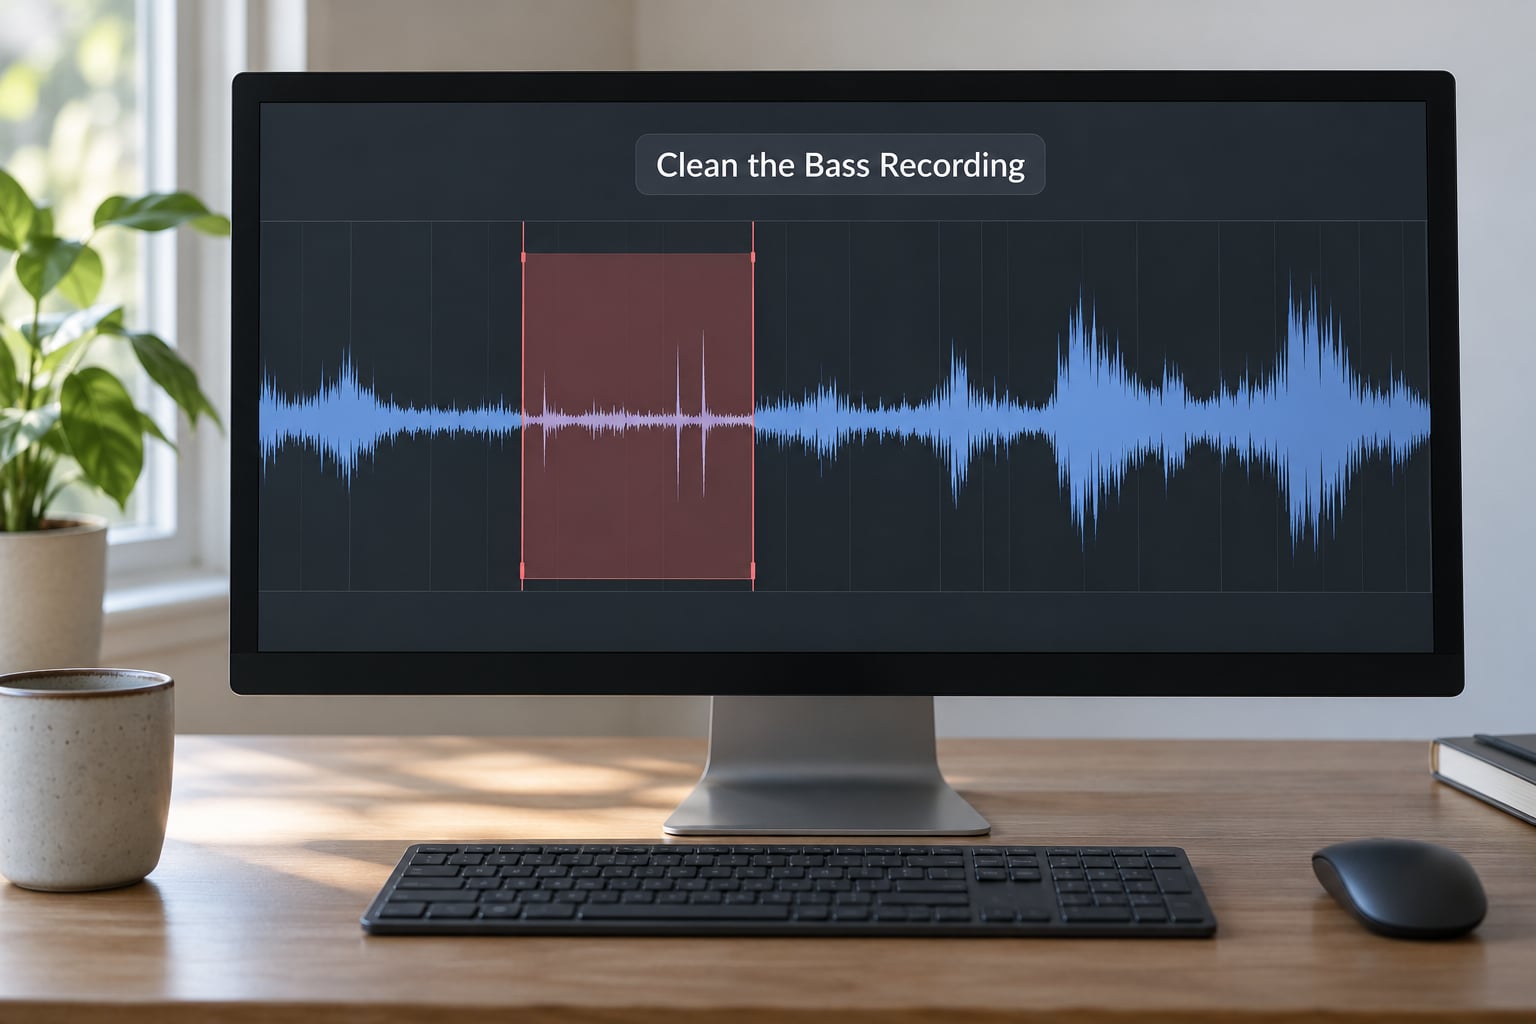
Remove hum, clicks, fret buzz and mouth noise before anything else. Look for a steady 50 or 60 Hz tone and its harmonics, which means a grounding or cable problem, and for short transients that mean a pick scrape or a string knocking against the fret.
Gain staging matters more than people expect. Pull the recording level down until the peaks sit comfortably below clipping, then set your fader so the raw bass is already at a believable level relative to the kick before you process anything. If the quietest passage is inaudible and the loudest one is huge, compression alone will not rescue it.
Use fades where the player clips a note short, and use a declicker or spectral repair on isolated clicks. Gate or mute only the passages that genuinely damage clarity — like the amp hum at the head of a take — and leave honest fret noise alone. Once it is clean, bounce or commit so the cleanup is not reapplied on every pass.
2. Set the Bass Tone Before Adding Effects
Get the raw bass sitting in a reasonable place before you touch an EQ or a compressor. Solo it with the drums and listen for three things: whether you can hear every note, whether the low end feels loose or tight, and whether the top end is harsh.
Pick an amp character that suits the riff rather than the one that is currently loaded. A scooped, high-gain sound for a fast death metal riff leaves no room for the mix, while a slightly cleaner character with more midrange will sit under distorted guitars more easily. If you are using an amp sim, try it after the DI shaping rather than before.
Decide what the tone is missing before you reach for a plugin. Dull and indistinct means you need articulation and upper-mid presence. Loose and indistinct at the same time means you need to tighten the low end first. Those two problems need opposite moves, and mixing them up is how a mix ends up boomy and unclear at the same time.
3. Use EQ to Separate the Bass from the Kick
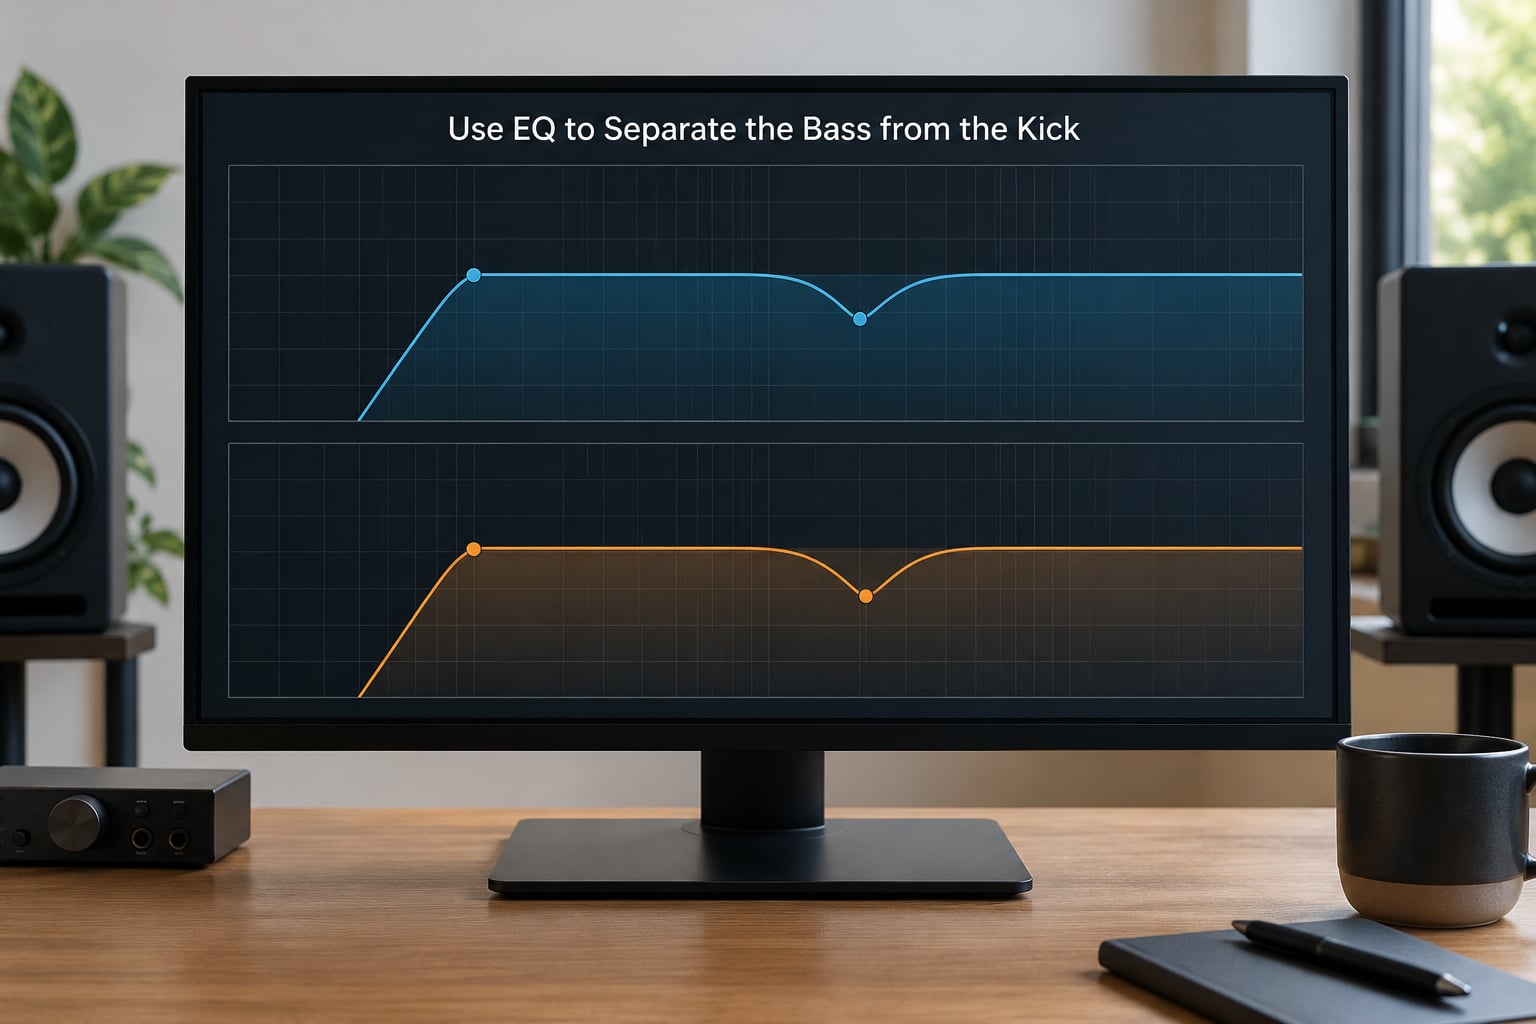
Metal rhythm guitars carry a lot of energy between roughly 150 Hz and 2 kHz, which is exactly where a bass lives. The fix is usually on the guitar, not the bass. High-pass your guitars somewhere around 140 Hz as a starting point and scoop a wide band between 200 and 400 Hz where the guitars fight the bass. Then the bass has somewhere to go without you having to push it.
On the bass itself, start with a high-pass filter between 40 and 80 Hz depending on your tuning, and let the kick own whatever sits below that. A wide bell cut between 400 Hz and 1 kHz tames the boxiness that smeared guitars leave behind, and a modest boost around 2 to 4 kHz brings out the pick attack and the harmonics your ear uses to track the line.
These numbers are starting points, not settings. Drop a frequency where the guitars still sit and move the kick down a semitone or two if it collides. Trust your ears over any chart, including this one, and check the result with a spectrum analyser open so you can see what your ears are only guessing at.
4. Control the Bass Dynamics
A consistent bass level matters more than a loud one. Compressing the bass keeps quiet notes audible and stops loud ones from overwhelming the guitars, which is most of what clarity actually means in practice.
Start with a ratio around 3:1 to 4:1 and set the threshold so you see roughly 3 to 6 dB of gain reduction on the hardest notes. Use a slower attack, around 20 to 30 ms, because a fast attack flattens the pluck that makes a bass cut through. Release should be in the 80 to 150 ms range so the compressor recovers between notes rather than pumping.
Parallel compression is the softer option: send the signal to a second compressor, crush it hard, and blend that in underneath. It evens the level without flattening the transients, which is what you want on a busy riff.
Level match whatever you do. Bypass the compressor and check the loudness is the same with it engaged, because a compressor that quietly makes the bass 3 dB louder has undone your gain staging. Watch the gain reduction meter, not just the output meter.
5. Add Saturation and Harmonic Definition
Saturation adds harmonic content that survives distortion. Distorted guitars are rich in midrange harmonics, and a clean bass loses against them because it has so few. Gentle waveshaping on the bass moves some energy into those same harmonics, which is why a slightly driven bass often sounds more present than a perfectly clean one.
Two approaches work well. One is subtle saturation on the main channel — tape emulation, a console emulator, or a guitar amp sim at low drive — mixed under the clean signal at around 20 to 30 percent. The other is the parallel layer: duplicate the bass, heavy mid scoop on the copy, distort the copy, and blend it in at a lower level.
That scoop-and-distort layer is a metal mixing staple for a reason. The scoop removes the frequencies the guitars already own, and the distortion fills the space with harmonics that do not collide. It gives definition without adding volume. This is also the trick that turns a DI into something that sounds like a second guitar.
Go in small and check on small speakers and headphones after each change. Saturation that only sounds good on monitors is not finished.
6. Create Movement Without Losing the Center
Movement keeps a static bass part from disappearing under a repeating riff. Short delays on a slap or a muted note, a doubled track panned slightly wide, and octave layers at the 12th fret can all work, and none of them need to be loud.
Keep the fundamental centered in the middle. Anything below roughly 200 Hz carries almost no stereo information anyway, so panning the low end does nothing but make the bass mono and thin. Save the width for the harmonics. Keep your delay times and movement below or around the vocal range so nothing competes with the words, and high-pass the movement layer so it does not double the sub with your main bass.
Automate these layers in and out rather than running them constantly. A doubled layer that only appears in a chorus is more effective than one sitting underneath the whole song.
7. Check the Bass in the Full Mix
Play the whole song at a level that matches how you would listen to it, not at a level where you are straining. If the bass only works when you push the volume, it will not work anywhere else.
Then check it three more ways. Turn the volume down until it is barely audible and see whether you can still follow the line. Listen on headphones for definition and to catch phase problems with the guitars. Play it on a phone or a small speaker, which is the honest test of low-end translation — a bass tuned to B open has a fundamental most systems will not reproduce, and everything you hear on those systems comes from the harmonics you left in.
Balance in this order: kick and bass together first, then guitars, then everything else. If the two low instruments fight, split the territory — the kick keeps the sub, the bass keeps the body and the definition. Backing the bass off 1 or 2 dB under the guitars usually reads as clearer than boosting it 3 dB over them.
Common Mistakes
These are the errors that keep showing up in mixes, with the fix for each.
- Boosting the bass instead of carving the guitars. High-pass the rhythm guitars around 140 Hz and scoop them between 200 and 400 Hz, then leave the bass fader where it is. The space matters more than the level.
- Treating the note’s fundamental as the whole note. Below about 60 Hz playback systems mostly reproduce harmonics, not the fundamental itself. If your tuning goes that low, generate upper harmonics with saturation rather than chasing more sub energy.
- Adding a sine wave layer below the bass and expecting it to imply the fundamental. A pure sine has no overtones, so it cannot imply anything on its own. It either adds weight on systems that reproduce that frequency or it wastes headroom on the ones that do not.
- Over-compressing. With a fast attack and a high ratio you get a flat, lifeless bass that loses the attack that makes it audible in the first place. Slow the attack down and check the gain reduction stays in the 3 to 6 dB range.
- Hiding behind the guitars on a bad tone. No EQ setting makes a bass audible if it is buried in level. Set the balance first, then judge the tone.
- Cutting the vocal range to make room. If the bass is masking the vocal, look at the layer between 300 Hz and 800 Hz before you carve the vocal itself, and remember that the vocal usually sits alone in that range.
- Leaving the level static across the song. Automate the bass up a fraction in verses and down under breakdowns. A constant level reads as a wall, and sections lose their shape.
- Copying someone else’s numbers without checking the tuning. Settings written for a B-string standard bass will fight a down-tuned B setup. Treat every frequency value as a starting point.
Two habits keep the low end under control long term. Check the mix on a small system once per session rather than once per album, and take the bass level seriously during the arrangement stage — a riff that fights the kick will fight you all the way to mastering.
Frequently Asked Questions
Does a high-pass filter make the bass lose weight?
Only if you set it too high. A high-pass at 30 to 80 Hz, depending on tuning, removes energy that most playback systems barely reproduce anyway, which usually makes the mix sound tighter and louder. The mistake is cutting at 150 Hz, which takes out notes rather than rumble. Solo the bass, find where you can feel weight, and set the corner just below that.
How do I make the bass audible on small speakers and phones?
Small speakers cannot reproduce the lowest fundamentals, so everything you hear there is harmonics. Boost the 2 to 4 kHz range for pick attack, add gentle saturation to thicken the upper harmonics, and high-pass the bass so the sub energy does not waste your headroom. Check the mix on a phone every session, not at the end of the project.
Do I need compression on the bass to make it clear?
Not always. A recorded bass with a steady level can sit well in a mix with EQ and level alone. But most metal sessions have big level swings between notes and sections, and compression is the fastest way to even those out. If you do compress, use a slow attack, a ratio around 3 to 4 and match the level with the compressor bypassed.
How do I stop the bass turning to mud against distorted guitars?
Give the guitars less of the frequencies the bass needs. High-pass the rhythm guitars around 140 Hz, scoop a wide band between 200 and 400 Hz, and add a moderate boost between 400 Hz and 1 kHz. On the bass, cut the boxy region between 400 Hz and 1 kHz and lift 2 to 4 kHz for definition. Solo the guitar and bass together and move one band at a time.
Should I sidechain the bass to the kick in a metal mix?
It depends on the genre and how full the arrangement already is. In dense modern metal, ducking the bass to the kick — around 6 dB with a fairly fast release — gives the low end room and adds movement. In slower, sparse arrangements the pumping can sound obvious and distracting. Try it on a loop, then keep it only if the whole mix improves.
What is the 3 fret rule on bass?
It is a practical guideline for tone rather than a mixing tool: play an open string, then try the same note three frets higher, and if the result sits better with your amp, you are compensating for the instrument’s voicing rather than the amplifier. It is a fast way to find a tone that already suits your rig, which gives the mix a cleaner starting point.
Conclusion
Clear bass comes from space and level discipline, not volume. Clean the recording, set the tone and balance, carve the guitars out of the 150 Hz to 2 kHz range, compress slowly, add saturation for harmonics, then check the result on a phone.
Start with those first four moves on your next mix and listen on a small speaker before you export. If the line still vanishes, back the bass off a decibel or two rather than reaching for another plugin. A clear bass should stay powerful and musical — the riffs should still feel heavy, just audible.