A demo does not need a studio. You can record a usable one at home for less than a single night out, because the three things that actually decide quality — the room, the mic position, and the performance — are free or nearly free. The gear list at the bottom of this page is the short version: a laptop, an audio interface, one microphone, headphones, and free software will get you through a full demo.
Learning how to record a demo at home cheaply takes an afternoon to set up and a weekend to execute. A three-piece can track guitar, bass, drums and vocals in a spare room or a treated bedroom, mix it in a free DAW, and hand a finished WAV to a label, a booker, or another band. No engineering degree required, and no console bigger than a dinner plate.
First, define the target. A demo is a rough three-to-five-song recording whose job is to show the songs and the band playing them. Keep it under about 20 minutes, record at 24-bit and 48 kHz, mix to roughly minus 14 LUFS so it survives streaming, and export as WAV rather than MP3. Once you are chasing an EP, a label-ready master, or release artwork, you are past the demo stage and into the budget conversation this guide does not cover.
Table of Contents
- What You Need
- How to Record a Demo at Home Cheaply: Step-by-Step
- Step 1: Prepare the Song and Recording Plan
- Step 2: Treat the Room Before Buying More Gear
- Step 3: Connect and Level the Recording Chain
- Step 4: Record Scratch Tracks First
- Step 5: Record Drums, Bass, Guitars, and Vocals
- Step 6: Edit and Mix the Demo
- Step 7: Export, Bounce, and Back It Up
- Common Mistakes
- Frequently Asked Questions
- What equipment do I need to record a demo at home cheaply?
- Can I record a demo with just a laptop or a phone?
- Are free DAWs good enough for recording and mixing metal?
- Do I need soundproofing before recording vocals and screams at home?
- When is booking studio time cheaper than buying gear?
- Start With One Song and One Clean Recording
What You Need
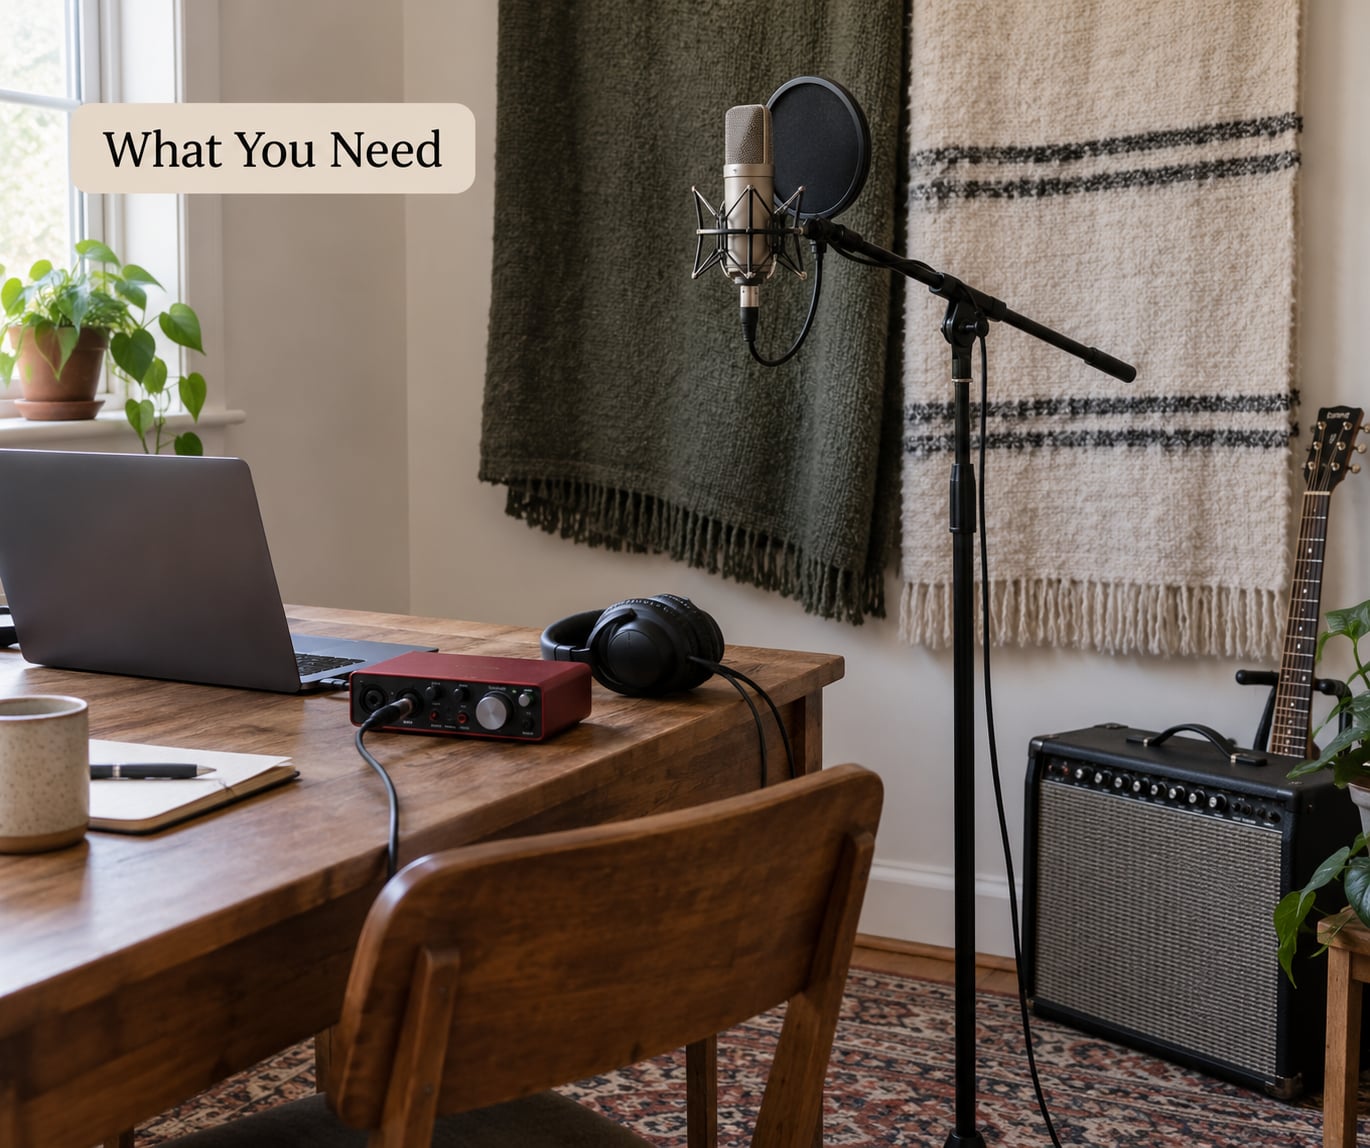
The minimum viable setup has five parts, and four of them you may already own.
- A computer. Any laptop from the last decade running macOS, Windows or Linux will track a band fine. Sample rate and bit depth matter far more than processor speed.
- An audio interface. This is the real purchase. It converts your instrument or mic signal into something the computer can record, and its preamps set the noise floor. Two inputs covers guitar-then-vocal tracking. Four inputs lets you put a stereo pair over the drums and a DI on the kick simultaneously.
- One microphone. A dynamic like the Shure SM57 is the standard for guitar cabinets and works on snare and guitar miking for the price of a couple of takeaway meals. A budget condenser handles vocals in a treated room. Buy one and let it do several jobs.
- Closed-back headphones. You need them for tracking and for mixing without waking the neighbours. Open-back monitors can wait, and mixing on cheap nearfields in an untreated room teaches you bad habits.
- A DAW. Free options such as Reaper, Audacity, Cakewalk by Bandlab and GarageBand all handle multitrack recording, editing and exporting WAV files.
Also worth counting: a boom stand, a pop filter, an XLR cable, and a DI box for bass or clean guitar. Those four cost less than a single session in a rehearsal room. Treat the room itself as free gear — blankets, heavy curtains and a thick rug do more for your recording than any second microphone.
Budget tiers, with typical US price ranges that shift by region and change over time:
| Tier | What it covers | Typical total |
|---|---|---|
| Phone tier | Phone or camcorder audio, one take, live cover, car as booth | USD 0 to 60 |
| Starter tier | Two-input interface (Focusrite Scarlett 2i2 class), one Shure SM57 or budget condenser, pop filter, stand, cable, closed-back headphones, Reaper | USD 200 to 400 |
| Full-room tier | Four-input interface, condenser plus second dynamic, DI box, spare cables and stands, reflection filter or DIY panels | USD 700 to 1400 |
The jump from starter to full-room is mostly about simultaneous inputs. A trio recording one person at a time never needs more than two channels, and a full drum kit with two overheads plus a DI kick needs four.
How to Record a Demo at Home Cheaply: Step-by-Step
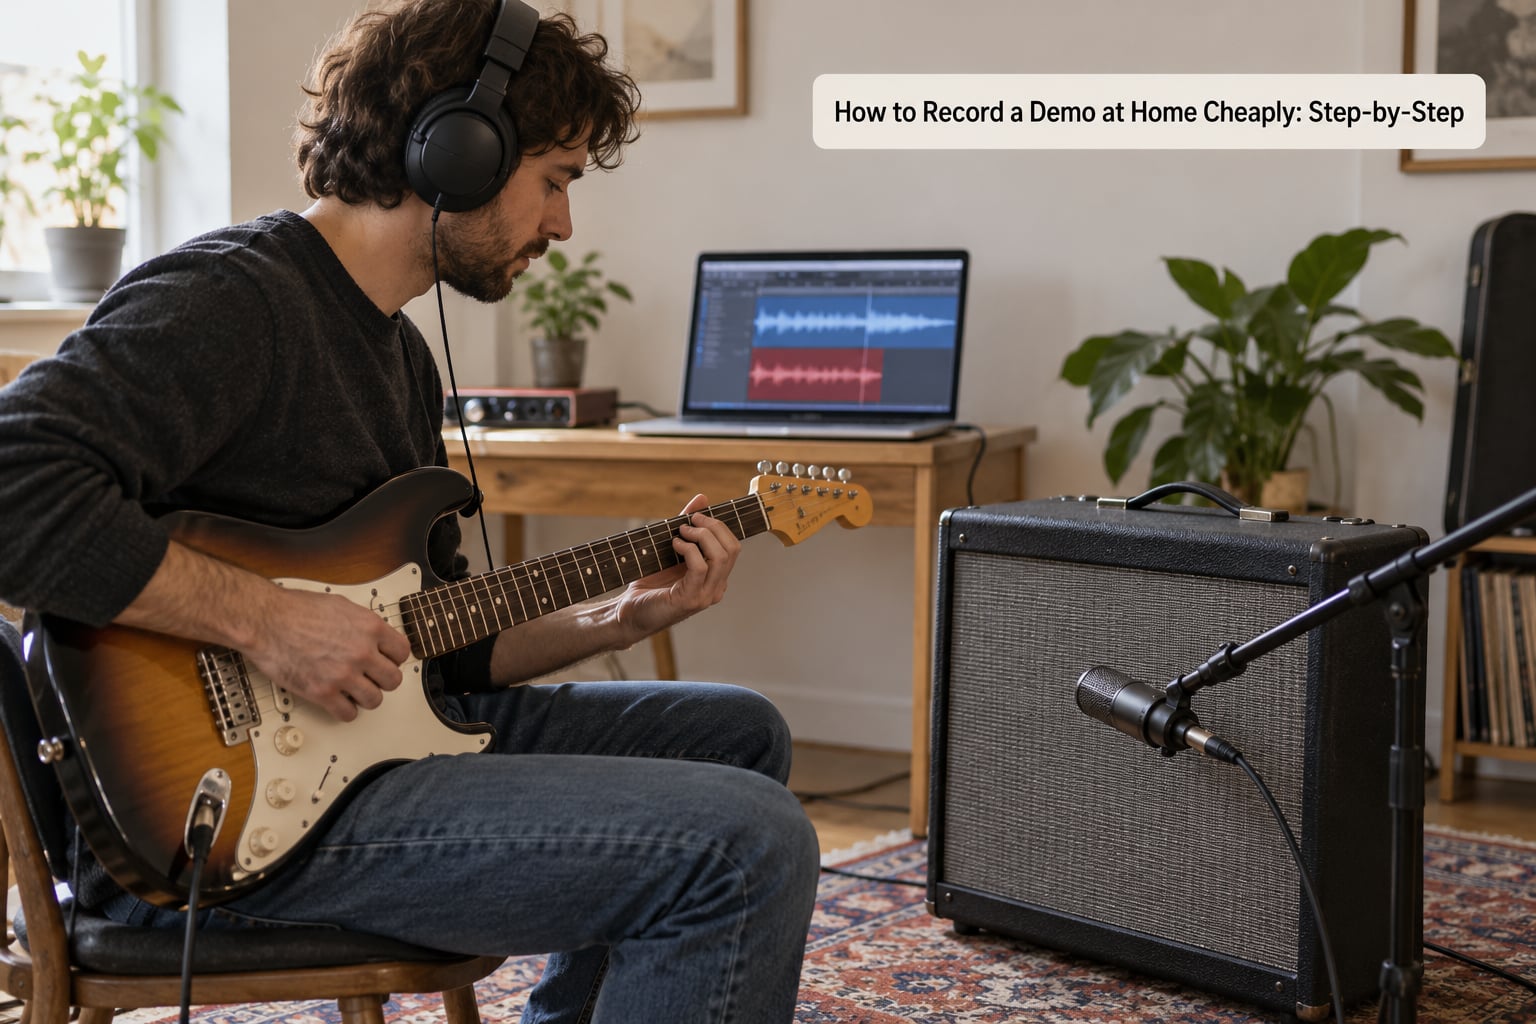
The order below is deliberate. Prep and room work happen before anyone plugs in, because both are free and both change everything downstream. Follow it once and the next demo takes half the time.
Step 1: Prepare the Song and Recording Plan
Write the arrangement down before touching a cable: how many bars the intro runs, where the first riff lands, whether the double-kick section is one continuous blast or two halves. Set a tempo map in your DAW, pick one reference track that sits close to the vibe you want, and print or note the BPM and key.
Then build a short checklist of every part you intend to record. A one-page list stops a three-hour session from disappearing into tweaking a single palm mute. Your check for this step: you can scrub the arrangement on the laptop timeline without picking up the guitar.
Step 2: Treat the Room Before Buying More Gear
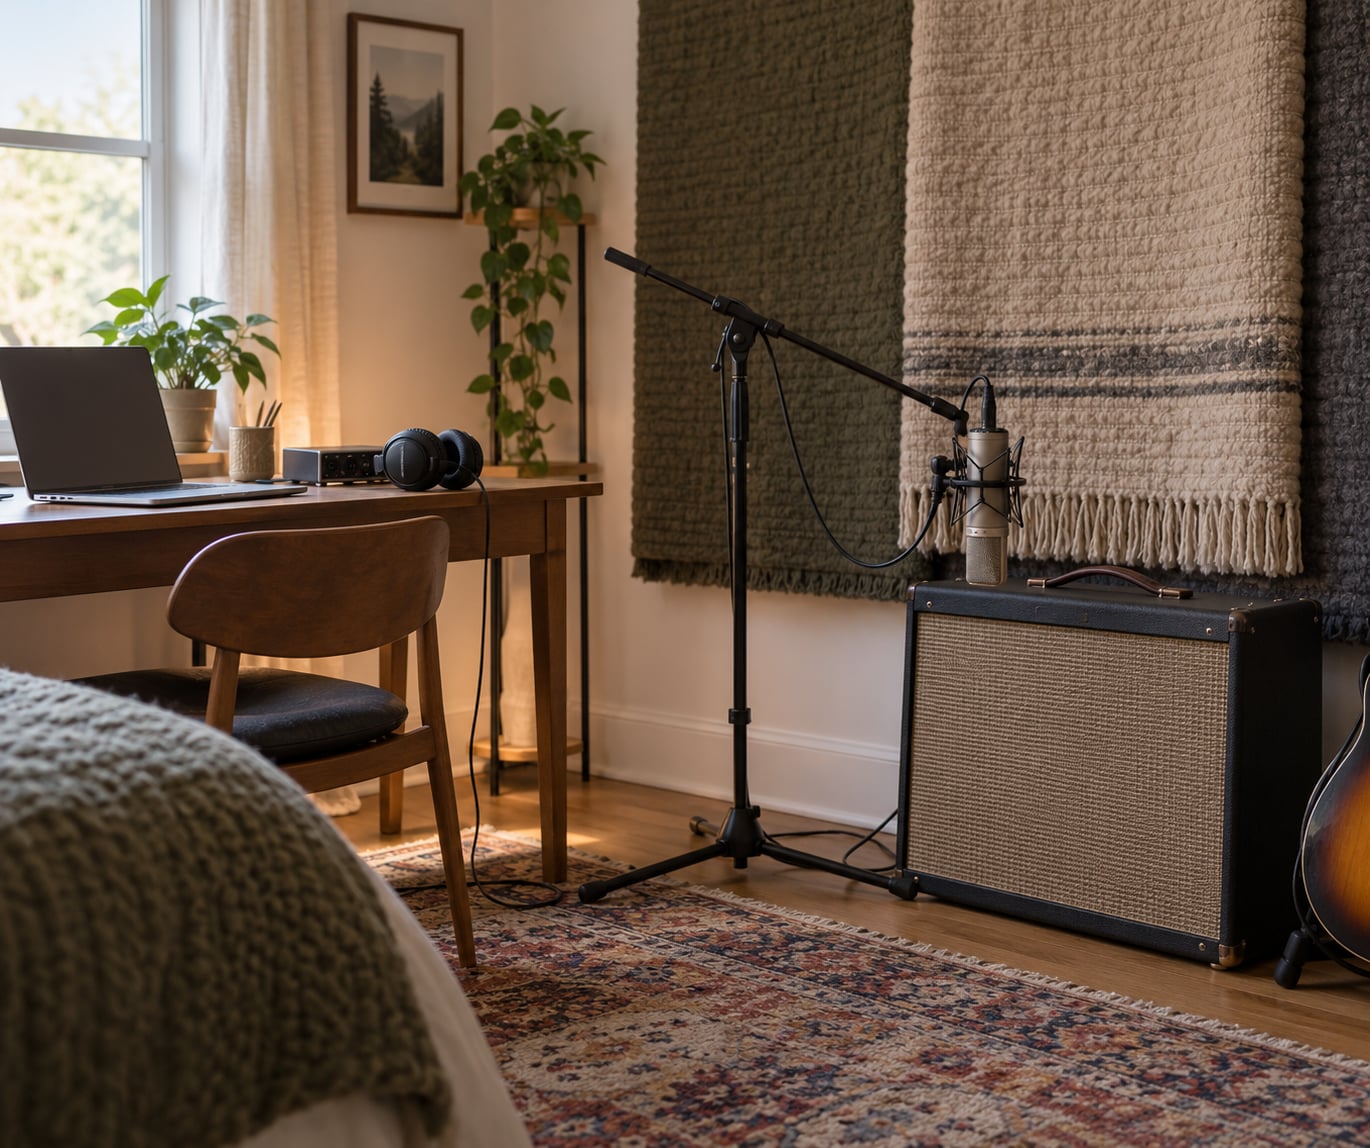
Acoustic treatment and soundproofing are different problems, and only one of them is expensive. Treatment kills reflections and echo inside the room with absorption, and you can do it with moving blankets, heavy curtains, a rug, a bookshelf full of books, and panels made from rigid foam or framed rockwool. Soundproofing stops sound reaching your neighbours, and that is genuinely costly.
Start with the loudest surface in the room, usually a bare wall or window behind the vocalist. Hang a blanket over it, drape a rug over hard floor, push a wardrobe or full bookcase into the corner behind the mic position, and shut the window. Recording in a closet full of clothes is a real trick, not a joke — the clothes do the work of hundreds of dollars of panels.
Test it by clapping once in the middle of the room and listening to how long the decay hangs. Then record ten seconds of silence and play it back with the gain up. Anything you hear in that ten seconds — hum, traffic, a fridge, a laptop fan — is your noise floor, and it will sit under every vocal you record. As of 2026, this is still the step beginners skip, and it is the reason home demos sound like they were recorded in a stairwell.
Step 3: Connect and Level the Recording Chain
Plug the microphone into an input on the interface and the interface into the laptop over USB or Thunderbolt. Turn phantom power on only if you are using a condenser that needs it, because phantom power can damage a ribbon or a passive dynamic in some cases. Set the sample rate to 48 kHz and 24-bit, and set the buffer size to 128 or 256 samples while tracking so playback delay stays small.
Gain staging is the whole trick. Play the loudest, cleanest note your source will produce and raise the preamp until the meter peaks around minus 12 dBFS, then back it off a little. If you see red, the recording is clipped and no amount of editing will repair it. For guitars through an amp, back off far more than instinct suggests, because the amp adds its own level after the mic.
Record thirty seconds of silence and thirty seconds of your loudest playing, then check the waveform. That is your chain test. One forum thread on r/musicproduction describes an interface whose phantom power died after two weeks of use and killed a session outright — buy from a seller with straightforward returns and check the meter on every take rather than trusting the gain knob.
Count physical inputs, not advertised features. Marketing counts streaming channels, which is how a two-input box ends up advertising eight. If you record a full band live, you need enough real XLR inputs and enough headphone outputs for everyone, and a headphone splitter is the cheap version of that problem.
Step 4: Record Scratch Tracks First
Play the whole song once before recording anything properly. The goal is reference material: a complete guide track that carries tempo, feel and arrangement decisions, so later takes can be judged against something instead of memory.
Do not chase perfection here. Keep the level steady, keep the timing honest, and resist the urge to fix a bad fill. If you have a click or a metronome, record the guide with it and leave a bar count at the top.
Step 5: Record Drums, Bass, Guitars, and Vocals
Track one source at a time wherever the room allows it. Guitar and bass first while the neighbours are out, drums once the house is empty, vocals whenever the noise floor is lowest — usually late evening.
Drums. On a budget, put two condenser mics in an X arrangement above the kit, spaced roughly ear-width apart so shared cymbals do not cancel themselves out; the old forums still point at that spacing for a reason. Add one dynamic mic inside the front kick for punch, or DI the kick if the shell rings badly. One room mic a few feet in front of the kit adds depth that no plugin will fake. Gated bleed works: record a few seconds of the drummer hitting nothing, use that noise print to gate the overheads when the cymbals bleed into your tom and snare channels.
Double-kick parts record best as a single continuous pass from one mic position. A fast human played from two positions produces phase problems you will spend hours unwinding.
Bass. A DI box captures the instrument directly with no amp noise and no room, which makes it the cheapest path to a controlled tone. Feed the DI into an amp simulation with an impulse response of a real cabinet, or bounce the DI to a new track, plug the real amp in later, and reamp it. Reamping is the cheapest way to get a large guitar sound out of a small room, and it also means you only need the amp for a few hours.
Guitars. For amp miking with one SM57, skip the centre of the grille and aim at the speaker edge, slightly off-axis, a couple of inches from the cone. The centre of a grille is bright and boxy; the edge is warm and mid-forward. Move the mic a few inches at a time and listen to the waveform, not just the tone. Miking the cabinet with a second mic placed at the speaker boundary, low and slightly to one side, thickens the result. For palm-muted riffs and the clean parts underneath, DI is cheap, tight and easy to reamp later.
Vocals and screams. Hang a pop filter about a hand’s width in front of the mic and keep the mic a similar distance away. For extreme vocals, the problem is rarely the microphone — it is the building. A thread on r/metalmusicians describes practising screams in a 1940s flat with a landlord next door, and the practical workaround was recording in a parked car. That is not a joke; a car gives you an unexpected amount of isolation, and so does a wardrobe full of clothes, a walk-in cupboard, or a duvet draped over a stand. Record at a lower level and gain up afterwards rather than shouting into a mic at full tilt, and comp the best of several passes instead of trying to capture one perfect scream.
Step 6: Edit and Mix the Demo
Start with the takes, not the effects. Rename every take as you import it, cut dead air, align the downbeats by ear and by waveform, and comp the best sections of repeated vocal and guitar lines. Once the performances are clean, set rough levels so nothing jumps in volume between verses — that automation is worth more to a demo than any plugin.
Then apply the minimum: a high-pass filter on anything that does not need low end, one gentle compression pass on vocals and bus, and an EQ cut around 200 to 400 Hz where it sounds muddy. Reaper ships with EQ and compression included, and free tools like TDR Nova, Voxengo SPAN and Valhalla Supermasses cover the rest. Check the whole mix in mono, since phones and club systems are often mono, and reference it at matched loudness against a track you know well.
Finish with a limiter onto a master so the peaks stay under 0 dBFS, and set the overall level near minus 14 LUFS for streaming. Learning how to record a demo at home cheaply stops paying off the moment you bury the song under processing.
Step 7: Export, Bounce, and Back It Up
Export the final mix as a 24-bit WAV, then bounce each track separately at the same settings. Keep both. The stereo mix is what people hear; the stems are what save you when a label asks for a cleaner vocal or a promoter wants a different length.
Use one naming convention and never deviate: SongName_Take03_Gtr.wav, SongName_Take07_Vox.wav. Store the session and every raw take in a dated folder, and keep at least two copies in different places — a drive and a cloud folder will do. Version your mixes as Mix_v1, Mix_v2, Mix_v3, and stop at the point where the third one stops improving. The single most common home-recording disaster is not a bad take; it is a lost session.
Common Mistakes
Buying gear before treating the room. A treated room with one microphone beats an untreated room with five. Move the wardrobe, hang the blankets, and only then spend money.
Counting marketing inputs instead of real ones. Interfaces advertise streaming channels. You need physical XLR sockets and headphone outputs for the number of people playing at once.
Over-gaining. Clipping is unrecoverable. Peak at minus 12 dBFS on the loudest take, write that gain down, and never touch the preamp again.
Mic placement left at default. A microphone in the centre of the grille or two feet in front of a vocalist will undo a decent interface. Move it in small steps and listen each time.
Layering too many effects. Amp sim, distortion, chorus, delay, reverb and a compressor on one guitar sound is a mess, not a tone. Fix the raw take first, add one effect at a time.
Mixing while still tracking. Pick a rough level so tracks sit together, then leave the mix alone until the whole song exists. Fresh ears on day two will hear things day one cannot.
Skipping backups. Copy the raw takes off the machine you recorded on before you touch anything else.
Recording screams at full volume in a thin-walled flat. Record quieter, gain it up later, and use the wardrobe, the car, or a different hour of the day.
Frequently Asked Questions
What equipment do I need to record a demo at home cheaply?
Five things: a computer, a two-input audio interface, one microphone, closed-back headphones, and a free DAW such as Reaper or Audacity. A Shure SM57 covers guitar cabinets and snare; a budget condenser covers vocals in a treated room. Add a boom stand, a pop filter, an XLR cable and a DI box, which together cost less than one rehearsal room booking.
Can I record a demo with just a laptop or a phone?
Yes, with caveats. A phone or camcorder can capture a single live take well enough for a rough demo, especially in a quiet room or inside a parked car. A laptop without an interface can only record its own inputs, so you would need a USB microphone for vocals. Neither route gives you separate tracks for editing later, so treat the result as proof of the songs, not a finished record.
Are free DAWs good enough for recording and mixing metal?
Yes. Reaper, Audacity, Cakewalk by Bandlab and GarageBand all record multitrack audio and export 24-bit WAV files, which is everything a demo needs. Reaper is the most flexible of them for metal work because third-party amp simulations, impulse responses and drum plugins plug straight in. The limit is your ears and your room, not the software.
Do I need soundproofing before recording vocals and screams at home?
You need room treatment, which is cheap, more than soundproofing, which is not. Hanging heavy blankets, using a thick rug and putting a full bookcase behind the vocalist removes most reflections and echo. Stopping sound reaching your neighbours is the expensive part, so record extreme vocals at a lower level, close to a wardrobe full of clothes, in a car, or at a quiet hour.
When is booking studio time cheaper than buying gear?
When you need finished, release-quality records rather than demos, or when your room cannot be treated. Professional demo sessions commonly run into the thousands, so a home setup pays for itself across several recordings. The break-even point is roughly two or three booked sessions. If you are only cutting a demo this year, saving for one good session and recording it properly beats a half-empty interface and an untreated room.
Start With One Song and One Clean Recording
Pick one song this week. Set the tempo, hang a blanket over the worst wall, record a single room mic take, and listen to it on headphones before you buy anything at all. That first take tells you exactly which part of your chain to fix next, and it costs a weekend rather than a budget.
Improve one link at a time — the room, then the mic position, then the preamp gain, then the mix. That is how you learn to record a demo at home cheaply without collecting gear that never gets used.