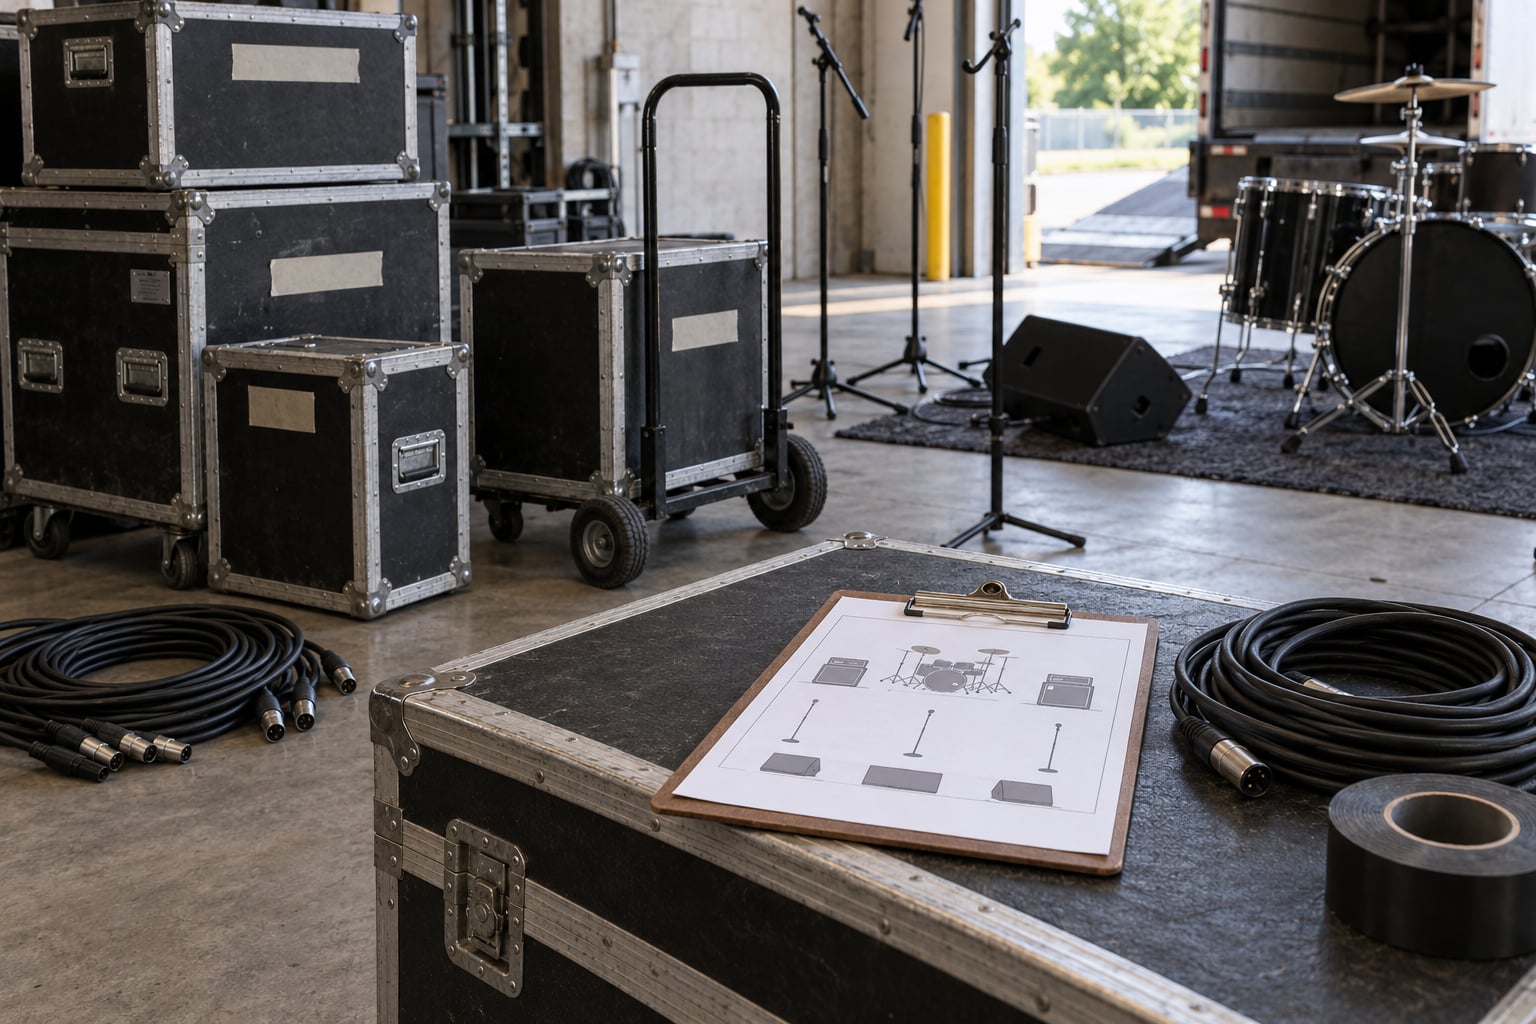
A load-in is the window between arriving at the venue and being ready to play: you move gear from the vehicle into its stage position, patch, mic up and get ready for soundcheck. A self-managed four-piece can do that in 25 to 30 minutes with a plan, or in 60 with no plan. How to load in gear quickly at venues comes down to three habits: pack the van in reverse unload order, give every case one owner, and put most of the gear on a wheeled cart so it moves once instead of three times.
I have played plenty of load-ins where somebody ended up carrying the same kick drum pad twice while someone else hunted for a music stand. Nothing about that was hard. It was just a missing system, and systems are cheap.
This guide is written for a working crew of three to five people, but the same logic scales down to a solo act with a hand truck. Adjust the numbers, keep the order.
Table of Contents
- What You Need Before the Load In
- How to Load In Gear Quickly at Venues: Step by Step
- 1. Confirm the venue details before you leave
- 2. Pack every case in setup order
- 3. Assign roles and use a staging plan
- 4. Place the backline and power first
- 5. Patch microphones, DI boxes and instruments
- 6. Set monitors, tune the backline and verify the rig
- 7. Finish soundcheck and set pack-down priorities
- Common Mistakes That Slow a Load In
- Frequently Asked Questions
- How long should a band load in take?
- What order should gear come out of the van?
- Do carts and dollies actually save time?
- How early should a band arrive for soundcheck?
- How do you move gear up stairs when there is no lift?
- How do you load out fast when everyone is exhausted?
- Conclusion
What You Need Before the Load In
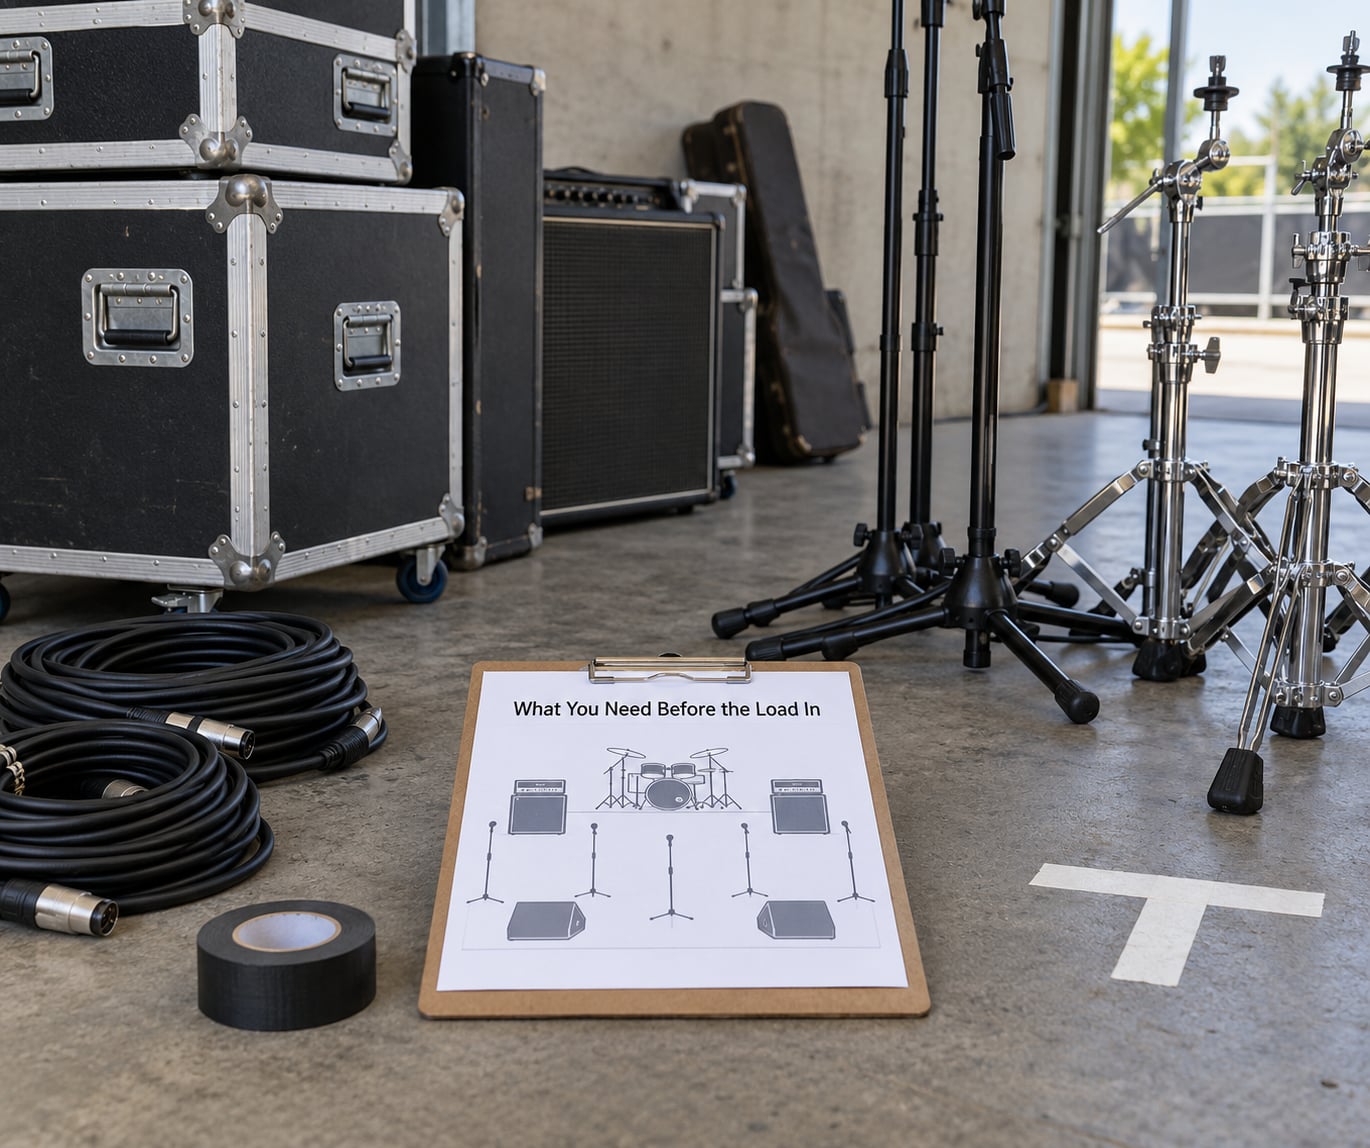
Preparation happens at home, on your own clock. Everything below is cheap, and none of it can be improvised at the loading door.
- A printed stage plot. One copy per person, plus one for the front of house engineer. Tape marks and console numbers on it, not just positions.
- A venue note. One page per venue: arrival time, which door, door code or who to ring, parking, stage dimensions, power, and the name of the production contact. Update it after every show and reuse it forever. A veteran thread on thegearpage.net made the same point about keeping one person moving in and out while gear is unloaded.
- Cases that say what they are. A strip of tape on the lid and on the first item inside. Labels facing the van doors.
- A cable inventory. Count your XLRs, mic stands, DI boxes and power leads. Most delays at patch come from a cable that was never in the van.
- Moving hardware. One folding cart or hand truck per two people, ratchet straps, cable ties, gaffer tape, and grip tape for the ramp or the tail lift. A drum rug travels flat under your hardware bags.
- A printed list of what the venue provides. Backline, PA, monitors, mic stands, DI boxes. Everything not on that list is coming out of your van.
- A crew plan. Names, not roles in the abstract. Who drives, who lifts, who patches, who watches the door.
A flashlight, a multitool, a Sharpie and spare bungee cords in the same bag as the gaffer tape is not fussy. It is the bag you open when something is missing at 4pm in a car park.
How to Load In Gear Quickly at Venues: Step by Step
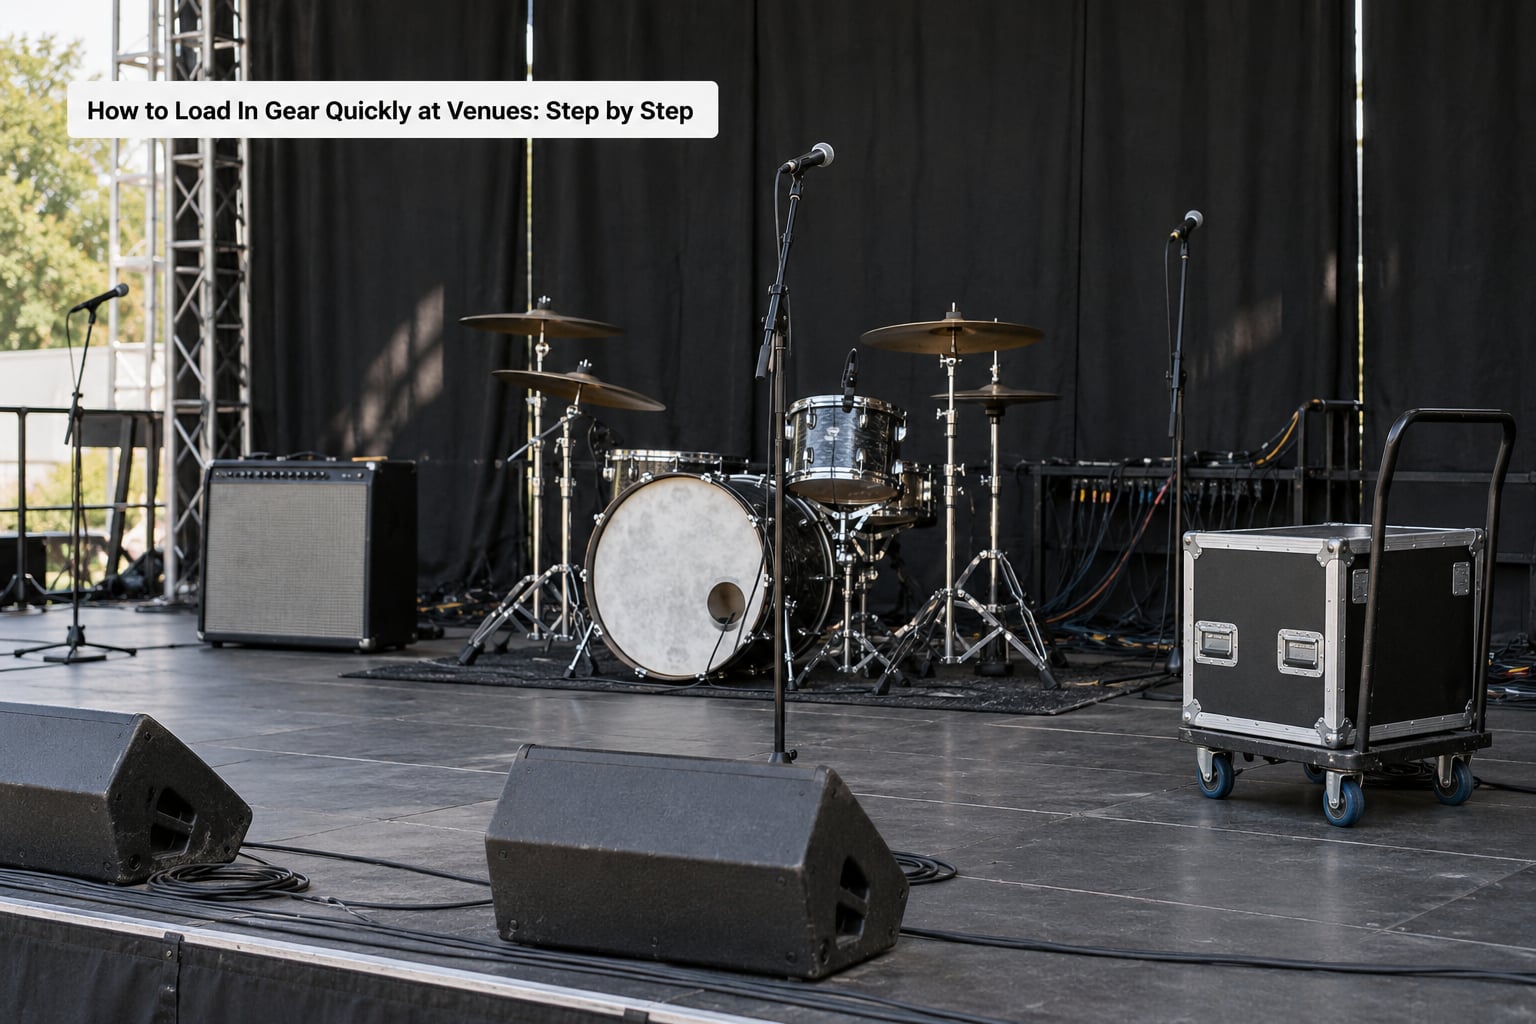
Work the steps in order. Skipping ahead to patching before the backline is placed is the single most common reason a load-in stalls.
| Task | Typical minutes | Trips | Owner |
|---|---|---|---|
| Confirm access and park the vehicle | 5 | 1 | Driver |
| Drum kit and hardware | 8 | 2 | Two people |
| Amps, cabs and stands | 5 | 1 | Guitar and bass |
| Mic stands, DIs, instruments | 4 | 1 | Band member |
| Patch and cable tidy | 5 | 0 | Engineer or designated band member |
| Monitors, levels, gain check | 4 | 0 | Engineer |
| Final stage walk | 3 | 0 | Whole crew |
That lands a four-piece near 30 minutes with no delays. The same lineup with one person carrying everything takes closer to 50, because every case crosses the same pair of hands twice.
1. Confirm the venue details before you leave
Ring the venue and ask the questions that change your route: what time can you get the load-in door, where is it, is there a step or a dock height limit, where can you park, is there a lift, and who is on site when you arrive. Ask whether the loading bay is shared with catering or housekeeping, because a bay full of bins at 5pm turns into twenty minutes of standing around.
How you know it worked: the van doors are open within five minutes of arrival and nobody is on the phone. Check that the venue tech pack or advance is in your glovebox, not in an email you will not read in a car park with no signal.
2. Pack every case in setup order
Pack the van backwards. The last thing you put in at home is the first thing you pull out at the venue, so the gear that goes on stage first sits nearest the doors.
Inside that rule: heavy and low, forward over the axle; nothing heavy above head height; cases that never move during the show in the deepest part of the van; frequently used items on top of their own case rather than in a bottom layer. Separate your essential spares into one case that stays shut unless you need it.
How you know it worked: you can unload the first cart load without digging, and you never walk a case back into the van because something else was underneath it.
3. Assign roles and use a staging plan
Split the work into four jobs and name a person for each: unloading from the van, carrying to stage, placing to the stage plot, and patching. The drummer does not carry drums. The driver does not stand on stage holding cables. One person watches the door and keeps the tail lift clear.
Keep a two-person relay moving: one inside the van, one on the route to the stage. Thegearpage.net users reach for the same trick when they talk about always having a band member in and out during a load. It works on stairs too, just slower.
How you know it worked: nobody waits with a case in their hands, and nobody walks past the same corner twice.
4. Place the backline and power first
Big, heavy and slow first. Drum kit on the rug, positioned before you unpack hardware. Then amp heads on cabinets, cabs where the sound engineer wants them, stands, then monitor wedges facing the players at the mark you taped.
Run power along the back edge of the stage and secure it with tape or a cable ramp so nobody steps on it. Every cable that runs to the stage box goes once, neatly, with slack. Coil the excess at the wall rather than in the middle of the floor.
How you know it worked: from the audience the backline reads as one shape, and no cable crosses a footpath.
5. Patch microphones, DI boxes and instruments
Patch against the printed stage plot, not from memory. Use one consistent colour code: one colour per source, a different colour for returns, and matching tape on both the cable and the box end.
Bundle in short runs rather than one long snake, so a failed channel can be found and replaced without unpicking the whole stage. Mic an SM58 for vocals, a small-diaphragm condenser for acoustic instruments where the player wants one, and the kick and overheads last so the drummer is not blocking the stage.
How you know it worked: you read each line of the input list aloud and the engineer confirms the channel number. Doing this once now saves fifteen minutes of troubleshooting during soundcheck.
6. Set monitors, tune the backline and verify the rig
Ask for monitor mixes at the level the player actually plays at, not at practice-room volume. Set amp gain before feedback becomes the problem: raise the guitar amp until it is close, then stop and take a little off.
Then walk the stage. Every player plays a note, every microphone gets signal, every pedal in the chain clicks on. A single pass with an instrument in each hand finds more faults than twenty minutes of guessing.
How you know it worked: the whole band can play together at soundcheck volume with no surprises. If the FOH engineer has your input list in front of them, that is a good sign.
7. Finish soundcheck and set pack-down priorities
Keep the soundcheck short and structured: one pass of the setlist at working volume, one line check, then tuning. Write down the numbers that took time to find, because you will want them at the next venue in three months.
Before the set, decide the pack-down order while you are still fresh. Cymbals and drum hardware first, then fragile mics, then the backline, then the road cases. Know which vehicle position you need at the end, and confirm that the venue still wants the stage clear within the slot they gave you. Multi-band changeovers are the place where bands lose goodwill; a band that finishes packing before its slot ends gets invited back.
| Lineup | Realistic load-in | Trips to the vehicle | Biggest delay |
|---|---|---|---|
| Solo with a guitar and small amp | 8 to 12 minutes | 3 | Carrying distance, not packing |
| Duo | 12 to 18 minutes | 2 | No one to hold the door |
| Three-piece with drum kit | 18 to 25 minutes | 3 | Drum kit pieces |
| Four-piece club show | 25 to 35 minutes | 2 | Changeover window |
| Six-piece with horns | 40 to 55 minutes | 3 | Stage space and mic stands |
| Festival slot | 60 minutes plus | 3 | Shared bay and other crews |
If the venue has no backline, or the stage is too small for the lineup, you find out in step one rather than in the changeover. That call is worth making before you leave.
Common Mistakes That Slow a Load In
Unlabelled cases. Everyone opens three cases to find one item. A strip of tape with a number or name on the lid and on the first thing inside costs ten seconds and saves several minutes.
Arriving without confirming the access details. You end up at the wrong door, or the right door with no key and no phone signal. Ring ahead every time, even for a venue you know well, because the loading entrance changes more often than you would think.
Tangled cables in the van. Coil and tie everything at home. A knot you cannot find the end of costs more than the whole coil took to wind.
No assigned roles. Five people carrying everything means everything gets carried twice and nobody knows what is still on the van. Name the four jobs and stick to them.
Lifting things that need two people. Bass cabs, double kick hardware and loaded amp heads are two-person lifts, every time, including when you are in a hurry. A hand truck is not a licence to muscle something up stairs.
Checking power too late. Find the outlets before you place the backline, not after. Running a lead three metres across a stage because the sockets were behind the drum riser costs more than the placement did.
Skipping the final stage walk. A loose cable under a monitor wedge or an amp head that moved during tuning causes a fault ten minutes into soundcheck. Walk it once before you leave the stage.
Treating load-out as an afterthought. De-rig is more dangerous than load-in because everyone is tired and the room wants to close. Agree the order before doors open, not after the last song.
One more thing nobody mentions: a cart is not always faster. If the route has stairs, a narrow corridor or a threshold, a cart can cost you more time than carrying. That is a call you make at the door, and the reason the gear audit matters.
Frequently Asked Questions
How long should a band load in take?
For a four-piece club show with a drum kit, 25 to 35 minutes from van doors open to soundcheck-ready is a realistic target. A solo act usually lands between 8 and 12 minutes, a six-piece with horns closer to 40 or 55. If you are consistently over, the cause is usually gear volume rather than pace, and a pre-arrival gear audit is the fastest fix.
What order should gear come out of the van?
Reverse unload order. The last case loaded at home sits nearest the doors, so backline and drum kit come out first and road cases come out last. Inside the van, keep heavy items low and forward over the axle, never above head height, and keep rarely used items deepest. Pack to a numbered list and the sequence stops being a memory test.
Do carts and dollies actually save time?
They do when the route is flat and wide, which covers most club loading bays. On stairs, narrow corridors or uneven thresholds a cart becomes an obstacle and carrying is faster. One folding cart or hand truck per two people is the practical compromise, plus grip tape on the ramp or tail lift so wheels do not slide on the first slope.
How early should a band arrive for soundcheck?
Ask the venue what the load-in slot is and treat that as fixed rather than a suggestion. Most clubs give support acts 30 to 45 minutes, headliners longer, and the soundcheck itself is usually 20 to 30 minutes of the total. Arriving at doors time is too late; arriving before your slot is early and puts you in the previous band’s changeover.
How do you move gear up stairs when there is no lift?
Move the heaviest items first, while the crew is fresh, using a two-person lift on anything awkward. Take bulky cases up empty, then return for the contents in one trip, and rope non-fragile items together in pairs so the load count drops. Keep cables in a bag rather than a coil you have to hold, and never rush a stairs job at the end of a long night.
How do you load out fast when everyone is exhausted?
Decide the order before you play. Cymbals and drum hardware first, then fragile microphones and DI boxes, then the backline, then road cases, and stage clear by the slot time the venue gave you. Park the vehicle in its load-out position before the last song ends, and load the van in forward order this time so the first thing out at home is the first thing you grab.
Conclusion
A fast load-in is not talent or a heavier cart. It is the same routine every time: confirm the access details before you leave, pack the van in reverse unload order with labelled cases, assign four named roles, place the backline and power before anything else, patch from the stage plot, then walk the stage once before you call it done.
Start with three things before your next show. Write the venue note and confirm the load-in door. Tape and number every case. Give each person one job and one trip. Most of the twenty minutes you lose every show disappear in the first attempt at that, and the ones you get back go straight into soundcheck.