Learning songs by ear means working out the notes, melody, chords and rhythm of a recording by listening alone, with no sheet music, chord chart or tablature. The method is less mysterious than it sounds: pick a song you already know, find its key, pull it apart in four-note chunks, hum each chunk back, find those pitches on your instrument, then check your version against the original. A full arrangement usually takes several sittings the first time and an evening once your ear has warmed up.
One word to clear up first, because it stops more people than any technical problem. Plenty of experienced players assume they are tone deaf because they cannot transcribe a simple tune, and plenty of them are not. Genuine congenital tone deafness is very rare. What nearly everyone has instead is an untrained relative pitch, which is a skill, not a defect, and it responds to practice within weeks.
Knowing how to learn songs by ear is usually called playing by ear, aural skills or ear training. The first two describe transcription: hearing a real song and working out what to play. Ear training is the narrower drill work underneath it, recognising intervals and chord qualities on their own. Experienced players on forums are blunt about the difference: drills on their own will not make you able to play a song. Only transcription does that.
Table of Contents
- What You Need
- Step-by-Step: A Repeatable Ear-Training Method
- 1. Choose a Song Within Your Current Ability
- 2. Listen for the Song’s Large Shape
- 3. Learn the Vocal Melody and Lyrics
- 4. Work Out the Chords and Harmonic Movement
- 5. Isolate the Bass and Rhythm
- 6. Reconstruct the Arrangement One Layer at a Time
- 7. Test the Reconstruction and Review the Weak Spots
- Common Mistakes
- Frequently Asked Questions
- Is it rare to be able to play music by ear?
- What is it called when you can learn music by ear?
- How do I train my ears for music?
- Do I need absolute pitch to learn songs by ear?
- How long should I practise, and how long until I can play a song?
- When is it fine to just use tabs or sheet music?
- Conclusion
What You Need
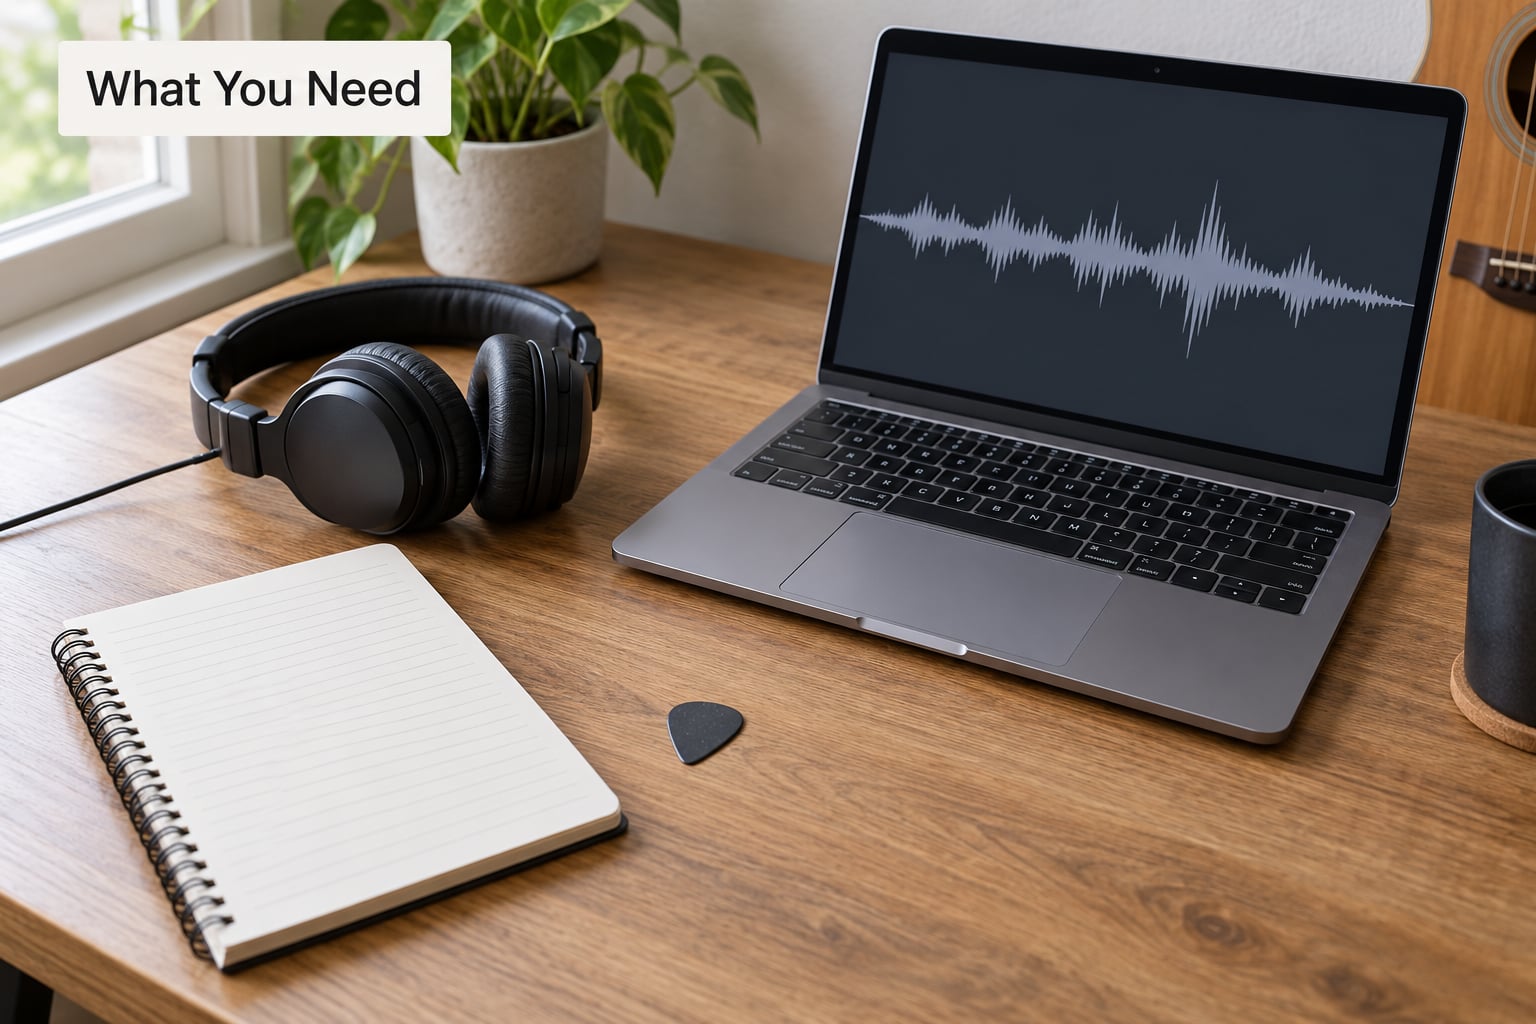
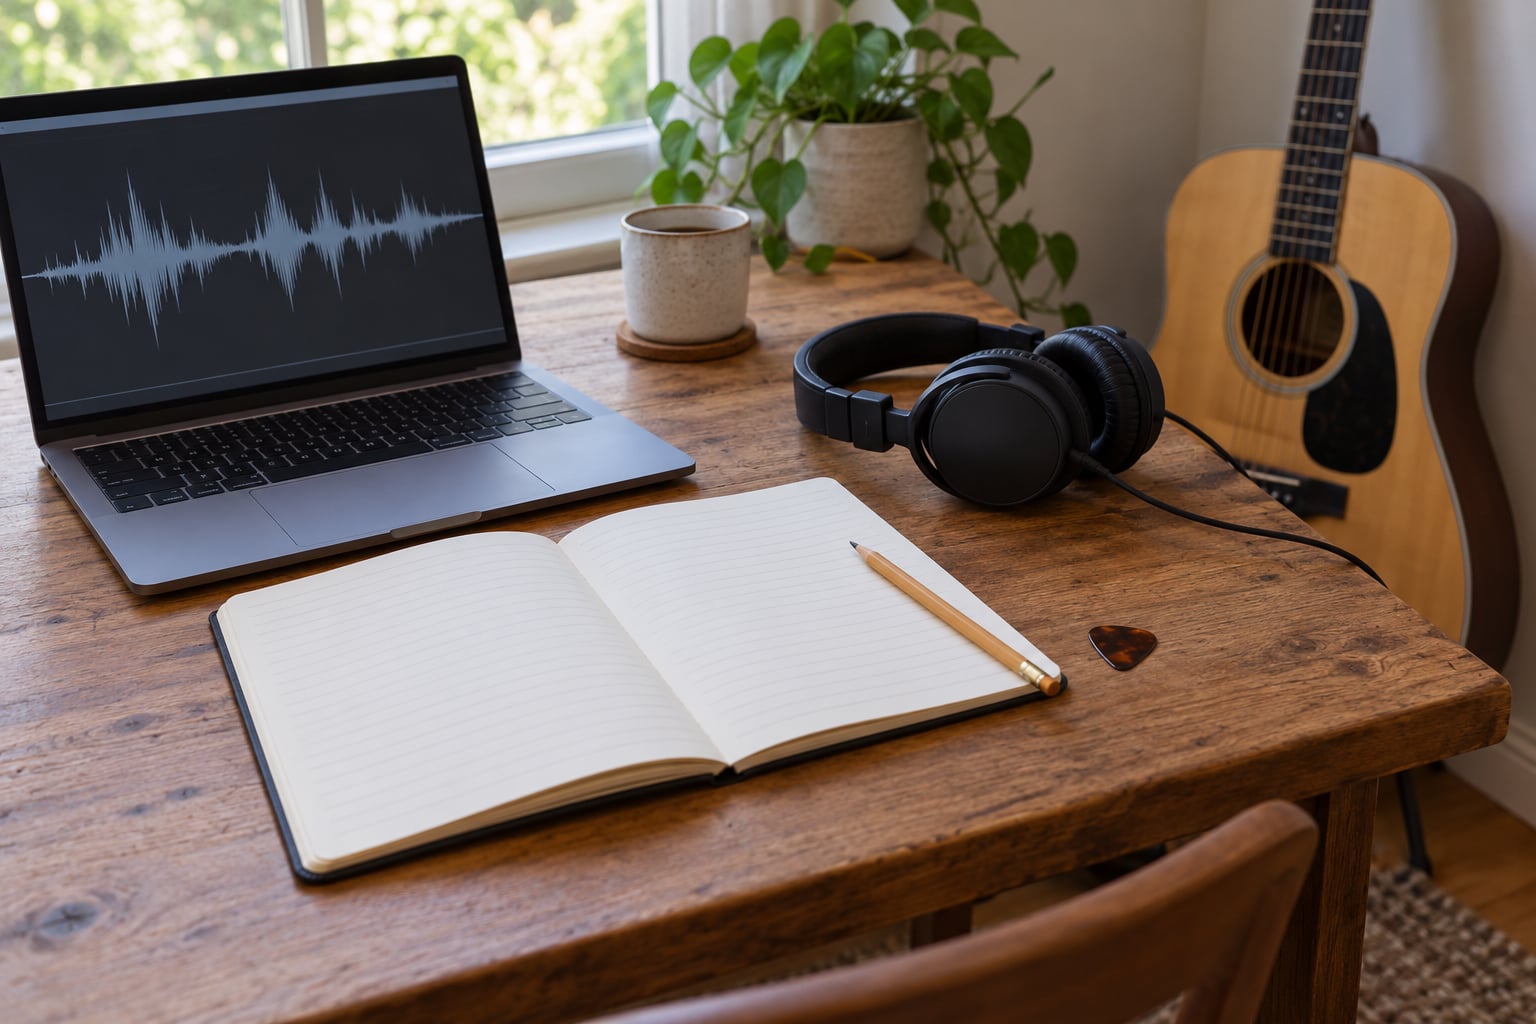
None of this is expensive, and most of it you already own. A reliable recording of the song in a decent playback source, a quiet place to listen, your instrument, and somewhere to write things down.
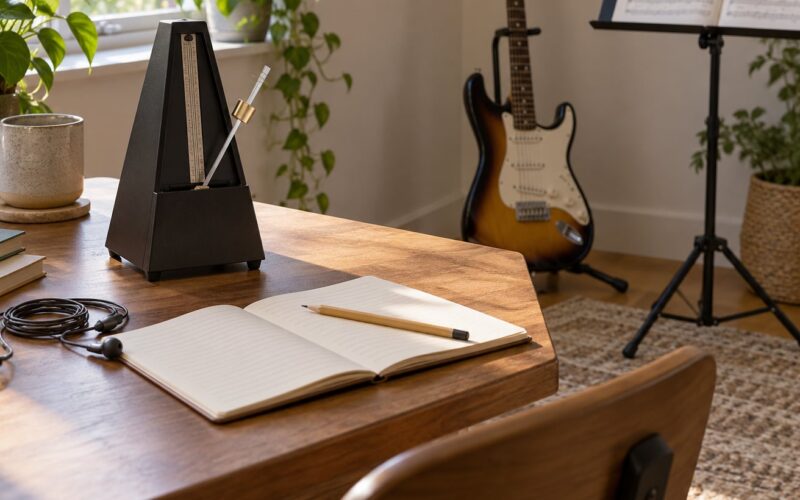
What the notebook is for matters more than what it is. Write a map of the song first, then interval names under the melody, then chord shapes above the lyrics. Writing forces you to decide what you think you heard instead of letting a vague impression drift through your head.
Tempo control is the one tool worth hunting for. Video players let you drop playback to half speed or slower while keeping the pitch correct, and many phones do the same from the playback menu. A metronome app or a plain metronome covers the other half of the job, letting you rebuild a section at a speed you can actually play before pushing it back up.
For tuning by ear rather than by machine, start with the fifth string of a guitar played at the same fret as the fourth, then compare that open reference note against each string until the beating between them slows to nothing. Ten minutes of that a week makes the tuner optional for open strings, though you will still want one for fretted notes and for anything with a lot of vibrato.
Step-by-Step: A Repeatable Ear-Training Method
1. Choose a Song Within Your Current Ability
Choose a song you can already sing every part of. That last condition does the heavy lifting, because a familiar melody gives your ear something to hold on to while it builds the interval skills underneath. Moderate tempo, a clear vocal line, a chorus that lands in a consistent key, and no sudden key changes.
Good early picks include Twinkle Twinkle Little Star, Amazing Grace, Greensleeves, the main riff from Smoke on the Water, and the chord section of Wonderwall. Each has one memorable hook and simple movement underneath it. Save arpeggiated solos, odd time signatures and anything that shifts key mid-chorus for later in your first month.
How to tell the choice worked: you can hum the whole thing without the recording. If you cannot, pick something you can, because every later step depends on holding the tune in your head.
2. Listen for the Song’s Large Shape
Before you touch a single note, map the form. Play the track through once and label what you hear: intro, verse, chorus, bridge, solo, outro. Mark where the key changes and where a section repeats with different words. Write it as a list with timings.
Treat repeats as landmarks. A chorus that appears four times gives you four chances to verify the same musical content, and once it is right you have roughly a quarter of the song handled. Most of what feels overwhelming in a full arrangement is really just unfamiliar ordering, not unfamiliar notes.
Finish this stage able to point at any second of the recording and say what should be happening. If you cannot, the problem is the map, not your ear.
3. Learn the Vocal Melody and Lyrics
Hum or sing the melody back before you play anything. Accuracy matters less than you think; the point is to convert sound into a pitch you control, and that only happens when your voice produces it. Sing quietly, in private, badly if you have to. Nobody has ever failed at this step for singing poorly.
Work two to four notes at a time, the way most self-taught players describe their own process. Loop those notes, sing them back, and check against the recording. Then name the movement between them: step, small skip, big skip, leap, same note. Intervals are easier to remember than absolute pitches, and the names are what let you recognise them tomorrow.
Use the lyrics as timing markers, never as a substitute for listening. Words tell you roughly where you are in the phrase. They tell you nothing about whether that note is a major third or a minor third above the last one.
4. Work Out the Chords and Harmonic Movement
Start with the key and the root note, since almost every chord decision hangs off those two. Hum the melody and find where it settles and resolves; that note is usually the tonic. Alternatively, play the lowest note of the first chord, then try other notes until one stops sounding wrong under the melody.
With the tonic in hand, play candidate chords underneath a section and listen for which ones stop fighting the tune. Test a couple of voicings for each chord rather than hunting for the exact one the record uses; if the melody sits well and the groove holds, the function is right even when the shape differs. Two or four beats per chord is the default guess for most pop and rock.
Then play your version against the recording. Where it clashes, you have usually chosen a chord of the wrong quality or rooted on the wrong degree. Forgetting where you are between sections is the more common culprit, so write the changes above the lyrics in your notebook with a chord name and a slash where each one lands.
5. Isolate the Bass and Rhythm
The bass carries the root of each chord and is often the cleanest source for it. On a mix it usually sits in the low end, so drop your volume, use headphones, and listen for the longest notes. On many tracks a bass note at the start of each chord tells you the entire harmony on its own.
Rhythm is the step most people skip, and it is where a transcription falls apart. Tap the pattern on your leg or the arm of a chair before you touch the instrument. Count the strums, count the rests. Write the pattern as text, something like four hits then a held chord, so you can read it back later instead of rebuilding it from memory.
A full mix will not let you cleanly separate kick, snare, hi-hat and strumming, and any honest workflow admits that. Mute the other layers mentally and focus on one at a time over ten or twelve passes. Focus changes what you hear faster than volume does.
6. Reconstruct the Arrangement One Layer at a Time
Build the arrangement in the order melody, harmony, bass, drums, then any distinctive lead line or texture. Playing everything at once from the start means no layer ever gets clean, and you cannot hear a mistake you cannot isolate.
Work in short sections, eight to sixteen bars, and finish each one before moving on. If the song has an instrumental break you are not sure about, drop it, learn what you can already play, and come back to the gap afterwards with fresh ears. Play the original once, then play your section, then compare. The gap between those two sounds is your assignment for the day.
Transposing belongs at the end of this stage, not the start. Once a part is solid in the key you learned it in, move every shape up or down by the same interval to fit a different key or your voice, and the shape of the music stays intact.
7. Test the Reconstruction and Review the Weak Spots
Record yourself playing the section from memory, then play the original immediately afterwards. Comparing your take to the source is the only reliable progress check, because your memory of the song has already drifted to match whatever you last played.
Listen for three things specifically: where you rushed or dragged, which notes you fudged or simplified, and which section lost its shape when you were not looking. Those weak spots are where the practice goes next. Loop the worst passage at a slower tempo, get it clean twice, then raise the speed in small steps rather than jumping straight to full tempo.
Build back up with a metronome at the song’s real tempo, starting maybe ten BPM under where you play comfortably and climbing until you match the recording. Set a target of clean at each level rather than fast and messy, and hold there until it is boring.
Common Mistakes
Starting with tablature or a chord chart. Play the song without looking at any notation first, then compare. The chart becomes a check rather than a crutch.
Copying one isolated guitar part. Learn the vocal melody first. One guitar layer out of five tells you almost nothing about the song.
Treating the whole mix as one melody. Pick one layer, focus on it alone for ten passes, then switch.
Practising everything at full speed. Work a section at a tempo where you get it right, then climb in small steps with a metronome.
Confusing bass notes with chord shapes. Hear the low line separately and use its notes as your chord roots.
Slowing tape and losing the pitch. Use digital speed control, which preserves pitch. Slowed tape drops everything into a lower key, and you end up learning a part in the wrong place.
Getting the right note in the wrong octave. Hum the phrase and check whether your answer sits above or below the pitch you sang. Octave confusion is the most common near miss.
Skipping verification. Play against the original every single session. Memory flatters you; the recording does not.
Two more habits separate the people who improve from the people who stall. They hum through the difficult part of the song every day, even when they are not playing it. And they keep a one-page log of what they worked on and what went wrong, which makes progress visible at exactly the point where it usually feels like none is happening.
Frequently Asked Questions
Is it rare to be able to play music by ear?
No. Singing and playing by ear is a trained skill, not a talent you either have or lack, and most working musicians learned it the same slow way through repeated transcription. What is genuinely rare is congenital tone deafness, a neurological condition affecting a small minority of people and unrelated to whether you can learn a song by listening.
What is it called when you can learn music by ear?
It is usually called playing by ear, or having aural skills. When you write down what you heard so others can read it, that is transcription. Ear training is the supporting drill work on intervals and chord qualities. People often blur these three terms together, but only transcription gets you the song.
How do I train my ears for music?
Transcribe short fragments rather than doing isolated drills alone. Pick a simple song, take four notes from the chorus, sing them back, find them on your instrument, and check against the recording. Add a few minutes of interval recognition each day, and keep going until the song is complete. Drills build the skill, transcription converts it into playing.
Do I need absolute pitch to learn songs by ear?
No. Relative pitch, hearing notes in relation to a reference tone, is what every musician relies on. Players with absolute pitch pick a new song up faster in the first few minutes, but relative pitch is what gets them through the other ninety-nine percent of it. Almost nobody has a reliable absolute pitch, and very few working musicians need one.
How long should I practise, and how long until I can play a song?
Twenty focused minutes most days beats an occasional long session. Self-taught players commonly report weeks for a first complete song, then a sharp drop in time after a handful, with later songs taking an evening. If a full arrangement is not yet realistic, learn the verse and chorus cleanly and treat that as a finished result.
When is it fine to just use tabs or sheet music?
Whenever the goal is speed rather than musical understanding, and more often than the internet suggests. Tabs are excellent for learning a specific solo’s fingering, and notation is the fastest route to sight reading, ensemble playing and anything with complex rhythm. Choose them for those jobs, then keep transcribing other songs by ear to keep the skill growing.
Conclusion
Pick one song you can already sing. Write down its shape, find the key and root note, then work through the melody four notes at a time, hum each fragment back before you play it, and add the chords and bass underneath. Check every layer against the original recording rather than against your memory, and keep the difficult section on tomorrow’s list.
That loop is the whole method for how to learn songs by ear, and the same loop works for a melody you cannot sing, a bass part nobody has written down, or a live version with no tab anywhere. Keep going and the first song stops being the hard one.