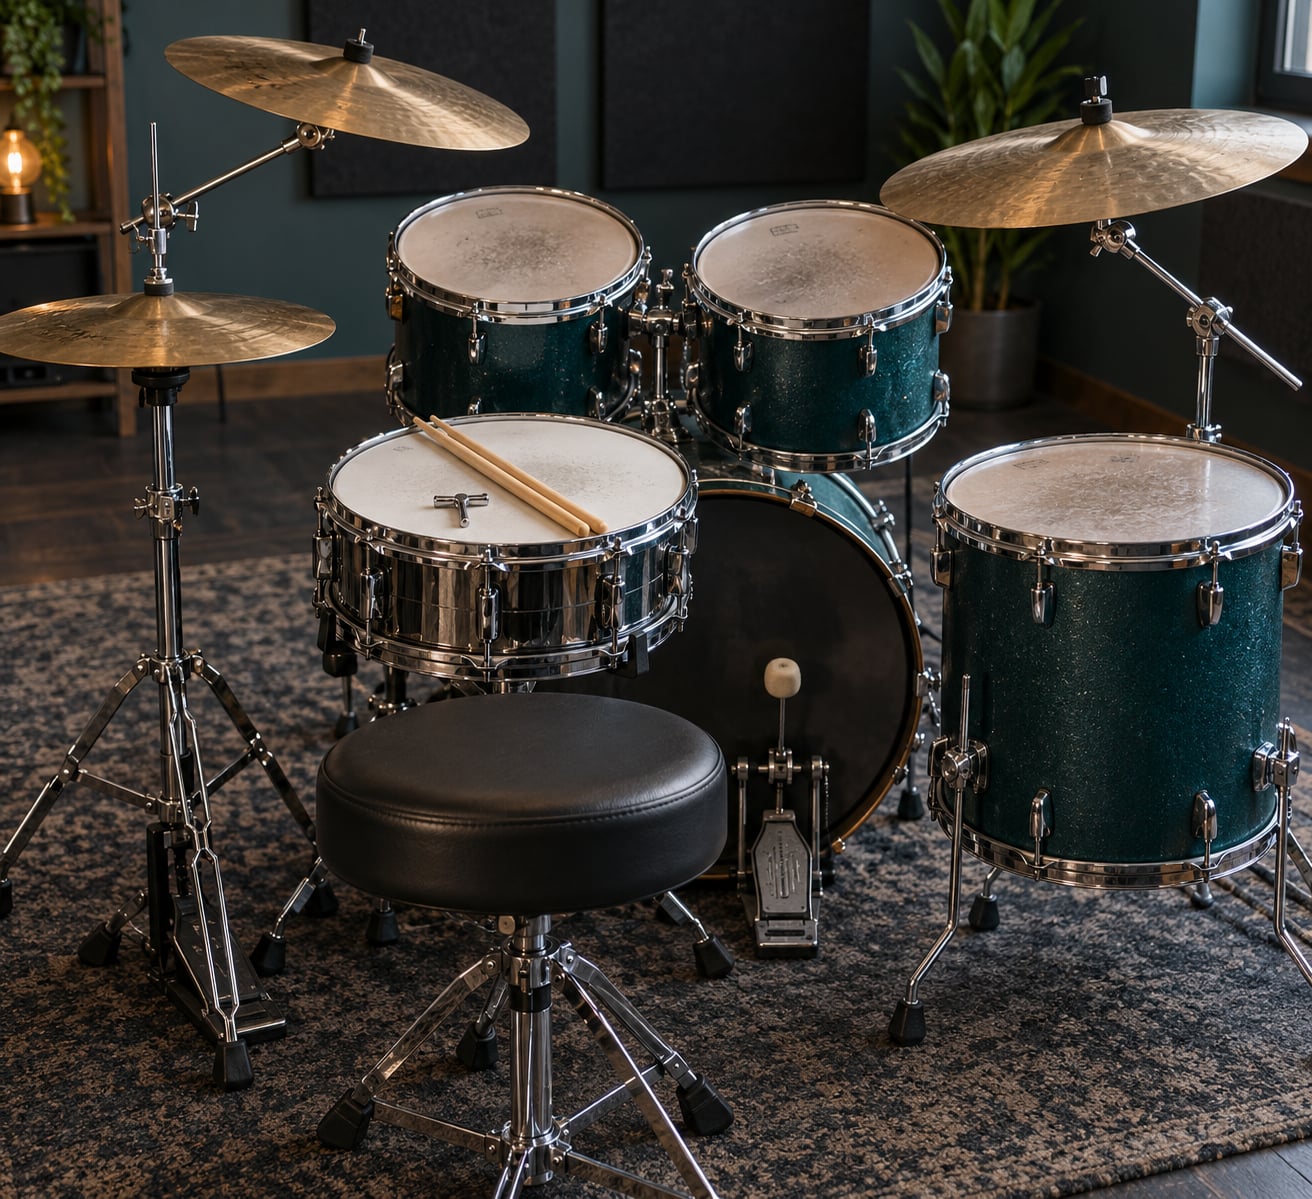
Most of the time, a slow drummer is not slow because of the hands. The kit is set up so every stroke needs a long reach, a shoulder shrug, or a twist of the torso, and the body compensates by slowing down. Setting up a drum kit for speed means cutting the travel distance out of every move: throne first, then kick and snare, then hi-hat, toms and cymbals, all measured against your own arms and legs rather than against a picture of someone else’s kit.
Start at the throne and never move it afterwards. Everything else gets placed relative to that seat, which is the one fixed point in the whole process. Budget about twenty minutes for a first careful build at home, and keep the measurements written down, because the second setup is the one that teaches you anything.
Table of Contents
- What You Need
- Step-by-Step: How to Set Up a Drum Kit for Speed
- Step 1: Position the Kit for Fast, Comfortable Movement
- Step 2: Set the Snare and Kick for a Fast Metal Sound
- Step 3: Place Toms and Cymbals for Quick Transitions
- Step 4: Set the Hi-Hat, Pedals, and Throne
- Step 5: Test the Setup with a Fast Metal Exercise
- How This Differs on an Electronic Kit
- Common Mistakes
- Practice and Maintenance Habits That Protect the Setup
- Frequently Asked Questions
- What drum size is best for speed and metal playing?
- How should I tune drums for a fast metal setup?
- What is the best snare drum height for quick movement?
- Should I use a double bass pedal for fast metal drumming?
- How do I position cymbals so they do not slow me down?
- How often should I retune my drum kit?
- Conclusion
What You Need
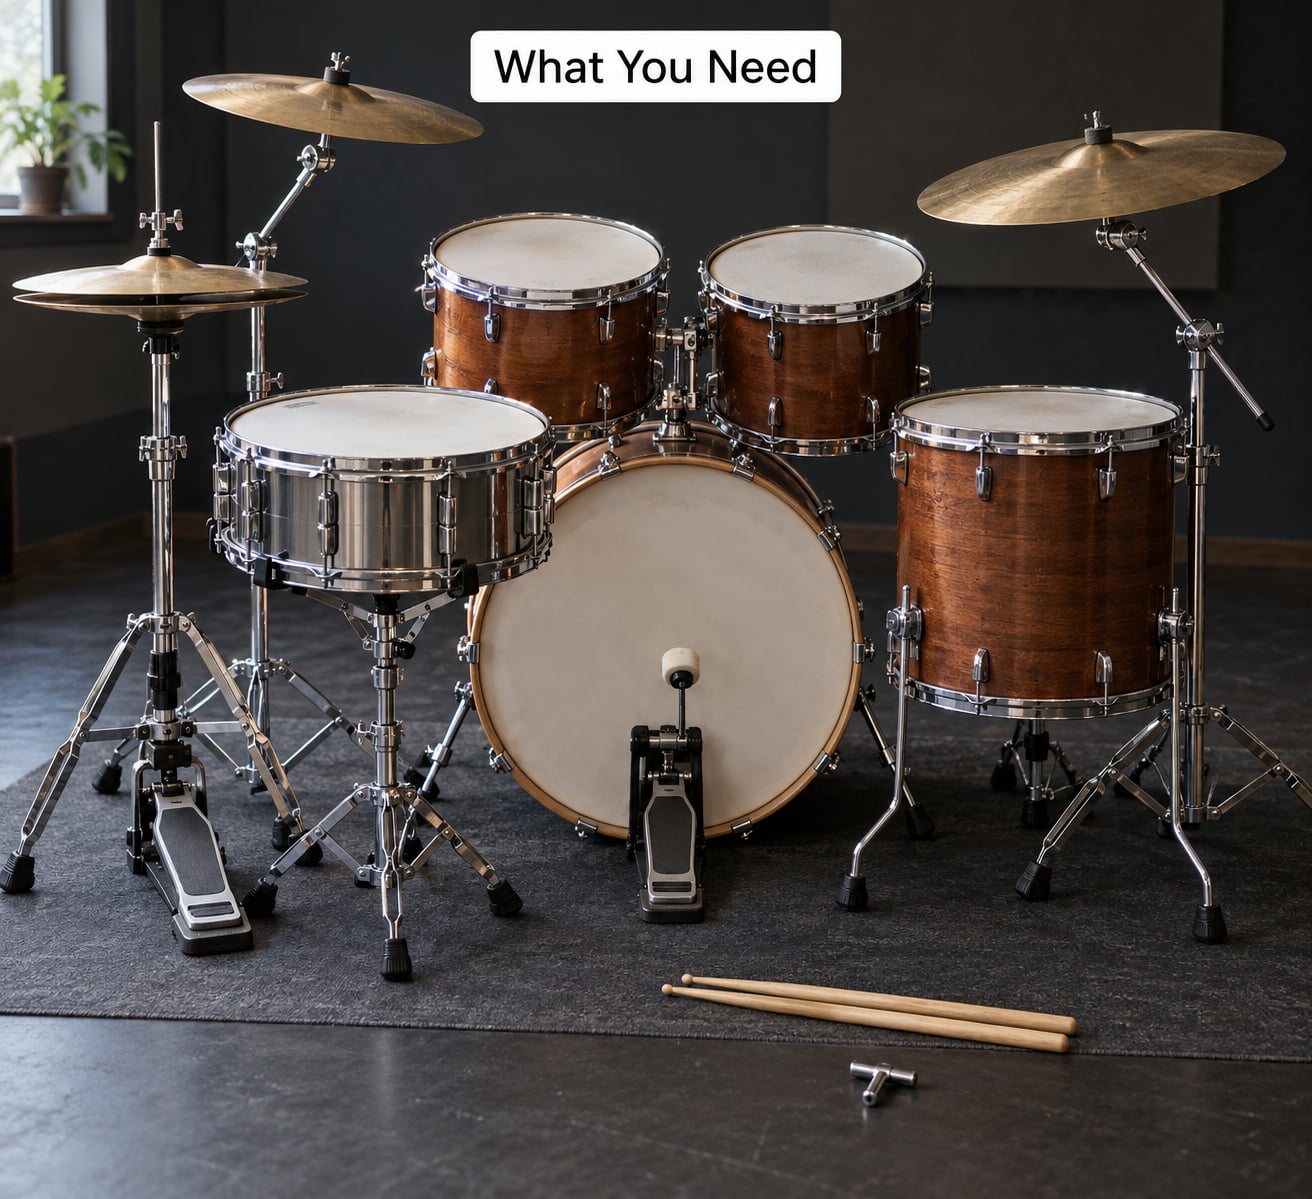
Gather the whole kit before you touch anything. Reaching for a part across a half-built kit is what turns a twenty-minute setup into forty.
- Your drums: kick, snare, floor tom, and one or two rack toms
- Your cymbals, mounted on straight stands and boom stands
- A kick pedal, plus a second pedal if you play double bass
- Hardware: spurs, clamps, throne, and the tom mount
- A tuning key and a small drum key for the heads
- A metronome or a phone app for the speed test at the end
- A practice mat, a rug, or tape to mark your footprint
The mat matters more than people expect. It holds the kit in one place, stops the bass drum from sliding on a smooth floor, and gives you a fixed reference when you rebuild the setup at a venue.
Step-by-Step: How to Set Up a Drum Kit for Speed
Step 1: Position the Kit for Fast, Comfortable Movement
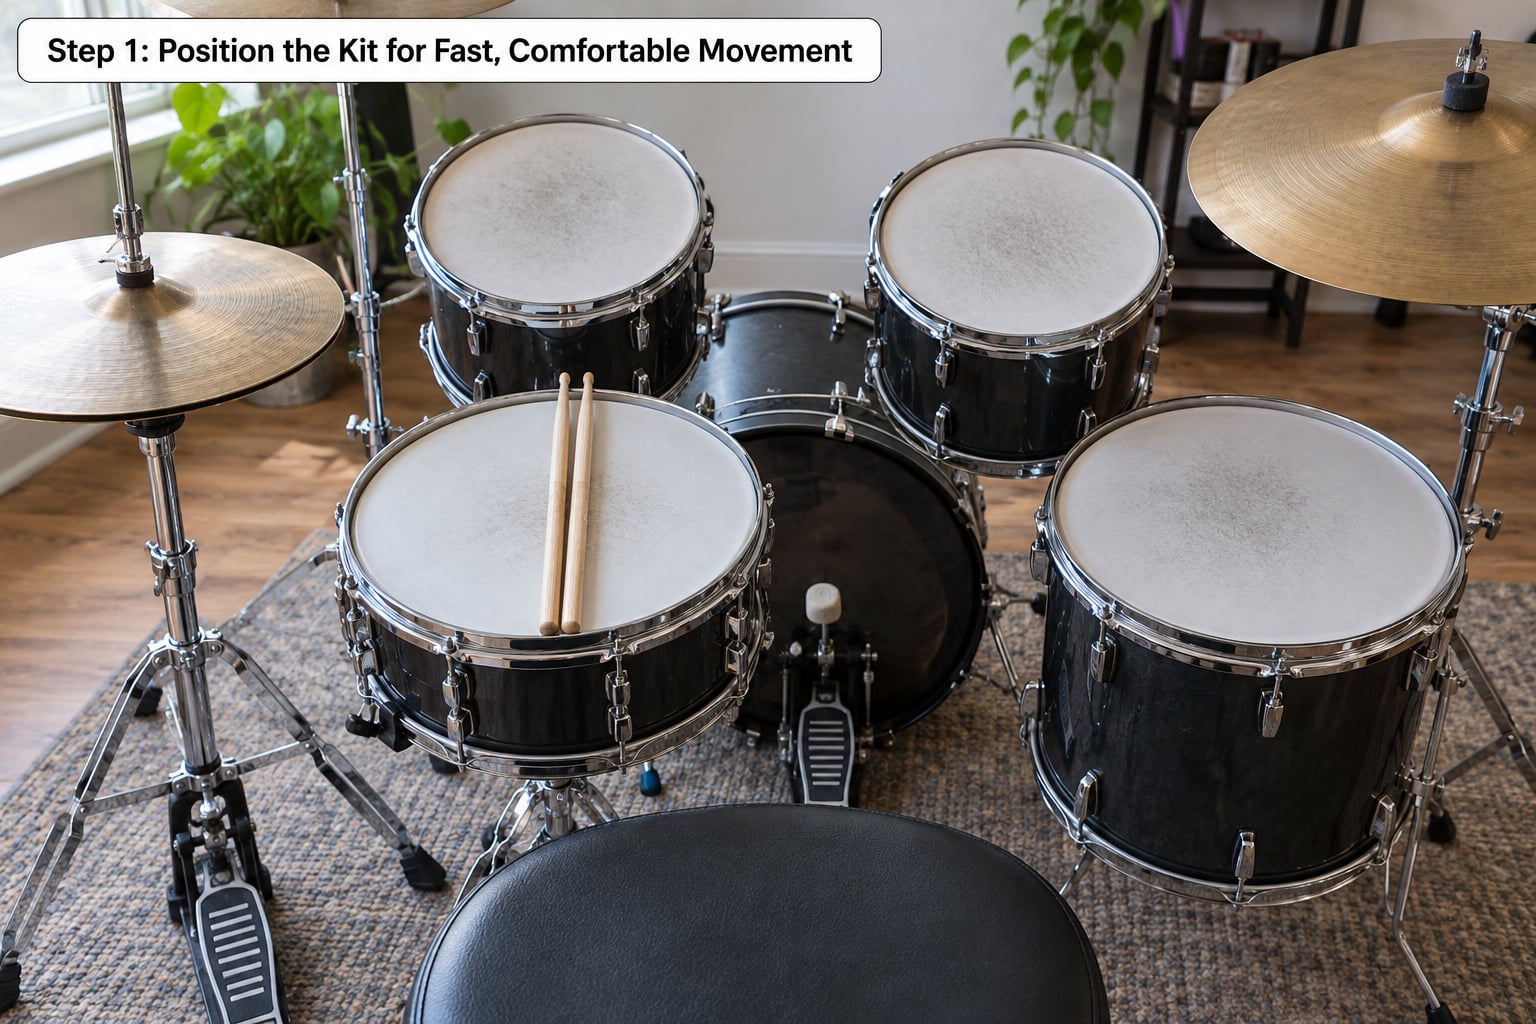
Sit on the throne with both feet flat on the floor and set the seat so your knees are roughly level with your hips or a touch above them. You should feel your weight slightly forward through your heels, not back against the spine.
Then check the fit rather than trusting the seat height alone. Hold a stick in your grip, rest your forearm on your thigh, and note where the tip lands. That point is roughly where the centre of the snare should sit.
Push the kit back until your elbows hang at about 90 degrees when your hands rest on the snare, with shoulders down. Keep roughly 20 to 25 cm of clear floor in front of the kick pedal for your foot to work, and make sure nothing sits behind you that you will kick into during a fast double-bass pattern.
Step 2: Set the Snare and Kick for a Fast Metal Sound
The snare is the centre of a fast metal setup, and the test is simple. With sticks in your normal grip, the stick should rest across the centre of the snare head at about a 30-degree angle, with your elbow near 90 degrees. Raise the snare until that happens; if your shoulder lifts, the snare is too high.
Tune the snare head until the fundamental sits a fourth or fifth below the kick fundamental, and let both heads run to a matched pitch. Metal needs a tight, immediate attack, so you are aiming for the drum to speak clearly without choking, not for a fat low note.
For the kick, set the beater to strike the head slightly above centre, where the shell gives the most support and the least wash. Push the pedal forward so the shaft points at the middle of your foot, keep the heel plate planted, and give the beater enough travel that it does not drag into the head at the top of the stroke.
Work out how to set up a drum kick pedal by starting with the board flat on the rug, the heel of your foot on the heel plate, and the ball of your foot near the beater shaft. Tighten the clamp only enough that the pedal cannot creep, since a pedal that slides a few centimetres under load will wreck your timing.
Step 3: Place Toms and Cymbals for Quick Transitions
Mount the rack toms so the lowest tom sits close to the height of the snare, maybe a centimetre or two above it, and angle each one downward toward your hand position rather than straight out from the stand. The lowest practical angle is the one that keeps your forearm from lifting on the way down to the drum.
Drop the floor tom on its legs and pull it in toward the snare. The gap between the snare and the floor tom should be small enough that you can move your hands across it without a deliberate reach, because most fast fills are a hand travelling, not a wrist rotating.
Set cymbals so that they sit within one arm’s reach from a neutral seated position. Nobody has one correct cymbal height, and Dave Grohl’s famously high cymbals are a style choice that suits a seated, relaxed posture rather than a rule to copy. Whatever height you pick, the crash needs to be reachable without standing up or turning your torso.
Step 4: Set the Hi-Hat, Pedals, and Throne
There is an old measuring trick worth using here. Mark the shaft of one stick with a small line about a stick’s length from the tip, then stand the stick on the snare bell and see where that line falls. That gives you the hi-hat height you can actually reach without shifting your body, and it is a quicker gauge than eyeballing.
Typically that puts the hi-hat somewhere around 20 to 25 cm above the snare edge, angled slightly toward your body so the top cymbal tips toward you. Push the stand to one side of the kit rather than the centre so it never blocks your view of the hi-hat pedal.
Set the throne height last, after the kick and snare are placed, since the drum heights define where your elbows need to be. Sit at the kit, close your eyes, and adjust the seat until your arms feel like they could play for an hour without tension. If you double-bass, check the same thing with both feet on the board, since that position raises your legs and can pull you forward over the kick.
Step 5: Test the Setup with a Fast Metal Exercise
Now run a three-minute test and see what your body tells you. Set the metronome at 90, play quarter notes on the snare for one minute with a relaxed grip, then move to paradiddles for the same length.
Finish with sixteenth-note patterns at 100 to 110, alternating accents between the snare and the hi-hat, and one two-beat fill at the end. Watch three things: whether you tense up at a high tempo, whether you have to lean forward to reach something, and whether one drum takes noticeably more effort than the others.
If you miss notes but your shoulders are calm, the kit is fine and your technique needs slow-tempo practice. If you are gritting your teeth or reaching, go back to the measurement that is off and change one thing at a time.
How This Differs on an Electronic Kit
An electronic kit changes the order of operations but not the logic. Set the throne first, position the pads and cymbal pads at the height and angle your arms want, then mount the kick pad tower last. Because the pads do not shift under load, you can spend more time on exact pad placement than you ever would with acoustic drums. Calibrate the trigger sensitivity and pad thresholds after the hardware is where you want it, not before.
Common Mistakes
Five setup errors come up over and over, and each one costs speed in a specific, measurable way.
A snare that sits too low. You lean forward to reach it, your shoulders round, and wrist response dies. Fix it with the hand-on-thigh test from Step 1.
Cymbals placed at shoulder height or above. Every crash becomes a shoulder movement. Bring them down until you can reach them without lifting your arm past horizontal.
A throne set by feel after the drums are placed. You end up bent over a kit that no longer matches your arms. Reset the throne, then re-check the snare.
Toms angled upward. A downward stroke onto a downward-facing head is easy; the same stroke onto an upward-facing head needs a lift. Tilt the heads toward your hands.
Hardware left loose after a changeover. A boom stand drifts under a crash, and you spend the next song fighting it. Tighten every clamp as you go, not at the end.
Practice and Maintenance Habits That Protect the Setup
Write your measurements down. A short list of throne height, snare height, and cymbal positions is the fastest way back to a good setup on an unfamiliar stage, and at a venue backline kit it is the only reference you will have.
Tape or mark your footprint on the rug and mark your hardware with tape or a Sharpie. Players on r/drums who set up at gigs routinely use memory locks on every boom arm and rebuild their kit into a taped outline, which turns a guess into a repeat.
Pack the pedal bag the night before, not the morning of. Everything else on stage can be adjusted on the fly, but a missing beater or a loose pedal shaft stops the clock.
Check tuning and hardware every couple of weeks at home. Heads drift, and a kit that was tuned for a fast tempo last month probably is not tuned for it now.
Finally, treat wrist and forearm tension as a setup fault, not a toughness test. Persistent tightness in the forearms, thumbs or elbows is a repetitive strain warning, and a doctor or physiotherapist is the right call if it keeps coming back.
Frequently Asked Questions
What drum size is best for speed and metal playing?
A 5-piece kit with one rack tom and a floor tom is the standard fast-setup choice because every drum is reachable without turning your torso. Larger kits are not slower, but each extra tom is another position to learn and another angle to get wrong on stage. Start with fewer drums set up well rather than more drums set up roughly.
How should I tune drums for a fast metal setup?
Tune for a tight, immediate attack rather than a wide, atmospheric sound. Let the kick and snare sit close in fundamental, matched near a fourth or fifth apart, so the two drums do not fight each other when you play them back to back. Match each pair of toms and raise the snare tension a little above what feels comfortable for a rock kit, then check it again after a few minutes of playing.
What is the best snare drum height for quick movement?
Set the snare so that with sticks in a normal grip, your elbow sits at roughly 90 degrees and the stick rests across the centre of the head. A quick test is to rest your forearm on your thigh and mark where the stick tip lands; that is about the right height. If your shoulder lifts to hit it, the snare is too high.
Should I use a double bass pedal for fast metal drumming?
If you play metal, yes, because the genre is written around double-bass patterns. A lighter single pedal still helps while you learn, since it makes the technique easier to build before you add the second board. Check the setup with both feet on the board, because that posture pulls you forward over the kick and can change how the snare height feels.
How do I position cymbals so they do not slow me down?
Keep every cymbal within one arm’s reach from a neutral seated position, and bring the crash down until you can reach it without lifting your arm above horizontal. Push hi-hat stands to one side so they do not block your view of the pedal. High cymbal setups are a legitimate style, but they are worth having because the player prefers them, not because they are faster.
How often should I retune my drum kit?
Check tuning every couple of weeks at home, and always retune after any head change, and before a run of gigs or a rehearsal period. Heads drift as the shell and the weather change, so a kit tuned last month will not hold the same pitch today. At a venue, run a quick check of the snare and kick before soundcheck ends rather than during the set.
Conclusion
The fastest route to a responsive kit is to stop adjusting hardware at random and work outward from the seat. Set the throne, then the kick and pedal, then the snare at your 90-degree elbow, then hi-hat, toms and cymbals inside one arm’s reach, and test it with a three-minute metronome run.
Write the measurements down and mark your footprint on the rug. That single habit is what turns a good practice-room setup into one you can rebuild on a cramped stage in minutes.