Is double bass drumming hard to learn? It is one of the hardest things a new metal drummer takes on, because it asks your legs to do something your hands are still learning to trust: play evenly, quietly and fast at the same time. Most beginners get a usable double bass groove within four to six weeks of short daily practice, but comfortable speed takes considerably longer.
The good news is that the difficulty is mechanical, not mysterious. Double bass drumming is just two feet, two beaters and a metronome, and almost every problem beginners hit comes down to throne balance, foot placement or practising too fast too soon. Here is how to learn double bass drumming for beginners, in the order that actually builds control.
Table of Contents
- What You Need
- Step-by-Step
- Step 1: Set Your Pedal and Starting Position
- Step 2: Build Single-Foot Control for Double Bass Drumming
- Step 3: Practice Foot and Hat Coordination
- Step 4: Add Snare and Ghost-Note Coordination
- Step 5: Learn Useful Double Bass Patterns
- Step 6: Increase Tempo Gradually
- Step 7: Practice Dynamics and Heavy-Metal Control
- Step 8: Play Along with Real Songs
- Common Mistakes
- Frequently Asked Questions
- Do I need a double pedal to learn double bass drumming?
- Should I learn heel-toe or slide technique first?
- How do I stop losing balance on the throne while playing double bass?
- What tempo should I start double bass drumming at?
- How high should my throne be for double bass drumming?
- How long does it take to learn double bass drumming?
What You Need
You need far less than most beginners assume. The list is short, and every item on it is something you can borrow or already own.
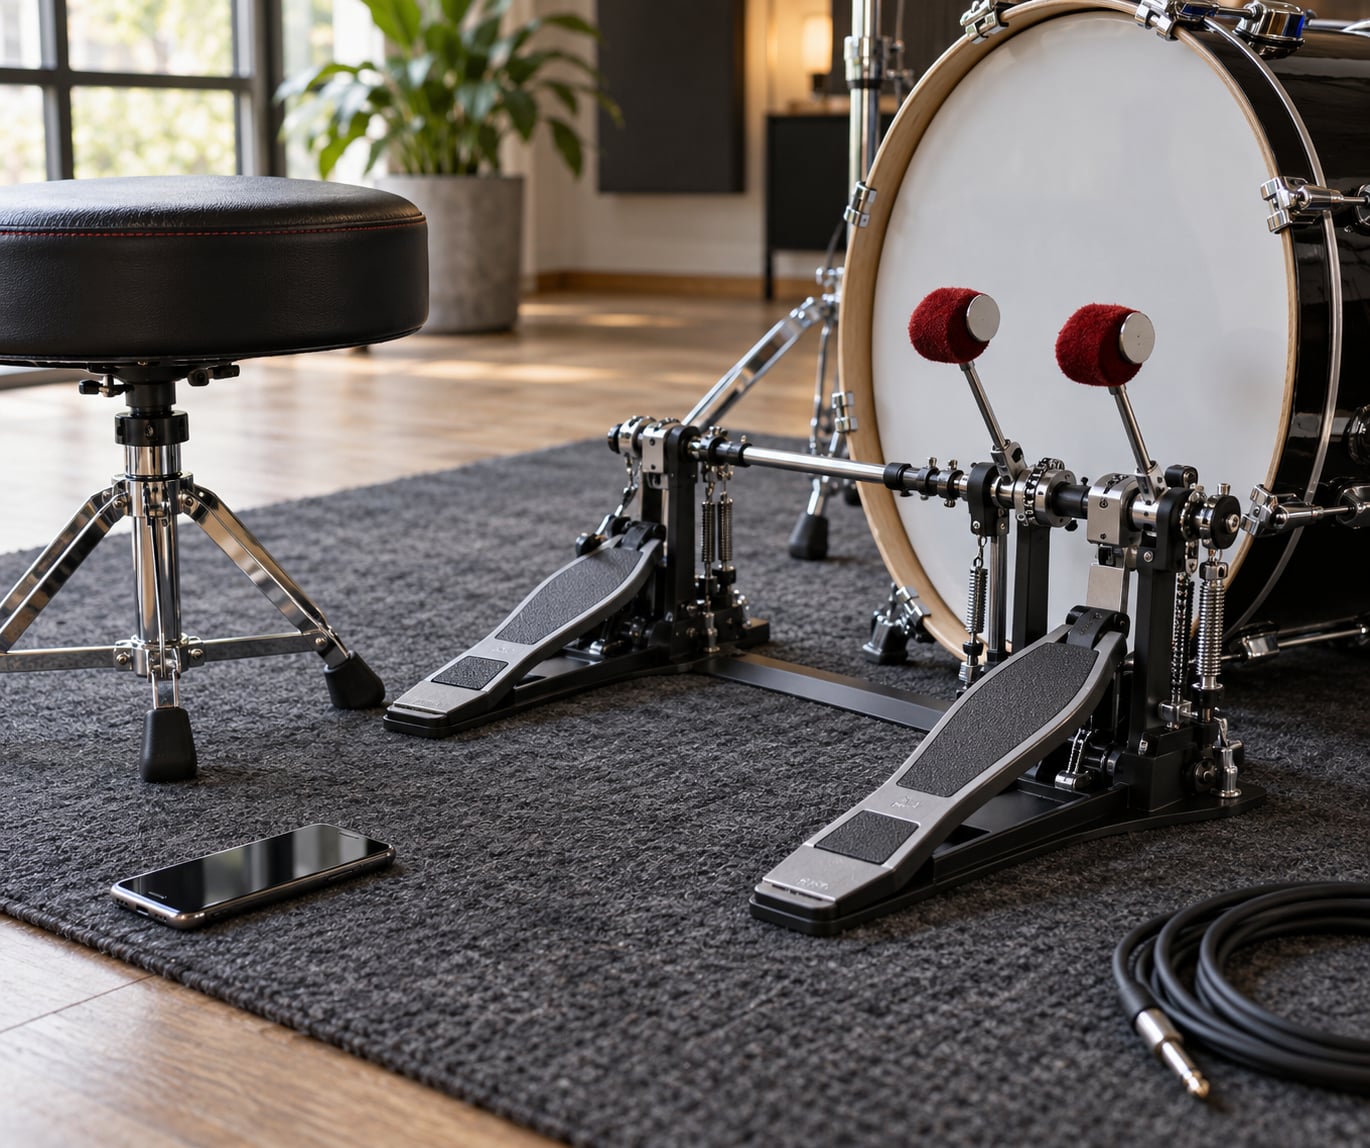
- A kit with a second bass drum pedal. A double pedal bolted to one bass drum, or two separate single pedals sharing one drum. Beginners with a single pedal can still learn a lot with single-foot double strokes.
- A throne you can move. Balance comes from being able to shift your weight, so a fixed or sliding stool works against you.
- Flat, thin-soled shoes. Heels lift and soles grip, which is exactly what the footwork needs.
- A metronome or drum machine. A phone app is fine.
- A practice surface. A rug or mat keeps the pedal board from sliding while you rock your foot.
On an acoustic kit, check that both beaters land on the batter head at the same point and at the same height. A pedal whose board sits lower than the other will tilt your foot and quietly ruin evenness. On an electronic kit, set both triggers to the same sensitivity so the module is not flattering your louder foot.
If you are not ready to add a second pedal, two single pedals on one drum teaches the same balance problem and costs nothing extra. It also makes the transition to a real double pedal almost painless later.
Step-by-Step
Step 1: Set Your Pedal and Starting Position
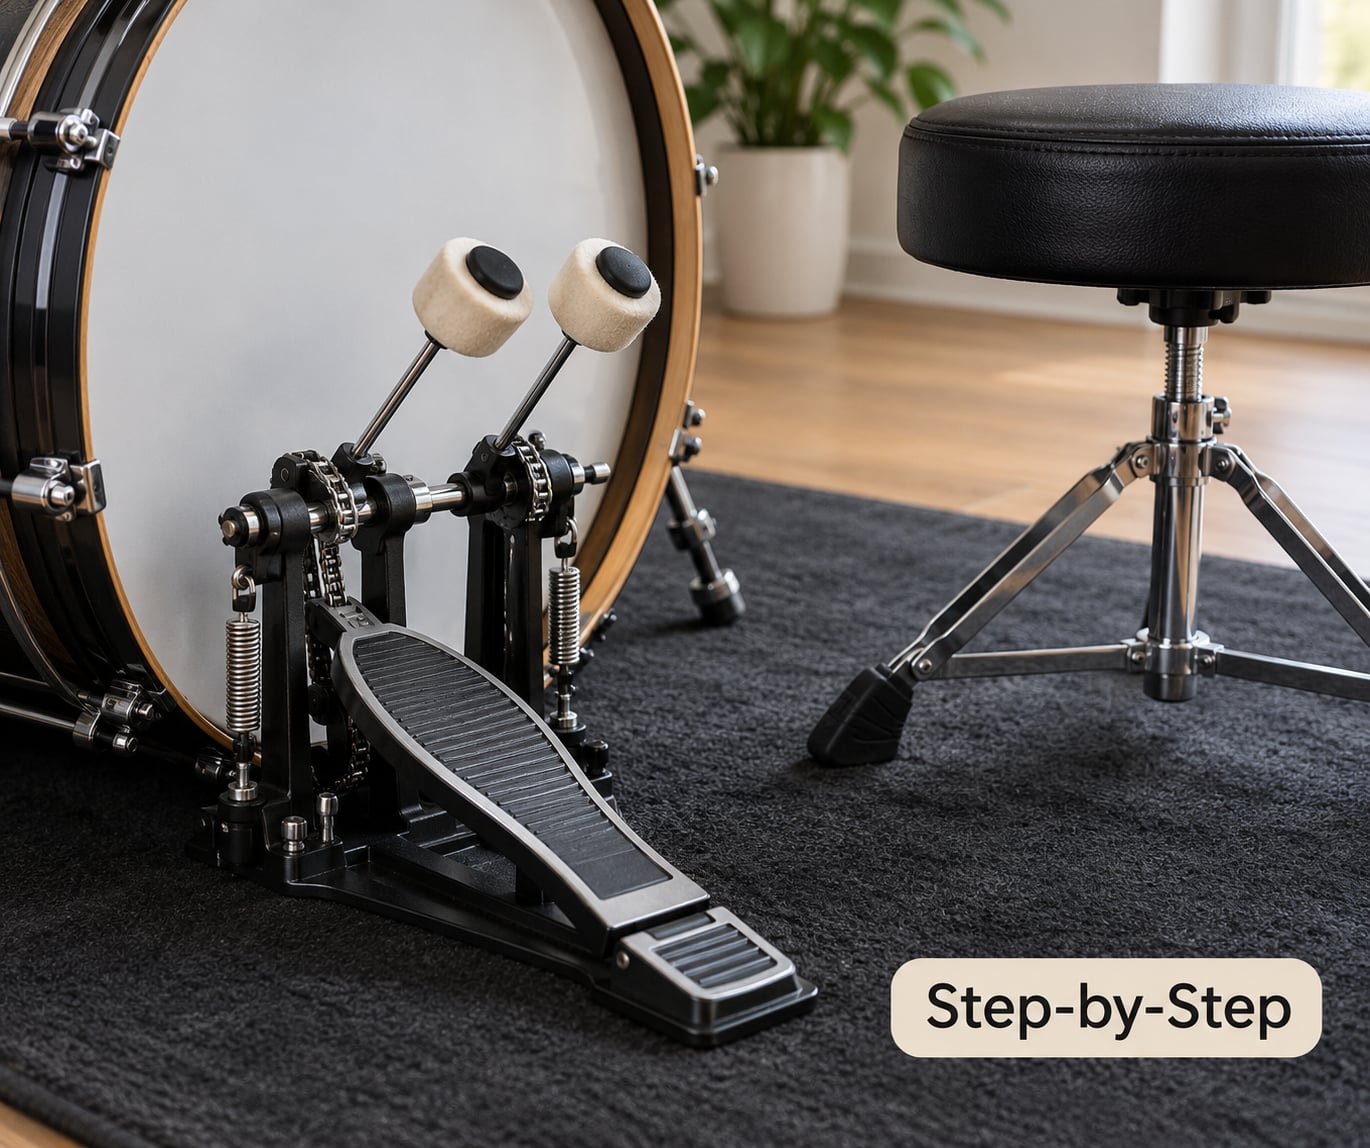
Sit at the kit without thinking about your feet, and note where they land. That is your correct placement. From there, set the beater so it contacts the head at about the ankle height of your sitting leg, which keeps the stroke short and the rebound quick.
Spend a full minute shifting your weight side to side without playing anything. Drummers on the large forums keep repeating the same point: centering your balance over each pedal matters more than any single foot trick. If you cannot hold steady over one beater for ten seconds before you play, no amount of speed practice will help.
Check three things before you start. The beater must return to the same resting spot every stroke, the heel must stay in contact with the board, and the ankle must remain loose. A foot that slides off the board or a beater that drifts is a setup fault, not a technique fault.
Step 2: Build Single-Foot Control for Double Bass Drumming
What is the heel toe technique in drumming? It is a foot technique where the heel stays down and lifts for one stroke while the ball of the foot stays down for the next, alternating between the two so each stroke uses a different part of the foot. It gives an even, quiet double stroke at moderate speed without any sliding motion.
Three foot techniques cover nearly everything a beginner needs, and they are not competing philosophies so much as different tools.
| Technique | Movement | Best for | Watch out for |
|---|---|---|---|
| Heel-toe | Heel lifts, then ball of foot lifts, alternating | Quiet, even strokes at moderate speed; jazz-leaning metal and studio playing | Small motion, so it needs relaxed ankles to feel smooth |
| Slide (rocking, front-back) | Whole foot pivots front to back on the board | Speed, bigger strokes, loud metal playing | Board slides on carpet; a rug helps |
| Flatfoot (ankle) | Whole foot stays flat, ankle does the work | Maximum speed and endurance | Hardest to control, highest injury risk if rushed |
Learn heel-toe first because it teaches evenness, then add the slide for volume. Start at 60 BPM with quarter notes, then eighths, then sixteenths. Only move on when the previous level is clean for two full minutes.
A timing drill that works comes straight from the forums: 4 strokes on one foot, then 8, then 12, then 16, two minutes each, followed by two minutes of a continuous sixteenth-note run. Focus the weaker foot, not the stronger one, since uneven volume is nearly always one foot outworking the other.
Step 3: Practice Foot and Hat Coordination
Add the hi-hat on quarter notes while you keep alternating eighths on the bass drum. The upper body should not move. If your shoulders start bouncing, the leg is doing too much and the hands are compensating.
Slow this drill down until it is boring. Boredom is the signal that you are below your skill level, which is exactly where coordination gets built.
Step 4: Add Snare and Ghost-Note Coordination
Place the bass drum with the snare backbeat first, one kick per snare hit. Then add sixteenth-note kick notes while the snare plays ghost notes on the quiet beats.
The most common failure here is foot timing drifting when the hands get busy. Keep the metronome on the kick pattern only, and if the kick wanders, drop the ghost notes and rebuild.
Step 5: Learn Useful Double Bass Patterns
Play one pattern until it is automatic, then add the next. Beginners get far more mileage from four patterns practiced daily than from twenty patterns practiced once.
- Alternating sixteenths. Even kick on every sixteenth under steady eighth-note hats. This is the foundation for everything else.
- Repeated notes on one foot. Two sixteenths per beat from a single pedal. This is how most rock grooves are actually written.
- Synchronized hits. Bass drum and snare landing together on two and four. A metal staple and easy on the feet.
- Simple syncopation. Kick on the and of two and the and of four, with hats staying straight.
Triplet groupings suit heel-toe, while off-beat triplets sit more comfortably with a slide. That is why conflicting technique advice exists online: the advice is right for a different grouping. Pick the technique that matches the pattern in front of you rather than the one a video tells you is best.
Step 6: Increase Tempo Gradually
Raise the metronome by 2 or 3 BPM per session, and only if the previous tempo was clean. If your evenness breaks, drop back five BPM and rebuild rather than pushing through.
Break long fast sessions into short slow ones. Two minutes at 70 BPM done daily beats twenty minutes of sloppy playing at 100, because the second session teaches your legs habits they will keep for years. Plateaus at a specific tempo are normal and usually mean the speed is fine but the endurance is not.
Step 7: Practice Dynamics and Heavy-Metal Control
Play the same pattern three ways: as quietly as possible, at a comfortable volume, and as loud as you can without rushing. Timing must not change between the three. Beginners often lose control the moment they dig in, and that is volume control, not foot control.
Practising quietly also trains stage volume control, which matters in a band mix. Noise control is one reason experienced players keep a single pedal with heel-up doubles as a backup: a single foot takes up less room in the low end and is easier to keep polite.
Step 8: Play Along with Real Songs
Pick a song in a slow, steady tempo and isolate the kick pattern first. Play nothing else for a minute, then add hats, then everything. Learning a groove with two consecutive bass drum notes is far more motivating than drills alone, and it tells you whether your timing survives contact with other parts.
Record yourself. Recording catches uneven velocity and drifting timing faster than anything else, and it gives you something to compare week to week.
Common Mistakes
Every beginner error here has a specific fix, so fix the cause rather than practising harder through it.
- Rushing as soon as it feels hard. Drop the tempo 10 BPM. Speed is what you earn after control, not what you chase.
- Lifting the whole leg instead of using the foot. Rest the calf on the thigh and shake it out. If you cannot feel your ankle move, the motion is coming from somewhere it should not.
- Striking too close to the beater. Hit the head face-on, with the ball of the foot arriving at the bottom of the stroke rather than sweeping in sideways.
- Tense ankles. Shake both feet loose between every set. Tension in the ankle travels straight up into the calf and the Achilles tendon.
- Unclear accents. Mark the accented note out loud before you play. An even pattern with one loud note is a groove; an even pattern of loud notes is noise.
- Practising only at maximum speed. Add a slow-tempo drill to every session, even five minutes. It is where accuracy is built.
- Ignoring the weak foot. Give it a dedicated two-minute block on its own rather than splitting practice evenly.
On tendon health: fast double bass work loads the calf and Achilles hard, and sore tendons that keep getting hammered can end a practice streak for weeks. Warm up with slow single-foot strokes, stop a set the moment you feel sharp pain rather than dull fatigue, and build duration before you build speed.
Frequently Asked Questions
Do I need a double pedal to learn double bass drumming?
No, but it makes things easier. Two single pedals bolted to one bass drum teach exactly the same balance and evenness problem as a double pedal, and plenty of drummers use that setup on stage permanently. If you only have one pedal, practise single-foot double strokes with a heel-up heel-down motion, which is the same skill half of what two-pedal playing needs.
Should I learn heel-toe or slide technique first?
Heel-toe first, because it teaches evenness rather than power. It is a small motion, so you can play long without tiring, which is exactly what a beginner needs. Add the slide technique once your heel-toe strokes are even at moderate tempo, then use whichever fits the pattern. Triplet groupings suit heel-toe, while off-beat triplets are more comfortable with a slide.
How do I stop losing balance on the throne while playing double bass?
Your weight is sitting between the pedals instead of over one at a time. Before playing anything, sit at the kit and shift your weight fully over each pedal for a slow count of ten. Repeat until you can hold it without gripping the throne edges with your legs. Drummers on the large drum forums treat this centering as the foundation of double bass technique, not an extra.
What tempo should I start double bass drumming at?
Start at 60 BPM and stay there until the strokes are even and relaxed. Most beginner mistakes come from starting too fast, because speed hides an unbalanced foot and bakes the imbalance in. Raise the metronome by only 2 or 3 BPM per session, and if your evenness breaks at a given tempo, drop back five and rebuild before moving up again.
How high should my throne be for double bass drumming?
High enough that your knees sit above or level with your hips, with your feet able to rest fully on the boards without your shoulders tightening. Sitting too low forces you to reach with the legs instead of moving them from the hip and ankle, which tires you quickly. Adjust the throne first, then fine-tune pedal height so the beater meets the head near ankle height of your sitting leg.
How long does it take to learn double bass drumming?
Expect four to six weeks of short daily practice before a usable groove, and closer to three to six months before fast metal patterns feel comfortable. Twenty focused minutes a day beats an occasional long session, and the gains are mostly in evenness rather than raw speed. If the kick drifts when your hands get busy, that is normal and usually clears up once the foot pattern is automatic.
Start tomorrow with twenty minutes: ten of them shifting your weight between the pedals, and ten playing alternating sixteenths at 60 BPM until the strokes match. Once that is clean, the rest of this guide is just about adding one layer at a time.